The night sky has captivated humanity for millennia, and now your smartphone can capture its breathtaking beauty. Modern mobile devices have evolved into powerful astrophotography tools that fit right in your pocket.
Gone are the days when capturing stunning celestial images required expensive telescopes and complex camera equipment. Today’s smartphones, combined with the right techniques and applications, can produce remarkable photographs of stars, constellations, the Milky Way, and even some deep-sky objects. This comprehensive guide will walk you through an effortless workflow to transform your phone into a capable astrophotography device, helping you capture the cosmos with confidence and creativity.
🌟 Understanding Your Smartphone’s Astrophotography Potential
Modern smartphones have come remarkably far in their imaging capabilities. Flagship devices from manufacturers like Samsung, Google, Apple, and Huawei now feature sensors capable of gathering significant amounts of light, computational photography algorithms that stack multiple exposures, and manual controls that give you professional-level command over your shots.
The key to successful phone astrophotography lies in understanding your device’s limitations and strengths. While smartphones cannot match dedicated DSLR cameras with wide aperture lenses, they excel in portability, ease of use, and increasingly sophisticated software processing that can extract detail from seemingly impossible lighting conditions.
Most contemporary phones feature night modes specifically designed for low-light photography. These modes typically work by capturing multiple frames over several seconds and intelligently combining them to reduce noise while preserving detail. This computational approach forms the foundation of your mobile astrophotography workflow.
Essential Gear Beyond Your Phone 📱
While your smartphone is the star of the show, a few affordable accessories will dramatically improve your astrophotography results. These tools aren’t optional extras—they’re fundamental to capturing sharp, stunning images of the night sky.
A Sturdy Tripod Makes All the Difference
Stability is absolutely critical for night sky photography. Even the slightest movement during a long exposure will result in blurred stars and unusable images. A smartphone tripod with a secure mounting mechanism should be your first investment. Look for models with adjustable height and a ball head for flexible positioning.
Compact travel tripods work excellently for phone astrophotography since smartphones are much lighter than traditional cameras. Some tripods designed specifically for phones feature flexible legs that can wrap around objects, providing mounting options in challenging locations.
Remote Shutter or Timer Function
Touching your phone to trigger the shutter introduces vibration that can ruin your shot. Use either your phone’s built-in timer function (typically 3-10 seconds) or a Bluetooth remote shutter. Many affordable wireless remotes designed for smartphone photography are available and provide convenient control without causing camera shake.
Optional but Helpful Additions
Consider bringing a portable power bank for extended shooting sessions, as astrophotography apps and long exposures drain batteries quickly. A red flashlight helps you see your equipment without ruining your night vision adaptation. Warm clothing and a comfortable chair make the waiting periods between shots more pleasant, especially during cooler nights.
Location Scouting: Finding Your Perfect Dark Sky 🌌
Light pollution is the nemesis of astrophotography. The glow from cities, towns, and even small communities washes out faint celestial objects and reduces contrast in your images. Finding a location with truly dark skies dramatically improves your results.
Use light pollution maps available through various websites and apps to identify dark sky locations within driving distance. Look for areas classified as Bortle 3 or darker on the Bortle Scale. National parks, rural areas, and designated dark sky preserves offer excellent opportunities for capturing the cosmos.
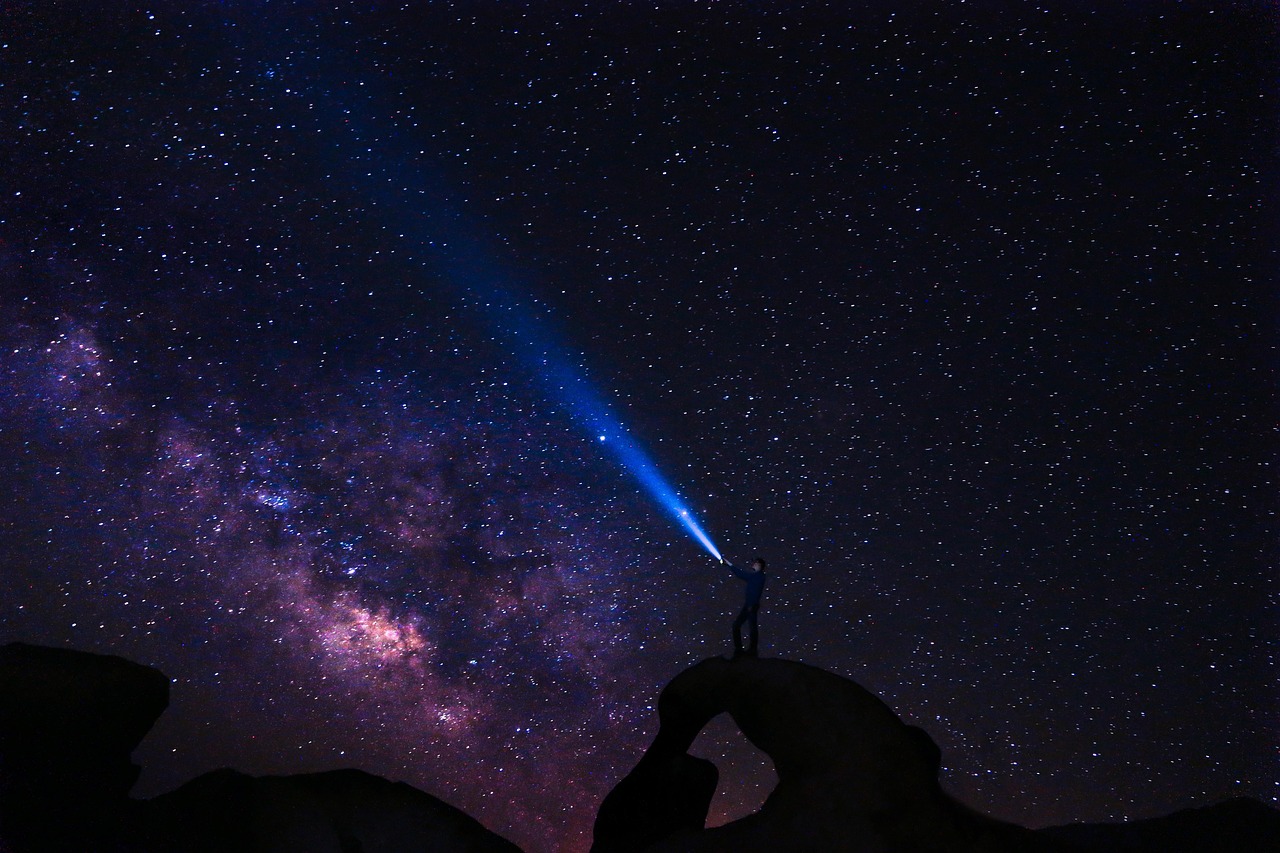
When scouting locations, consider foreground elements that can add interest to your compositions. Silhouetted trees, rock formations, abandoned buildings, or mountain ridges create compelling leading elements that give context and scale to the vastness above.
Safety should always be your priority. Visit locations during daylight first if possible, inform someone of your plans, bring a companion when feasible, and be aware of wildlife and terrain hazards that become more dangerous in darkness.
Timing Your Shoot: When the Sky Cooperates ⏰
Successful astrophotography requires planning around several astronomical and meteorological factors. The best images come from clear, moonless nights far from artificial light sources.
Moon Phase Considerations
The moon is beautiful but problematic for most astrophotography. Its brightness illuminates the atmosphere, reducing the visibility of faint stars and the Milky Way. Plan your shoots during new moon periods or when the moon sets early in the evening. The week before and after the new moon provides the darkest skies for capturing faint celestial objects.
Weather and Atmospheric Conditions
Cloud cover obviously prevents astrophotography, but atmospheric clarity matters beyond simple cloud forecasts. Check humidity levels, as high humidity creates haze that reduces image sharpness. Cold, dry winter nights often provide the clearest atmospheric conditions, though spring through fall offers more comfortable shooting weather and better Milky Way positioning for Northern Hemisphere photographers.
Atmospheric seeing conditions affect how much stars twinkle. Less twinkling indicates steadier air, which produces sharper images. Specialized astronomy forecasts provide seeing predictions for serious photographers.
Configuring Your Phone Camera Settings 📸
Achieving professional-looking astrophotography results requires taking manual control of your smartphone camera. While automatic modes have improved dramatically, manual settings give you the precision needed for optimal night sky captures.
Accessing Manual or Pro Mode
Most Android phones include a Pro or Manual mode in their native camera apps. iPhone users can access similar controls through third-party applications. These modes allow you to adjust exposure time, ISO sensitivity, focus, and white balance independently.
For astrophotography, you’ll typically want the longest exposure time your phone allows without triggering star trails—usually between 10-30 seconds depending on your lens focal length. The “500 rule” provides guidance: divide 500 by your lens’s equivalent focal length to determine maximum exposure time in seconds before stars begin trailing.
ISO Settings for Night Sky Photography
ISO controls your sensor’s sensitivity to light. Higher ISO values capture fainter objects but introduce digital noise that degrades image quality. For smartphone astrophotography, ISO values between 800-3200 typically provide the best balance between light sensitivity and manageable noise levels.
Experiment with different ISO settings at your location. Light-polluted areas may require lower ISO to prevent blown-out skies, while pristine dark locations allow higher values to reveal more celestial detail.
Focus: Achieving Sharp Stars
Autofocus struggles in darkness, often hunting endlessly or locking onto the wrong distance. Switch to manual focus and set it to infinity or slightly before infinity—many lenses achieve optimal sharpness just short of the infinity mark.
If your phone has a focus peaking feature, enable it to see which areas are in sharp focus. Alternatively, use live view at maximum magnification to manually adjust focus on a bright star until it appears as small and sharp as possible.
Specialized Astrophotography Apps That Transform Your Workflow 🚀
While native camera apps continue improving, specialized astrophotography applications offer advanced features specifically designed for capturing the night sky. These apps provide extended exposure times, RAW capture, detailed manual controls, and even star tracking capabilities.
ProCam and Similar Manual Camera Apps
Applications like ProCam offer comprehensive manual controls that exceed native camera app capabilities. Features include bulb mode for exposures beyond 30 seconds, fine-tuned ISO adjustments, manual focus with magnification assistance, and RAW format capture that preserves maximum image data for post-processing.
Specialized Astrophotography Applications
Dedicated astrophotography apps take night sky photography further with features like real-time sky maps, celestial object identification, optimal shooting time calculations, and guided camera positioning. These applications help you locate interesting targets and configure optimal settings automatically.
Some advanced apps incorporate image stacking directly within the application, capturing multiple frames and automatically aligning and combining them to reduce noise and reveal faint detail invisible in single exposures.
The Shooting Process: Step-by-Step Workflow 📋
With your location selected, equipment prepared, and settings configured, it’s time to capture the cosmos. Following a systematic workflow ensures consistent results and helps you avoid common mistakes that waste time under the stars.
Arrive at your location well before astronomical twilight ends, giving yourself time to set up in remaining light. Mount your phone securely on your tripod and compose your shot, including interesting foreground elements when possible. Enable gridlines to help with composition and leveling your horizon.
As darkness deepens, your eyes will adapt to low light conditions over approximately 30 minutes. Avoid looking at bright screens during this adaptation period. Use red light mode on your phone if available, as red wavelengths preserve night vision better than white light.
Take several test shots with shorter exposures initially to check composition, focus, and exposure settings. Review these images at full magnification to verify star sharpness. Make adjustments as needed before committing to longer exposures.
When you’re satisfied with your test images, begin capturing your primary shots. Take multiple frames of the same scene—variations in atmospheric conditions, passing satellites, or airplane lights may ruin individual frames, but capturing several gives you options during post-processing.
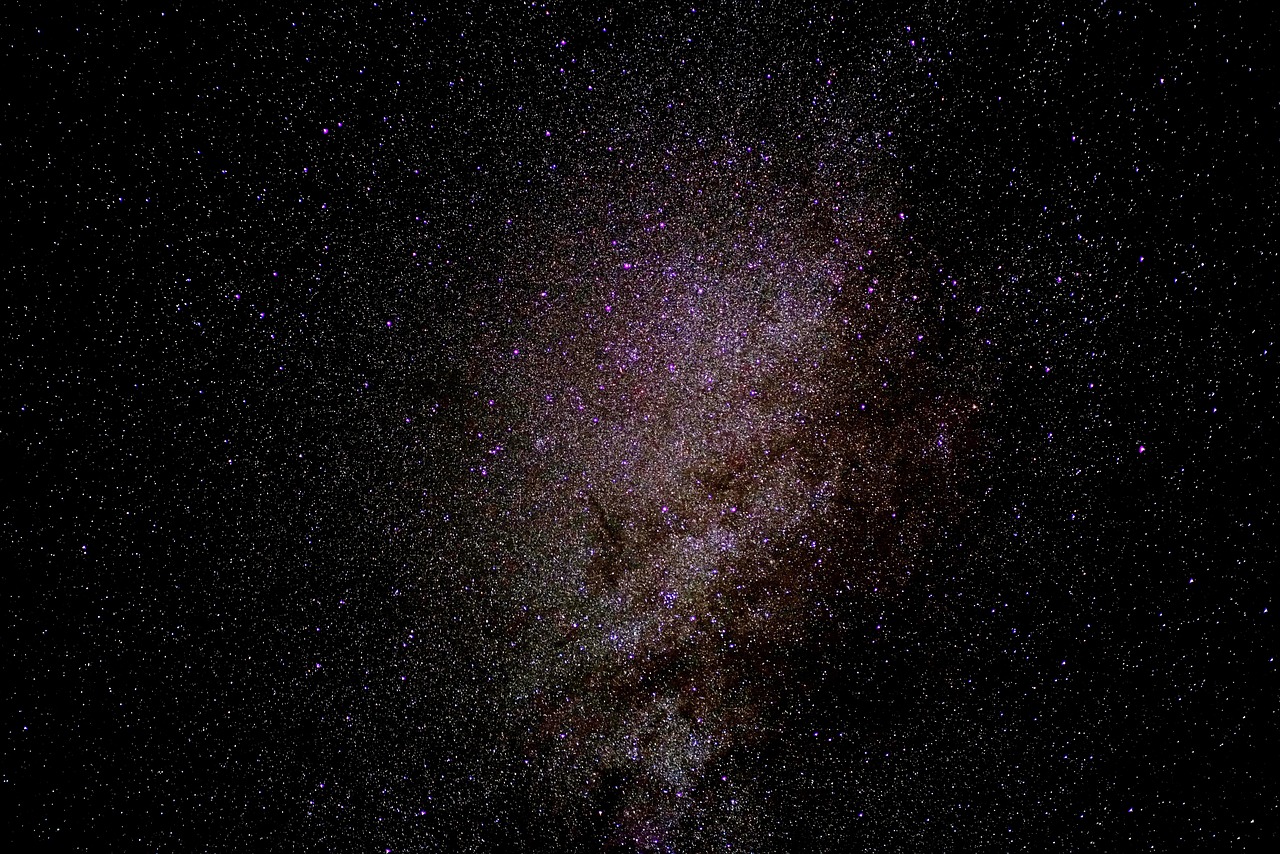
Capturing the Milky Way Core
The Milky Way’s galactic core provides the most dramatic astrophotography target visible with smartphone cameras. This bright concentration of stars, nebulae, and cosmic dust appears in the southern sky during spring and summer months for Northern Hemisphere observers.
Position the Milky Way intentionally in your composition rather than simply centering it. The rule of thirds works beautifully for night sky photography, with the galactic core positioned along one vertical third line and the horizon along the lower horizontal third.
Post-Processing: Bringing Out Cosmic Detail ✨
The images coming straight from your phone sensor contain tremendous information, but post-processing reveals the full beauty hidden in the data. Even modest adjustments dramatically enhance your astrophotography results.
Transfer your images to a mobile editing application or computer for processing. Mobile apps like Snapseed, Lightroom Mobile, and Photoshop Express offer powerful editing tools optimized for touchscreen workflows. Computer-based processing with full Lightroom or Photoshop provides maximum control for perfectionists.
Essential Adjustments for Night Sky Images
Begin by adjusting overall exposure if needed, then increase contrast to separate stars from the background sky. Boost clarity or texture selectively to enhance the Milky Way’s detail without over-processing. Reduce highlights slightly to recover detail in the brightest star regions while lifting shadows to reveal faint nebulosity.
Color adjustments transform astrophotography dramatically. Slightly cooling the overall temperature emphasizes the natural blue of space, while selectively adjusting individual color channels brings out the subtle oranges of nebulae and the various star temperatures ranging from blue giants to red supergiants.
Noise reduction requires a delicate balance—too little leaves grainy, distracting artifacts, while too much creates a plastic, over-smoothed appearance. Apply luminance noise reduction moderately, and preserve color detail whenever possible.
Stacking Multiple Exposures
Image stacking significantly improves smartphone astrophotography by reducing noise while preserving detail. Specialized applications or desktop software can align multiple identical exposures and average them together, mathematically reducing random noise that varies between frames while reinforcing consistent stellar detail.
Capture 5-15 frames of the same composition using identical settings. Stack them using dedicated stacking software, which aligns the stars automatically before combining. The resulting image appears cleaner and reveals fainter details than any single exposure.
Troubleshooting Common Astrophotography Challenges 🔧
Even experienced photographers encounter difficulties when capturing the night sky with smartphones. Understanding common problems and their solutions saves frustration and improves your success rate.
Blurry or trailing stars usually indicate either camera movement during exposure or excessively long shutter speeds. Verify your tripod stability and reduce exposure time. Strong wind can vibrate even secured tripods—consider using your camera bag as additional weight or shooting during calmer conditions.
Images appearing too dark suggest insufficient exposure time or too-low ISO settings. Gradually increase ISO or extend shutter speed while monitoring for star trails. Conversely, overly bright images with washed-out skies indicate too much exposure or light pollution affecting your location.
Color casts from light pollution or improper white balance can be corrected partially in post-processing, but proper exposure and location selection prevent these issues more effectively. Graduated filters in editing apps help darken light-polluted horizons while preserving darker overhead skies.
Expanding Your Celestial Portfolio Beyond the Milky Way 🌠
Once you’ve mastered basic night sky photography, numerous celestial targets await your smartphone camera. The moon presents an excellent subject requiring completely different techniques—shorter exposures at lower ISO prevent overexposure of our bright satellite.
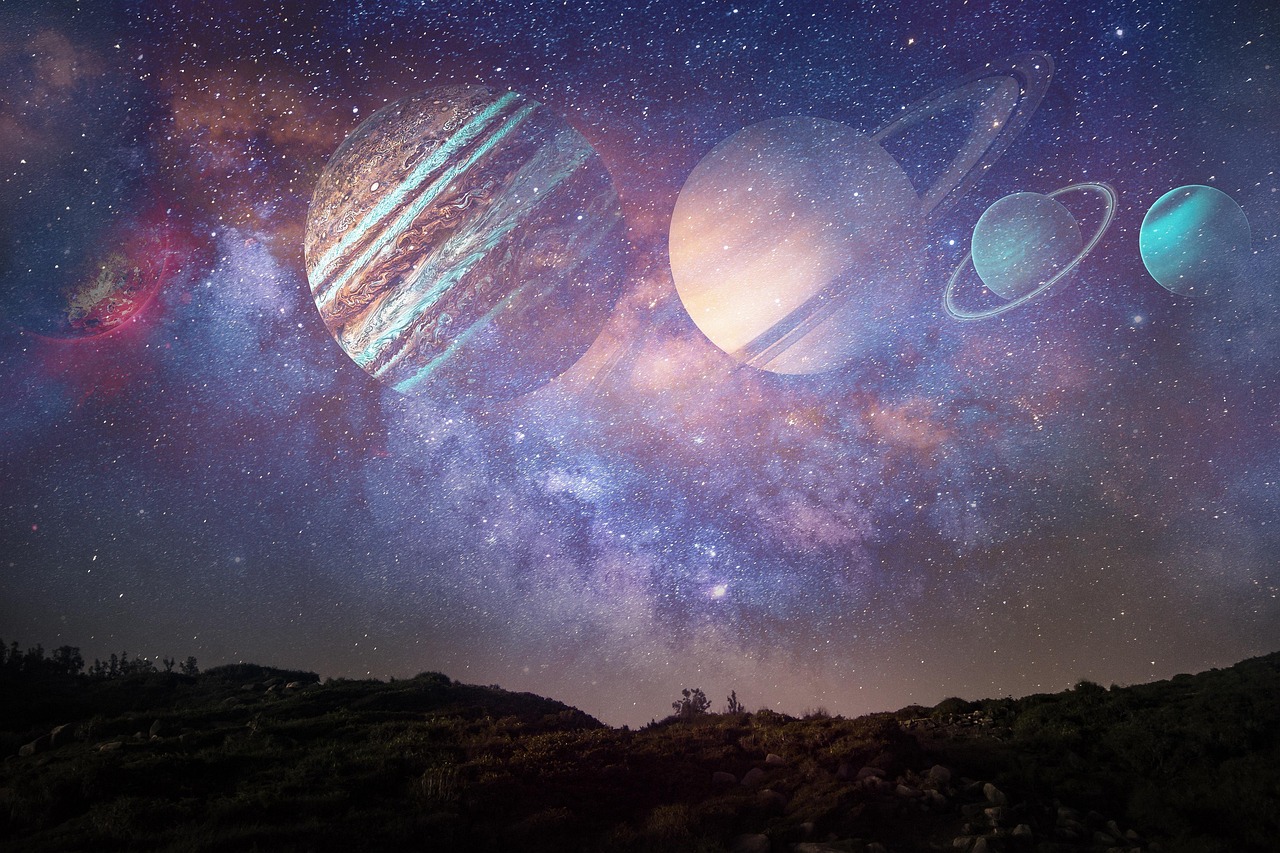
Planetary photography challenges smartphone cameras due to the small apparent size of planets, but bright objects like Venus, Jupiter, and Saturn can be captured as recognizable discs with careful technique and magnification in post-processing.
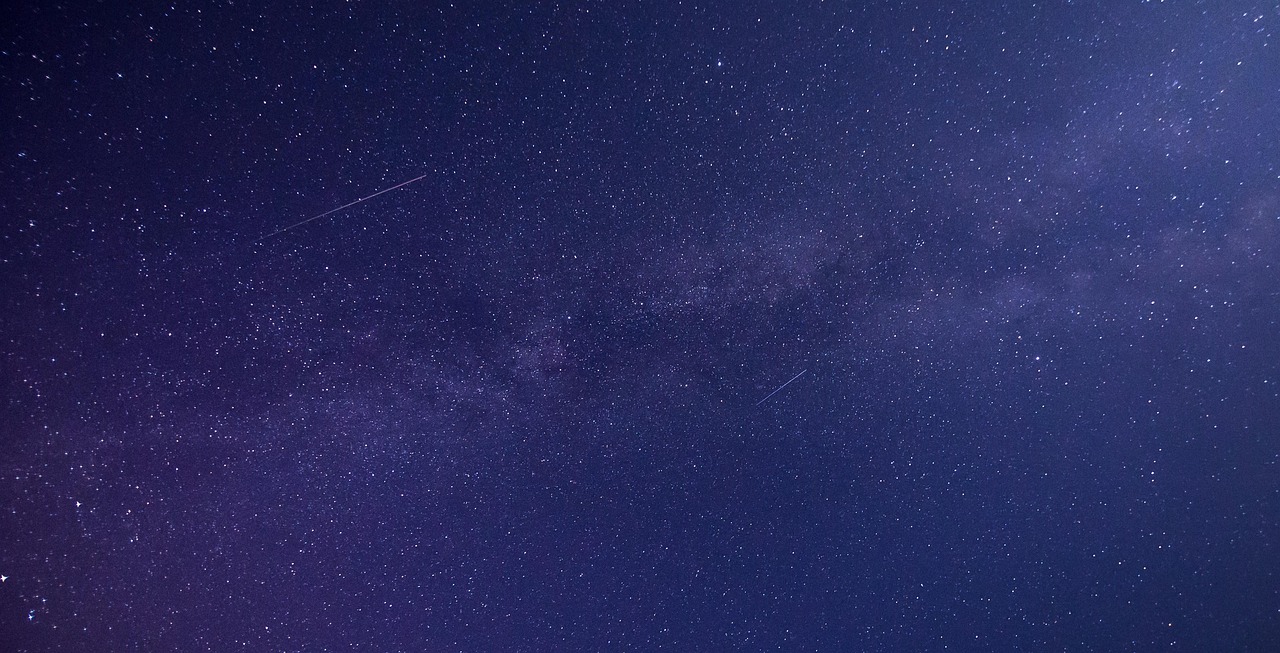
Meteor showers offer exciting photographic opportunities. Set up during predicted shower peaks and capture continuous long exposures. While most frames won’t contain meteors, patience rewards you with spectacular streaks across your images. Time-lapse sequences of meteor shower sessions can be compiled into dynamic videos.
Star trails created by Earth’s rotation produce circular patterns around the celestial pole. Capture sequences of 30-second exposures over extended periods, then stack them using star trail software to create mesmerizing circular streaks.
Sharing Your Cosmic Captures With the World 🌍
Your stunning astrophotography deserves an audience. Social media platforms provide venues for sharing your work, connecting with fellow photographers, and receiving feedback that improves your skills.
Instagram and dedicated astrophotography communities on Reddit welcome night sky images. Use relevant hashtags like #astrophotography, #nightsky, #milkyway, and location-specific tags to increase visibility. Engage authentically with other photographers by commenting thoughtfully on their work and participating in community discussions.
Include technical details in your posts—camera settings, location information, and processing techniques. This transparency helps others learn while establishing your credibility within the astrophotography community.
Consider entering photography contests or submitting images to astronomy publications and websites. Many organizations actively seek quality amateur astrophotography for articles, calendars, and promotional materials.
Continuing Your Astrophotography Journey Under Endless Skies 🔭
Smartphone astrophotography provides an accessible entry point into the rewarding world of capturing celestial beauty. The workflow outlined here—from location selection through post-processing—gives you everything needed to create genuinely impressive images of the cosmos using the device already in your pocket.
As you practice these techniques, you’ll develop an intuitive feel for the relationship between settings, conditions, and results. Each shooting session teaches valuable lessons, gradually transforming you from a novice capturing fuzzy star fields into a skilled photographer revealing the universe’s intricate beauty.
The night sky offers infinite photographic possibilities. Every clear evening presents different atmospheric conditions, celestial configurations, and creative opportunities. This endless variety ensures that astrophotography remains perpetually fresh and engaging, inviting you back under the stars again and again.
Your smartphone contains surprising power to capture the cosmos. With the workflow and techniques presented here, you’re equipped to transform those mysterious points of light overhead into stunning photographs that preserve the wonder of the universe and share it with the world. Now step outside, look up, and start capturing the extraordinary beauty that’s been waiting above us all along.