Night photography transforms ordinary scenes into magical moments, but only if you know how to harness your camera’s full potential. Manual mode is the key to unlocking breathtaking nocturnal images that automatic settings simply cannot achieve.
The darkness challenges even experienced photographers, creating obstacles that seem insurmountable at first. When auto mode fails to capture the atmosphere you see with your eyes, frustration sets in. However, understanding manual controls empowers you to overcome low-light limitations and create photographs that truly reflect the beauty of nighttime scenes. This comprehensive guide will walk you through everything you need to master night photography using manual mode, from fundamental settings to advanced techniques that separate amateur snapshots from professional imagery.
🌙 Why Manual Mode Matters for Night Photography
Automatic camera modes struggle in low-light conditions because they’re programmed for average daylight scenarios. Your camera’s light meter gets confused by darkness, leading to overexposed streetlights, underexposed subjects, and frustratingly blurry images. Manual mode gives you complete control over three critical elements: shutter speed, aperture, and ISO.
When you shoot in manual, you become the decision-maker rather than letting algorithms guess what you want. This control becomes essential during nighttime when lighting conditions vary dramatically within a single scene. A brightly lit storefront next to a dark alley requires precise exposure decisions that only manual adjustments can provide effectively.
Professional photographers consistently choose manual mode for night work because it delivers consistency. Once you understand the relationship between your camera settings, you can replicate successful shots and adapt quickly to changing conditions without waiting for auto mode to catch up.
Understanding the Exposure Triangle 📐
The exposure triangle consists of three interconnected elements that determine how your image looks. Mastering their relationship is fundamental to night photography success. Each component affects not just brightness, but also the creative aspects of your final image.
Shutter Speed: Controlling Motion and Light
Shutter speed determines how long your camera’s sensor is exposed to light. In night photography, you’ll typically use slower shutter speeds ranging from 1/60th of a second to several minutes. Slower speeds allow more light to reach the sensor, essential when working in darkness.
However, slower shutter speeds come with consequences. Camera shake becomes problematic below 1/60th of a second when handholding, creating blurry images. Moving subjects like cars or people will appear as streaks or ghosts at slow speeds, which can be either a creative choice or a technical problem depending on your vision.
For sharp handheld night shots, try to maintain shutter speeds of at least 1/60th of a second or faster, compensating with other exposure triangle adjustments. When using a tripod, you can experiment with multi-second exposures that create stunning light trails, smooth water effects, and ethereal cloud movements.
Aperture: Balancing Light and Depth
Aperture controls the size of the opening in your lens, measured in f-stops like f/2.8, f/5.6, or f/16. Lower f-numbers mean wider apertures that allow more light to enter, crucial for night photography. However, aperture also affects depth of field—the amount of your scene that appears in focus.
Wide apertures (f/1.4 to f/2.8) excel in extremely low light but create shallow depth of field, meaning only a small portion of your image stays sharp. This works beautifully for portraits or isolating subjects but becomes problematic for landscapes where you want everything from foreground to background in focus.
Narrow apertures (f/8 to f/16) provide greater depth of field and create starburst effects on point light sources like streetlamps. The trade-off is requiring longer shutter speeds or higher ISO values to compensate for less light entering the camera.
ISO: The Sensitivity Balance
ISO measures your sensor’s sensitivity to light. Higher ISO values brighten your image without changing shutter speed or aperture, making it invaluable for night photography. Modern cameras perform remarkably well at ISO 1600, 3200, or even higher.
The downside of increasing ISO is digital noise—grainy artifacts that reduce image quality. Every camera has different noise performance, so experiment with yours to determine acceptable limits. Generally, a slightly noisy but sharp image surpasses a clean but blurry one.
Start with ISO 800-1600 for night scenes and adjust upward only when necessary. Noise reduction software can clean up moderate grain during post-processing, but excessive noise degrades detail beyond recovery.
Essential Gear for Night Photography Success 🎒
While expensive equipment isn’t mandatory, certain tools dramatically improve your night photography results. Investing strategically in a few key items makes the difference between acceptable and exceptional images.
A sturdy tripod ranks as the single most important accessory for night photography. It eliminates camera shake during long exposures, allowing you to use lower ISO values for cleaner images. Choose one that’s stable enough for your camera system without being too heavy to carry comfortably on location.
A remote shutter release or your camera’s self-timer prevents vibrations from pressing the shutter button. Even on a tripod, physically touching your camera can introduce blur during multi-second exposures. Wireless releases offer the most flexibility for creative compositions.
Fast lenses with wide maximum apertures (f/1.8 or f/2.8) gather significantly more light than kit lenses. Prime lenses like 35mm f/1.8 or 50mm f/1.8 provide excellent value and performance for night work. If you prefer zoom flexibility, professional f/2.8 zooms deliver outstanding results despite higher costs.
Step-by-Step Manual Mode Night Photography Process 🔧
Approaching night photography systematically removes guesswork and builds confidence. This workflow provides a reliable starting point for most nighttime situations, which you can adapt as you gain experience.
Initial Camera Setup
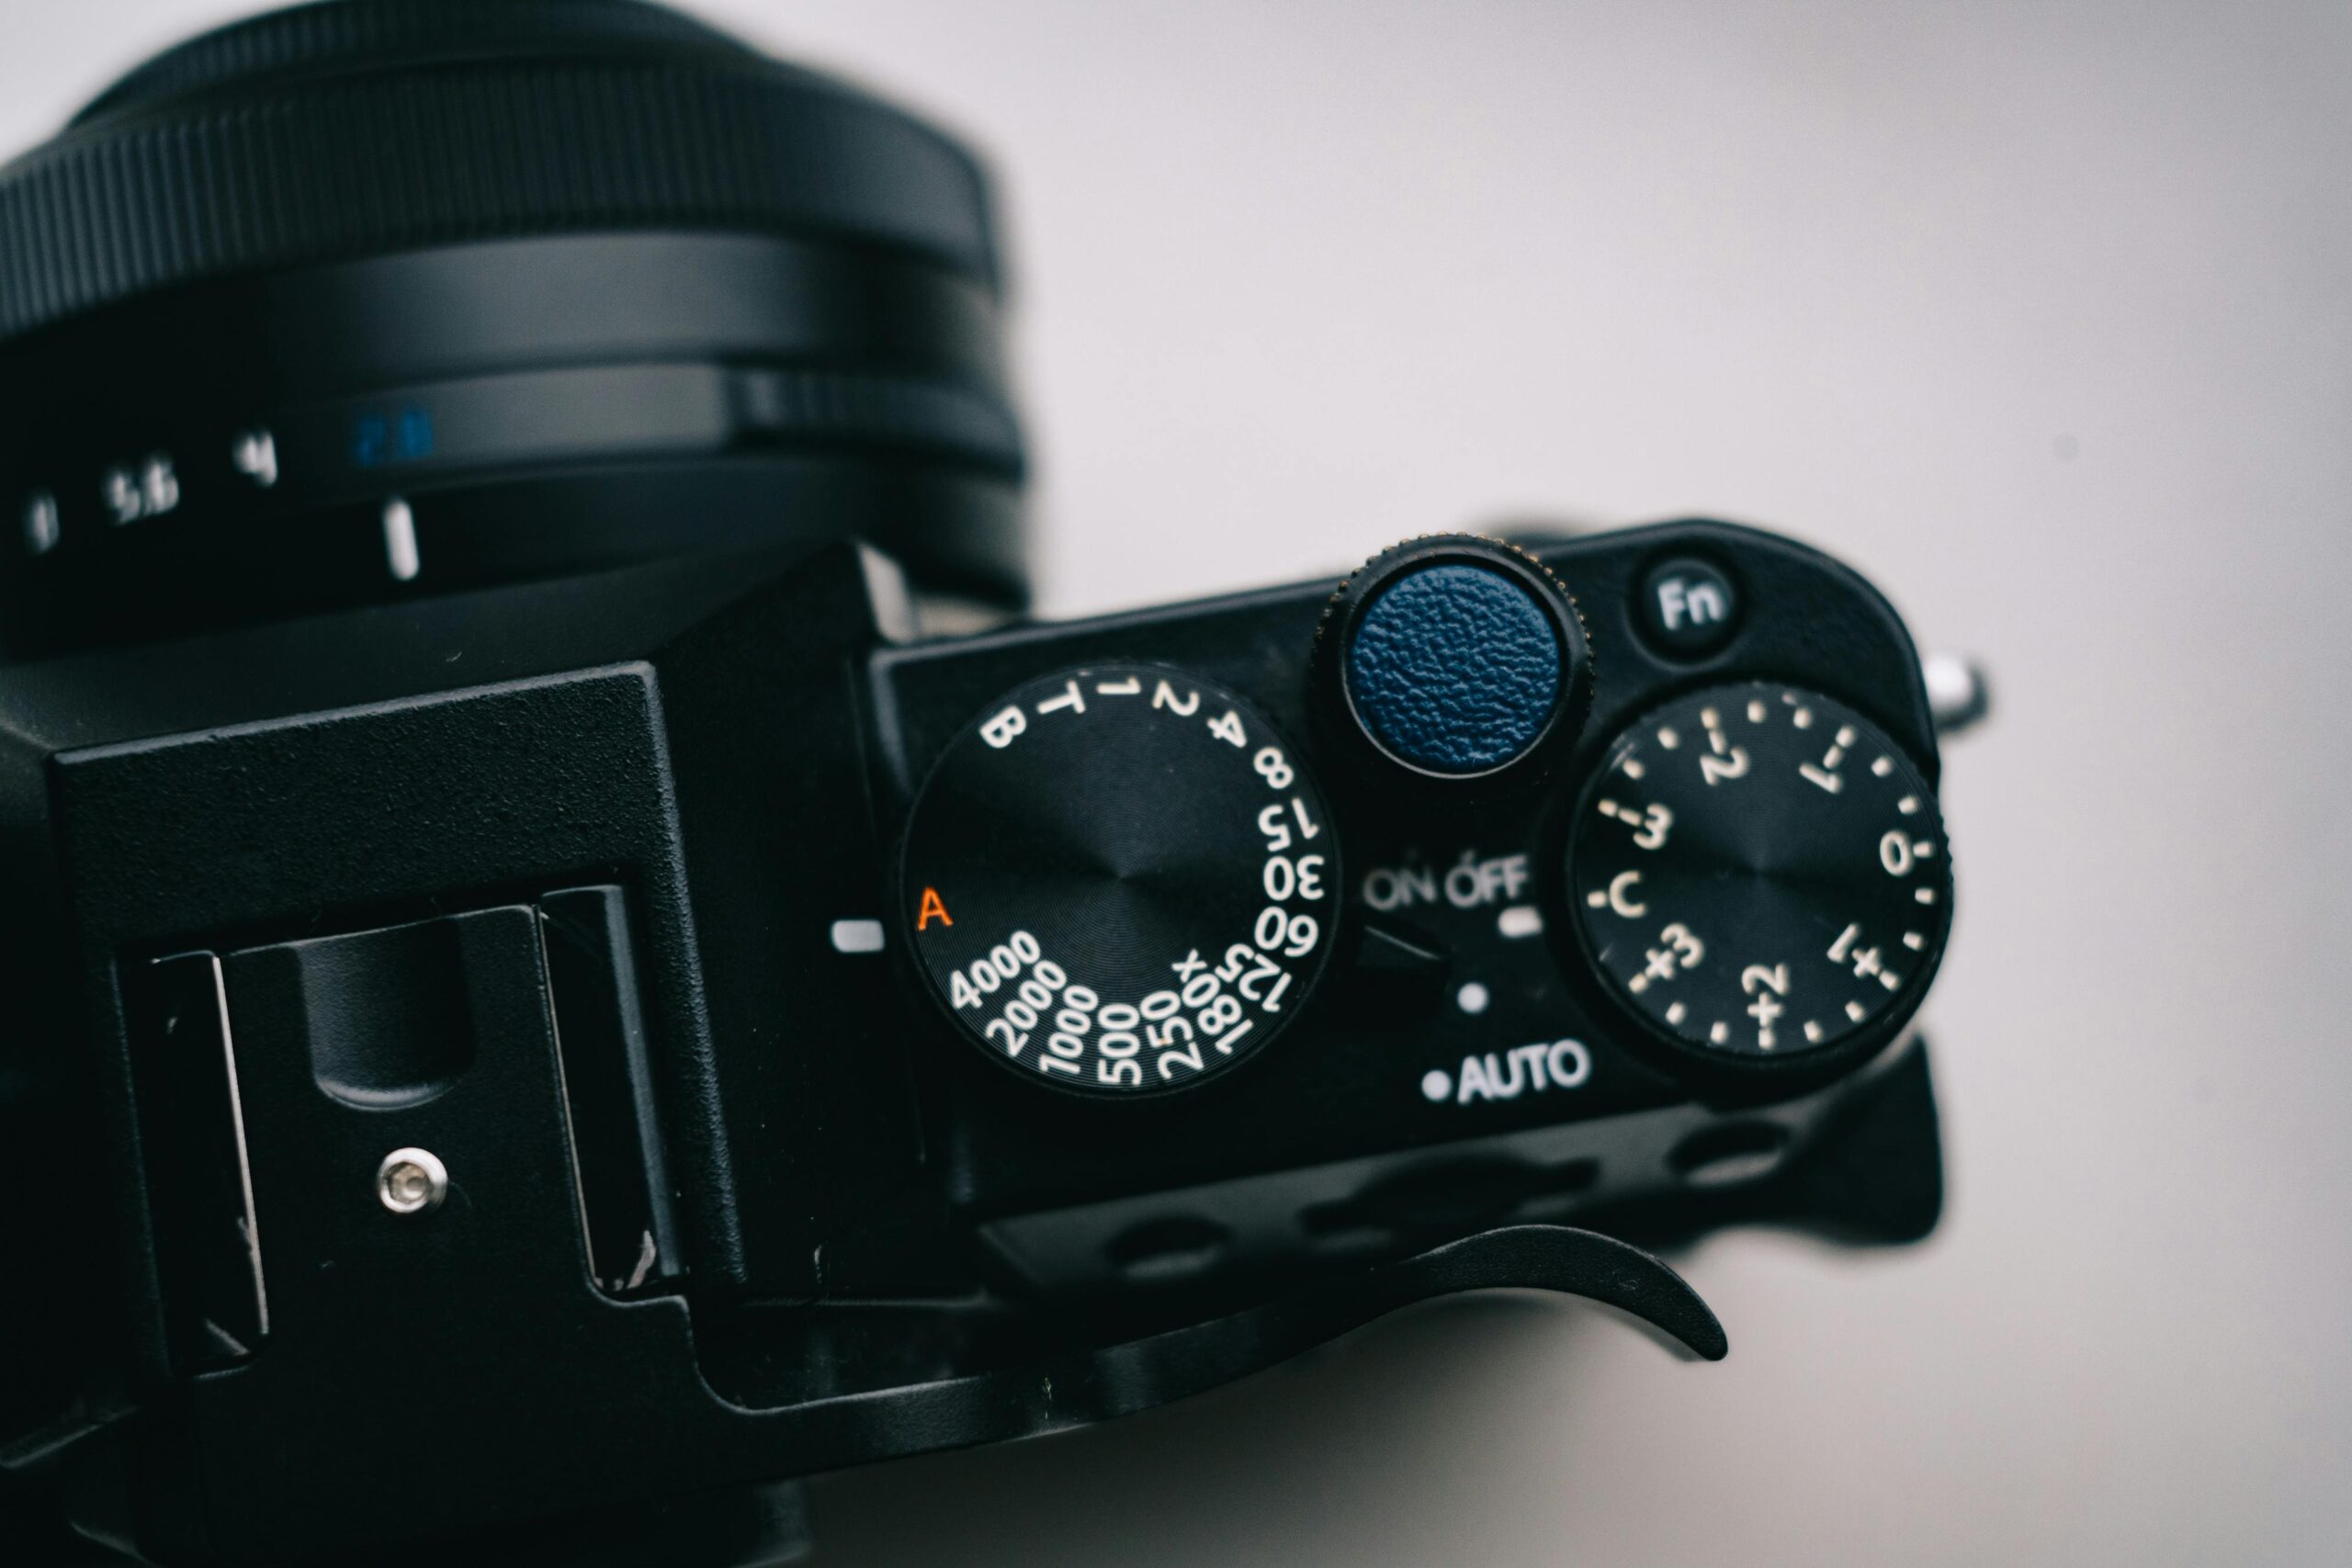
Switch your camera to manual mode (M on the mode dial) and set your ISO to 1600 as a baseline. Choose the widest aperture your lens offers if you’re handholding or want shallow depth of field. For landscapes on a tripod, start around f/8 for balanced sharpness.
Set your shutter speed based on whether you’re handholding or using a tripod. Handholding requires speeds of at least 1/60th second, while tripod work allows experimentation with several seconds. Take a test shot and review the histogram rather than just the LCD screen, which appears brighter than reality in dark environments.
Enable your camera’s highlight warning feature (blinkies) to identify overexposed areas. Night scenes often include extremely bright lights alongside deep shadows, requiring careful exposure balancing to preserve detail in both.
Achieving Perfect Focus in Darkness
Autofocus struggles in low light, often hunting endlessly without locking on. Switch to manual focus and use your camera’s live view magnification feature to nail sharpness precisely. Zoom in digitally on your subject and carefully adjust the focus ring until details appear crisp.
For distant scenes like cityscapes, focus roughly one-third into the frame or use hyperfocal distance techniques to maximize sharpness throughout the image. Many lenses include distance scales that help calculate optimal focus points for your chosen aperture.
If your subject includes lights, focus directly on them rather than dark areas between. Lights provide high-contrast edges that make confirming accurate focus easier. Once focused, switch off autofocus to prevent accidental changes between shots.
Fine-Tuning Your Exposure
Review your test shot and adjust settings based on results. If the image is too dark, you have three options: slow your shutter speed, open your aperture wider, or increase ISO. Consider the creative implications of each choice alongside technical needs.
Underexposing slightly often works better than overexposing in night photography. You can recover shadow detail during editing, but blown-out highlights in bright lights cannot be fixed. Aim for a histogram with most data in the center, avoiding clipping on either end.
Bracket your exposures by taking multiple shots at different settings when unsure. Shoot one at your chosen settings, one stop darker, and one stop brighter. This safety net ensures you capture usable images even if your initial assessment was slightly off.
Creative Techniques for Stunning Night Images ✨
Beyond technical mastery, creative approaches elevate your night photography from competent to compelling. These techniques leverage the unique characteristics of nocturnal light to create images impossible during daytime.
Light Trails and Traffic Flow
Vehicle light trails transform ordinary streets into rivers of red and white light. Set up your tripod overlooking traffic, use a narrow aperture (f/11-f/16), and expose for 10-30 seconds. Cars disappear while their lights paint streaks across your frame, creating dynamic energy in static scenes.
Experiment with different exposure lengths to control trail density. Shorter exposures create distinct individual trails, while longer ones merge traffic into continuous streams. Including stationary elements like buildings or trees provides context and scale for the moving light.
Capturing the Blue Hour
The blue hour occurs during twilight, roughly 20-40 minutes after sunset or before sunrise. The sky retains deep blue color while artificial lights become prominent, creating perfect balance between natural and artificial illumination. This magical time provides the most forgiving conditions for night photography.
During blue hour, you can often handhold shots with moderate settings like ISO 800, f/4, and 1/60th second. The ambient light level allows easier focusing and reduces extreme contrast between lights and shadows. Plan to arrive early and shoot through the entire transition as light fades.
Silhouettes and Backlighting
Position subjects between your camera and bright backgrounds like illuminated windows, neon signs, or the setting sun’s afterglow. Expose for the bright background, allowing your subject to fall into shadow. This technique creates dramatic, shape-focused compositions with strong visual impact.
Silhouettes work best with recognizable shapes that remain identifiable without detail. People, trees, buildings, and architectural elements make excellent silhouette subjects. Ensure clean separation between your subject and background to maintain clarity in the shape.
Common Night Photography Challenges and Solutions 🔍
Even with proper technique, night photography presents unique obstacles. Understanding common problems and their solutions helps you troubleshoot in the field rather than discovering issues after returning home.
Dealing with Extreme Contrast
Night scenes often include brightness ranges exceeding your camera’s dynamic range. Streetlights, neon signs, and illuminated windows can be ten or more stops brighter than surrounding shadows. Single exposures struggle to capture detail in both extremes simultaneously.
Expose for highlights to prevent blown-out lights, accepting that some shadows will go black. Alternatively, use exposure bracketing and blend multiple exposures during post-processing, combining the best-exposed portions of each frame for complete tonal range.
Reducing Noise in High ISO Images
When ISO 3200 or higher becomes necessary, noise becomes visible. Shoot in RAW format to maximize post-processing flexibility for noise reduction. Many cameras include long-exposure noise reduction features that capture a second dark frame to map and subtract noise patterns.
During editing, apply luminance noise reduction carefully to smooth grain without destroying fine detail. Modern software like Adobe Lightroom, Topaz DeNoise AI, or DxO PhotoLab excels at preserving sharpness while eliminating noise, making previously unusable high-ISO images acceptable.
Maintaining Sharpness During Long Exposures
Even on tripods, wind, ground vibrations, and mirror slap can introduce blur during multi-second exposures. Use mirror lock-up or your camera’s electronic shutter if available. Weight your tripod with your camera bag or find sheltered locations to minimize wind movement.
If sharpness remains elusive, slightly increase ISO and shorten exposure time as a compromise. A perfectly sharp image at ISO 3200 outperforms a blurry one at ISO 800. Technical perfection serves the final image, not arbitrary rules about ideal settings.
Mobile Photography Apps for Manual Night Control 📱
Smartphone cameras have evolved remarkably, with many offering manual controls rivaling dedicated cameras for night photography. Professional camera apps unlock these capabilities, giving you precise control over exposure settings even on mobile devices.
Apps like Adobe Lightroom Mobile provide full manual controls including shutter speed up to 30 seconds, ISO adjustment, and RAW capture. These features transform your phone into a legitimate night photography tool capable of impressive results when used correctly.
For Android users seeking comprehensive manual controls, Camera FV-5 offers DSLR-like functionality with full exposure compensation, bracketing, and intervalometer features. The interface mimics traditional camera controls, making the transition from dedicated cameras seamless.
Post-Processing Essentials for Night Images 🎨
Capturing the image represents only half the creative process. Thoughtful post-processing enhances your night photographs, correcting technical limitations and emphasizing artistic vision. Understanding basic adjustments specific to night images ensures your final results match the scene you experienced.
Start by adjusting white balance to achieve accurate color. Auto white balance often renders night scenes too warm or cool. Experiment with temperature and tint sliders to restore natural appearance or create mood through intentional color shifts. Urban night scenes typically benefit from cooler tones, while landscapes under tungsten lighting need warming.
Selectively brighten shadows to reveal detail without destroying the nighttime atmosphere. Over-brightening eliminates the darkness that defines night photography, making images look muddy and unnatural. Subtle shadow recovery maintains mood while improving visibility in important areas.
Reduce highlights on blown-out lights and bright areas, recovering as much detail as possible. Many night scenes benefit from decreasing overall contrast while increasing local contrast through clarity or structure adjustments, which enhance detail without affecting overall tonal range.
Building Your Night Photography Skills Through Practice 🎯
Technical knowledge means nothing without practical application. Developing true mastery requires consistent practice under varied conditions, pushing your creative boundaries while reinforcing fundamental techniques.
Start locally with familiar environments to eliminate location scouting stress while learning manual controls. Your neighborhood, local downtown area, or nearby parks provide ample practice opportunities. Familiarity with locations lets you focus entirely on photographic technique rather than navigation.
Challenge yourself with specific projects like photographing the same location across different times of night, capturing various light sources (streetlights, neon, moonlight), or focusing on particular subjects (architecture, people, nature). Constraints foster creativity by forcing you to explore deeply rather than superficially.
Review your images critically, noting which settings produced desired results and where adjustments would improve future attempts. Keep a photography journal recording settings, locations, and lessons learned. This reference becomes invaluable for replicating successes and avoiding repeated mistakes.
Join online communities or local photography groups focused on night photography. Sharing work receives constructive feedback while studying others’ images reveals new techniques and perspectives. Many cities host photo walks specifically for night photography, providing both instruction and inspiration.
Taking Your Night Photography to Professional Levels 🌟
Once you’ve mastered basic manual mode night photography, advanced techniques separate your work from the crowd. These approaches require solid technical foundations but open creative possibilities unavailable through standard methods.
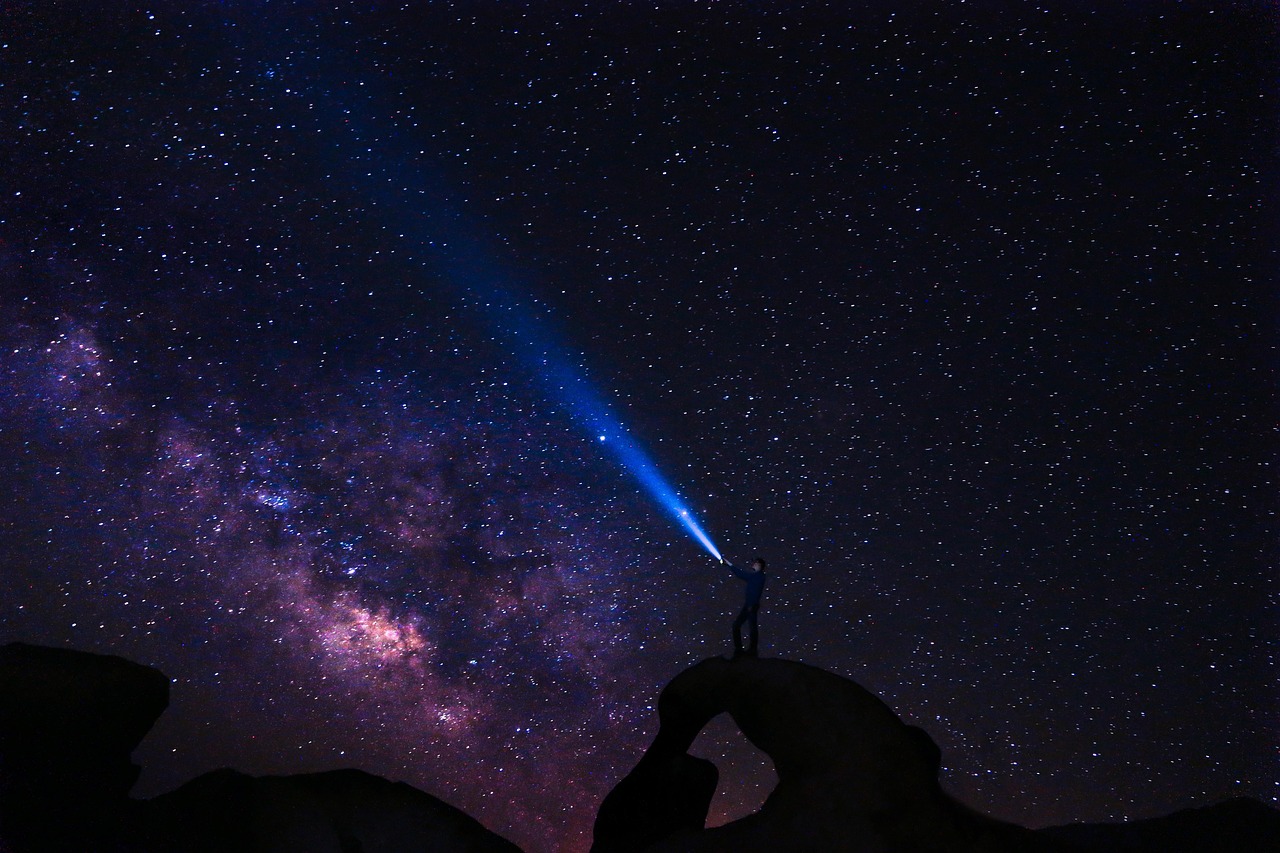
Light painting involves using flashlights, LED panels, or other light sources to selectively illuminate subjects during long exposures. This technique grants complete control over lighting direction, intensity, and color, creating dramatic effects impossible with ambient light alone. Experiment with different light sources and movement patterns to develop signature styles.
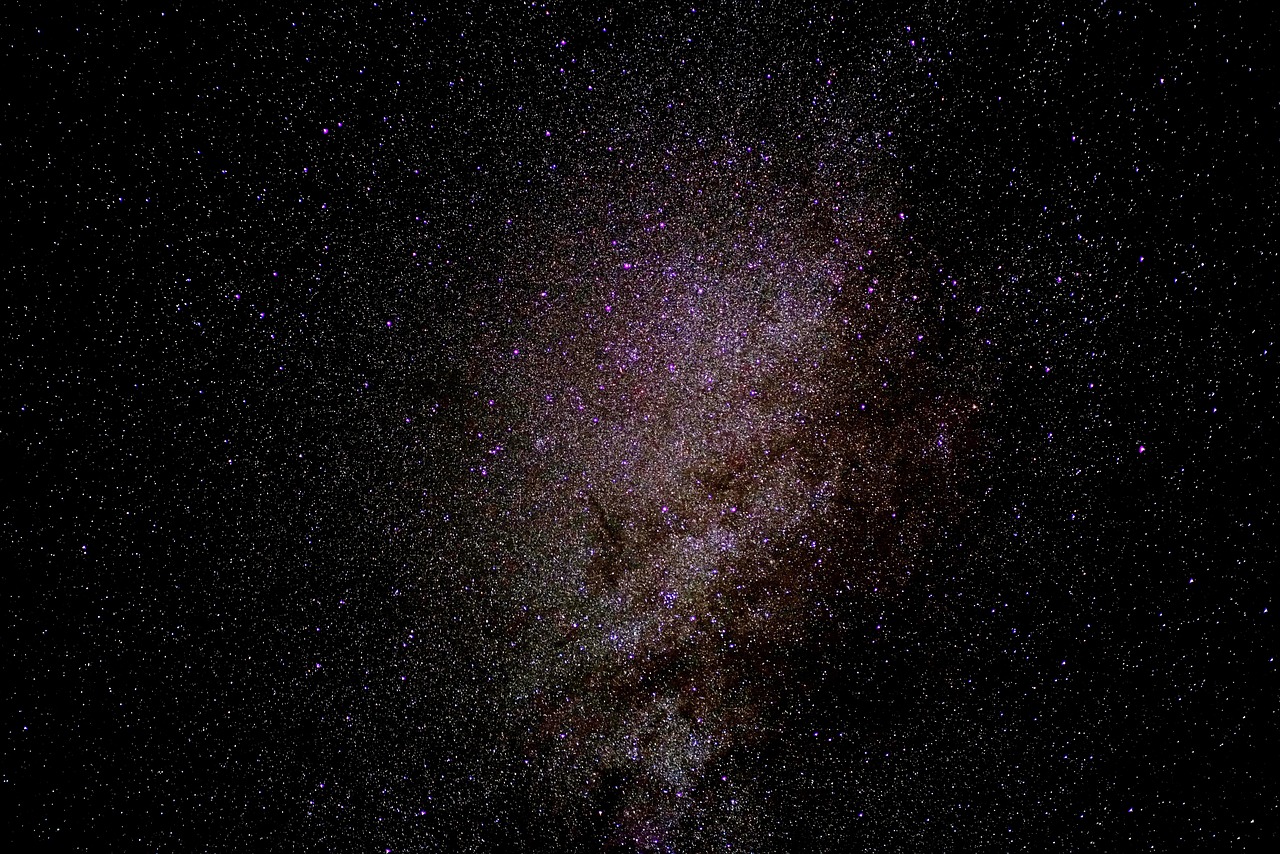
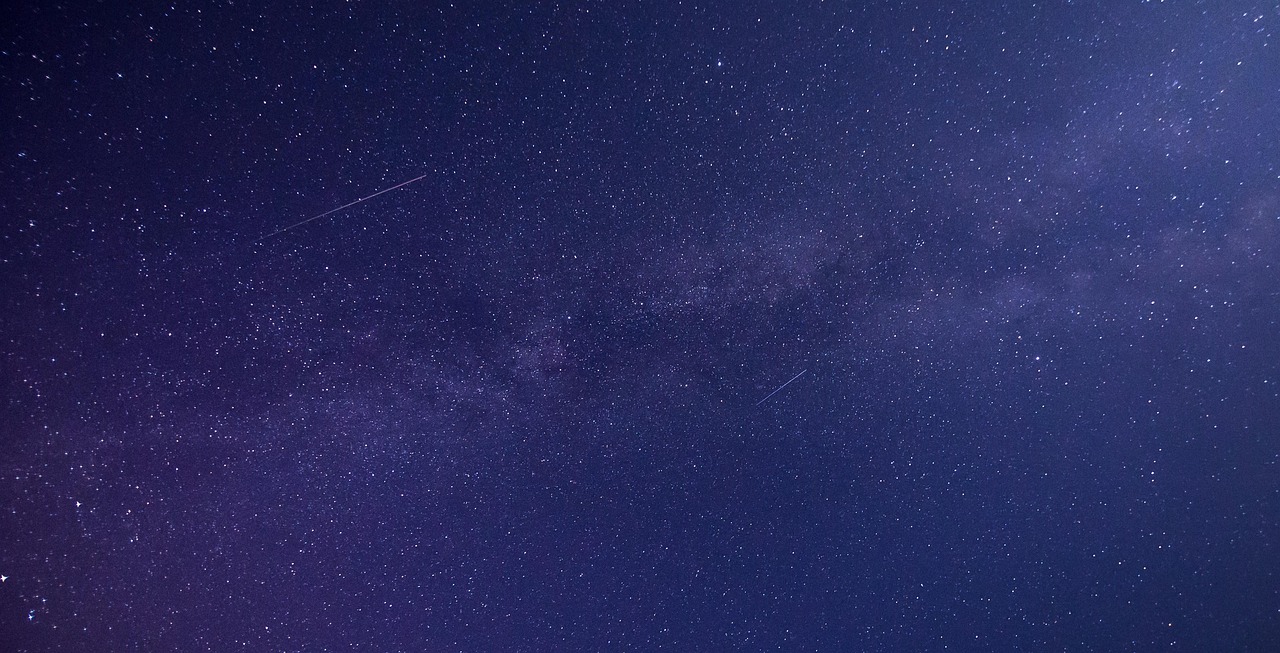
Astrophotography represents the ultimate night photography challenge, capturing stars, the Milky Way, or celestial events. This specialized field requires specific techniques like using extremely wide apertures, high ISO values, and exposure times calculated to prevent star trails from Earth’s rotation. Dark sky locations away from light pollution become essential for successful results.
Composite imaging combines multiple exposures to overcome technical limitations or create impossible scenes. Stack shorter exposures to reduce noise equivalent to single long exposures, blend different focus points for extended depth of field, or merge varied exposure values for complete dynamic range. While controversial in some photography circles, compositing represents another creative tool when used ethically.
Night photography in manual mode transforms from intimidating to empowering once you understand the fundamental relationships between shutter speed, aperture, and ISO. The darkness that once frustrated your photographic ambitions becomes a canvas for creativity, offering scenes and moods unavailable during daylight hours. Your camera’s manual controls unlock this potential, giving you authority over every aspect of image creation. Start tonight—grab your camera, find interesting light, and begin experimenting with these techniques. Each photograph teaches lessons that bring you closer to mastering the night and creating images that showcase the hidden beauty emerging after sunset.