The night sky holds infinite beauty, and your smartphone can capture it. With the right settings and techniques, you can transform your phone into a powerful astrophotography tool that rivals dedicated cameras.
Modern smartphones have evolved dramatically, offering manual controls and advanced sensors that make stellar photography accessible to everyone. Gone are the days when capturing the Milky Way required expensive equipment and years of technical expertise. Today, your pocket-sized device can photograph constellations, star trails, and even distant galaxies with proper configuration and patience.
🌌 Understanding Your Smartphone Camera’s Potential for Night Sky Photography
Before diving into specific settings, it’s essential to understand what your phone camera can realistically achieve. Most modern smartphones feature sensors capable of long exposures, manual ISO controls, and adjustable shutter speeds—the holy trinity of astrophotography. However, physical limitations like smaller sensors and fixed apertures mean you’ll need to maximize every available feature.
The key difference between casual snapshots and breathtaking astrophotography lies in manual control. Auto modes simply cannot interpret the darkness correctly, often resulting in blurry, noisy, or underexposed images. Taking command of your camera settings allows you to gather enough light to reveal celestial wonders invisible to the naked eye.
Essential Camera Features for Stellar Photography
Not all smartphones are created equal when it comes to night sky photography. Look for these critical features on your device:
- Manual or Pro Mode: Absolute control over ISO, shutter speed, and focus
- RAW image format support: Preserves maximum data for post-processing
- Exposure time up to 30 seconds: Longer exposures capture more starlight
- Manual focus capability: Essential for achieving sharp stars
- Tripod mount compatibility: Stability is non-negotiable for long exposures
📱 Configuring the Perfect Astrophotography Settings
The magic formula for phone astrophotography involves balancing three interconnected variables: ISO, shutter speed, and focus. Each affects image quality differently, and finding the sweet spot requires experimentation with your specific device.
ISO Settings: Balancing Sensitivity and Noise
ISO determines your camera sensor’s light sensitivity. Higher values capture more light but introduce digital noise—those grainy artifacts that can ruin otherwise stunning shots. For astrophotography, you’ll typically work between ISO 800 and ISO 3200, depending on your phone’s sensor quality and the darkness of your location.
Start with ISO 1600 as your baseline. If stars appear too dim, gradually increase to ISO 2500 or 3200. Conversely, if you’re shooting from a darker location or capturing the Milky Way’s brighter core, ISO 800-1200 might suffice. Remember that lower ISO values always produce cleaner images with less noise, so use the lowest setting that still captures sufficient starlight.
Shutter Speed: The Art of Exposure Duration
Shutter speed dictates how long your camera sensor collects light. Longer exposures gather more photons from distant stars, but Earth’s rotation creates a challenge: stars appear to move across the sky, and exposures that are too long will show them as streaks rather than sharp points.
The “500 Rule” provides a starting point for calculating maximum exposure time without visible star trails. Divide 500 by your camera’s effective focal length (in millimeters) to determine the longest shutter speed in seconds. Most smartphone cameras have focal lengths between 24-28mm, allowing exposures of approximately 15-20 seconds before noticeable trailing occurs.
For pinpoint stars, start with 15-second exposures. If you intentionally want star trails for creative effect, extend the exposure to 30 seconds or use multiple exposures stacked together in post-processing.
Focus: Achieving Infinite Sharpness
Autofocus systems struggle in darkness, often hunting endlessly or focusing on nothing at all. Manual focus becomes essential for astrophotography. Set your focus to infinity (∞) or slightly before, as some lenses achieve optimal sharpness just short of the infinity mark.
The best technique involves focusing on a distant bright object—a planet like Jupiter or Venus, a bright star like Sirius, or even a distant light on the horizon. Once focused, lock it and avoid touching the focus slider. Some phones allow you to save manual focus settings, which is invaluable for repeated shooting sessions.
🛠️ Advanced Techniques for Professional-Quality Results
Beyond basic settings, several advanced techniques separate mediocre night sky photos from gallery-worthy masterpieces. These methods require patience and practice but deliver dramatically improved results.
The Exposure Triangle Optimization
Professional astrophotographers speak of the “exposure triangle”—the delicate balance between ISO, shutter speed, and aperture. While you cannot adjust aperture on most phone cameras, understanding how ISO and shutter speed interact helps you make informed decisions.
| Scenario | Recommended ISO | Shutter Speed | Expected Result |
|---|---|---|---|
| Dark sky, Milky Way visible | 800-1600 | 20-25 seconds | Detailed galactic core with minimal noise |
| Suburban sky, light pollution | 1600-2500 | 15-20 seconds | Bright stars and constellations visible |
| Urban environment | 400-800 | 10-15 seconds | Brightest stars only, cleaner image |
| Intentional star trails | 400-800 | 30+ seconds (multiple) | Artistic circular star motion |
White Balance for Accurate Star Colors
Stars exhibit various colors—blue, white, yellow, orange, and red—depending on their temperature. Auto white balance often neutralizes these hues, resulting in monotone images. Setting white balance manually between 3200K and 4000K (cooler temperatures) preserves the natural blue tones of the night sky while maintaining warmer star colors.
Alternatively, shooting in RAW format allows you to adjust white balance during post-processing without quality loss, giving you maximum flexibility to achieve your desired aesthetic.
📲 Recommended Apps for Enhanced Astrophotography Control
While native camera apps on flagship smartphones often provide adequate manual controls, dedicated astrophotography apps unlock additional features and streamline the shooting process.
Specialized Camera Applications
Third-party camera apps offer features specifically designed for night sky photography, including intervalometers for star trails, live histogram displays, and precise manual controls with finer adjustments than stock apps.
These specialized applications provide bulb mode for exposures longer than 30 seconds, noise reduction algorithms optimized for astrophotography, and the ability to save custom presets for different shooting conditions. Some even include augmented reality overlays showing constellation positions to help frame your compositions.
Planning and Location Apps
Successful astrophotography begins long before you press the shutter button. Planning apps help you determine optimal shooting times, predict Milky Way positions, and identify locations with minimal light pollution. These tools show moon phases, golden hour timing, and weather forecasts—all critical factors for stellar photography success.
🌙 Environmental Factors That Make or Break Your Shots
Even perfect camera settings cannot overcome poor environmental conditions. Understanding and controlling your shooting environment dramatically improves results.
Escaping Light Pollution
Artificial light from cities, towns, and even small communities washes out faint stars and the Milky Way. The Bortle Dark Sky Scale rates light pollution from 1 (pristine dark sky) to 9 (inner-city sky). For smartphone astrophotography, seek locations rated Bortle 4 or darker—typically 30-50 miles from major urban areas.
If traveling to dark locations isn’t feasible, focus on capturing the brightest celestial objects: planets, bright stars, and prominent constellations. Even from suburban locations, you can photograph these subjects with proper technique.
Moon Phase Considerations
The moon is both friend and foe to astrophotographers. A full moon illuminates landscapes beautifully but overpowers faint stars and galactic structures. New moon phases offer the darkest skies ideal for Milky Way photography, while crescent moons provide just enough foreground illumination without overwhelming the stars.
Plan your sessions around the lunar calendar. The three nights before and after a new moon provide optimal conditions for deep sky photography, while quarter moons work well for balanced landscape-and-sky compositions.
Weather and Atmospheric Clarity
Clear skies are obvious prerequisites, but atmospheric conditions matter beyond simple cloud cover. High humidity creates haze that scatters light and reduces contrast. Temperature inversions can cause similar issues. Monitor weather forecasts for low humidity, stable atmospheric conditions, and minimal wind to ensure sharp, clear images.
🎯 Composition Techniques for Captivating Celestial Images
Technical perfection means little without compelling composition. Apply these principles to transform technically sound photographs into artistic masterpieces.
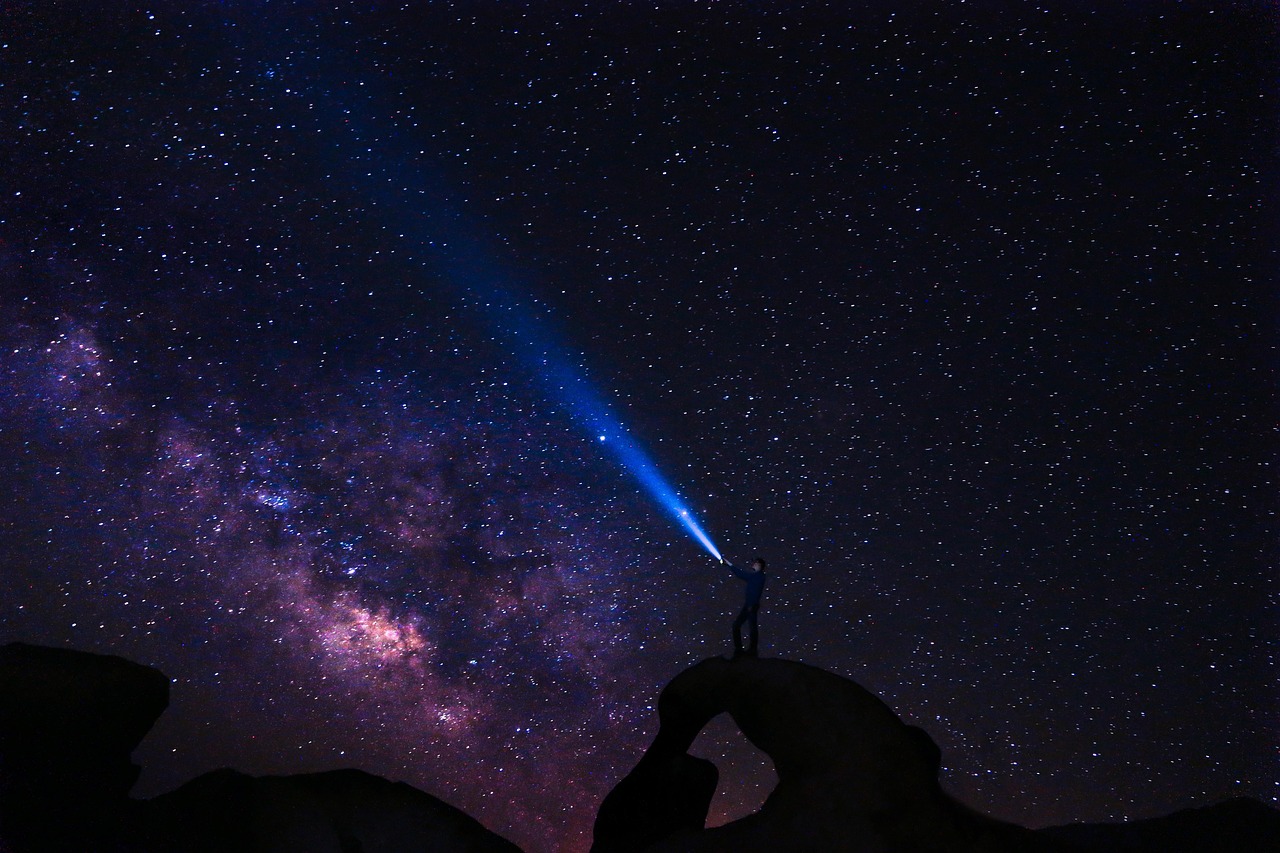
Incorporating Foreground Elements
Pure starfield images can appear flat and contextless. Including foreground elements—silhouetted trees, mountain ridges, architectural structures, or desert formations—provides scale, depth, and narrative. Position interesting foreground subjects in the lower third of your frame, allowing the star-filled sky to dominate the upper two-thirds.
Use the “golden spiral” composition technique, positioning the Milky Way’s core or prominent constellations at the spiral’s center with foreground elements following the curve. This creates natural eye flow throughout the image.
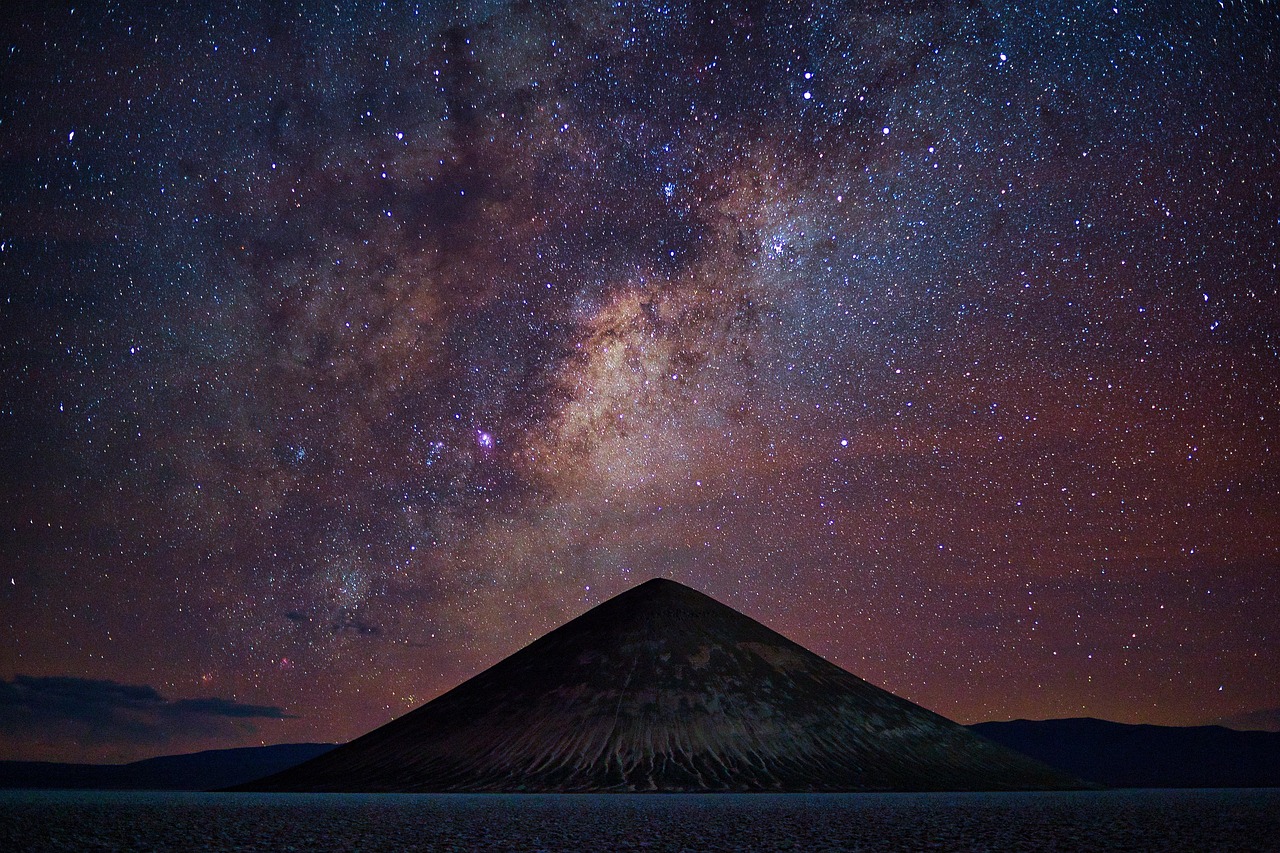
The Rule of Thirds for Stellar Scenes
Enable your camera’s grid overlay and position key elements along the intersection points. Place the horizon on either the lower or upper third line—never center it. Position the Milky Way’s galactic core, bright planets, or prominent star clusters at rule-of-thirds intersections for maximum visual impact.
🔧 Essential Equipment Beyond Your Smartphone
While your phone is the primary tool, several accessories transform good astrophotography into exceptional results.
Stability Solutions: Tripods and Mounts
A sturdy tripod is absolutely non-negotiable for astrophotography. Even the slightest movement during 15-30 second exposures creates blur. Invest in a tripod with a smartphone mount, ensuring it’s stable enough to resist gentle breezes. Compact travel tripods work adequately, but heavier models provide superior stability.
For advanced techniques, consider a motorized star tracker that compensates for Earth’s rotation, allowing exposures of several minutes while maintaining pinpoint stars. Some smartphone-compatible trackers are surprisingly affordable and dramatically expand your capabilities.
External Lenses for Enhanced Perspective
Clip-on wide-angle lenses expand your field of view, capturing more of the night sky in a single frame. Quality lenses maintain edge sharpness and introduce minimal distortion—critical for stellar photography where you want sharp stars across the entire frame.
Power Solutions for Extended Sessions
Long exposures, screen-on time, and cold temperatures drain batteries rapidly. Bring fully charged portable power banks and keep your phone warm between shots. Cold temperatures significantly reduce battery performance, so store your device inside your jacket when not actively shooting.
✨ Post-Processing: Revealing Hidden Stellar Details
Raw astrophotography images often appear underwhelming straight from the camera. Post-processing reveals the hidden beauty your sensor captured but human eyes cannot immediately perceive.
Essential Editing Adjustments
Begin with exposure and contrast adjustments to reveal faint stars. Increase clarity and texture moderately to enhance stellar definition without creating halos. Reduce highlights slightly if the Milky Way’s core appears blown out, and lift shadows to reveal foreground details.
Color adjustments separate astrophotography from snapshots. Enhance blues in the night sky, warm up the Milky Way’s galactic core slightly, and adjust individual color luminance to make stars pop against the background. Be subtle—over-processing creates unnatural results.
Noise Reduction Strategies
High ISO shooting inevitably introduces noise. Modern editing apps offer sophisticated noise reduction algorithms. Apply luminance noise reduction moderately to smooth grain while preserving star detail. Avoid color noise reduction, which can remove subtle stellar hues. Selectively apply noise reduction to empty sky areas while protecting star regions.
🌟 Capturing Specific Celestial Phenomena
Different astronomical subjects require adjusted techniques and settings for optimal results.
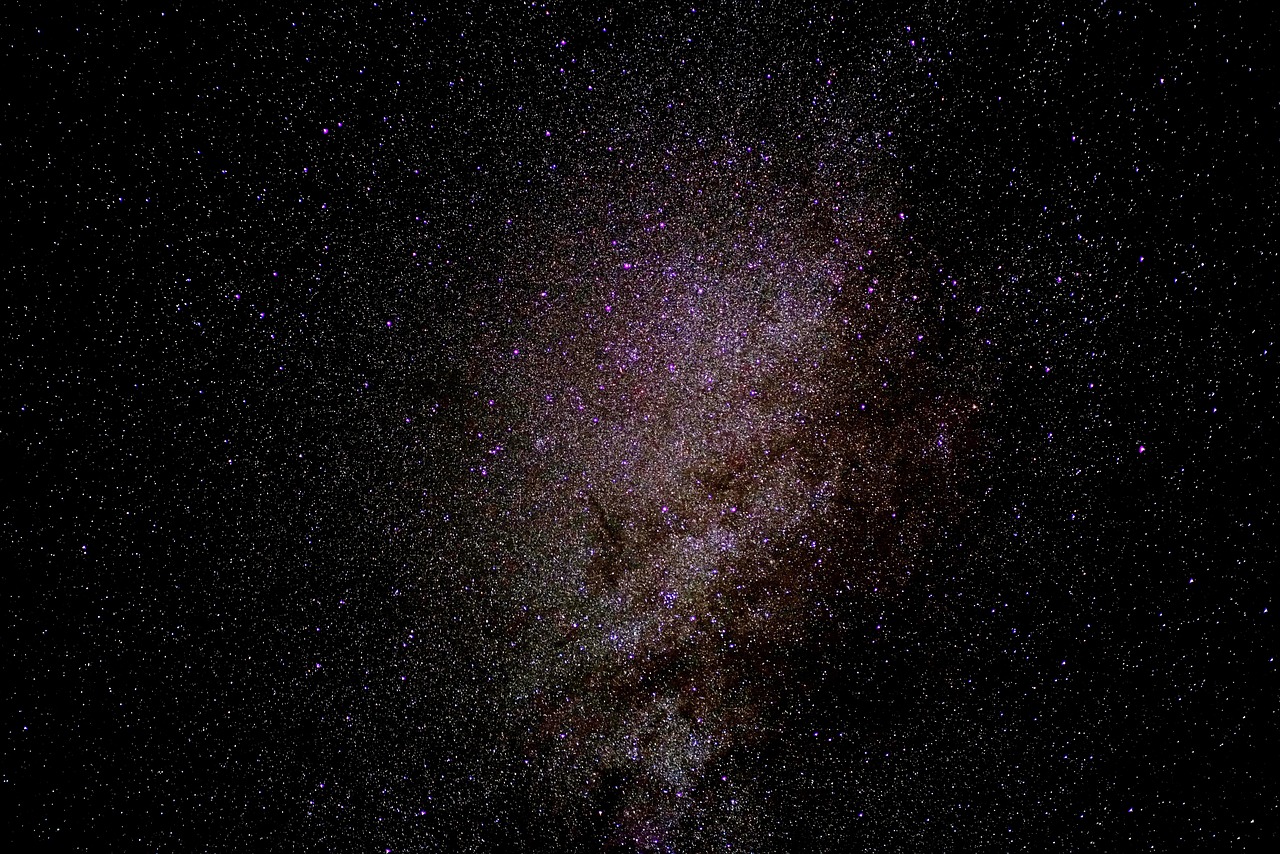
Photographing the Milky Way
Our galaxy’s visible band requires the darkest skies and appears most prominently during summer months in the Northern Hemisphere. Use your widest lens, ISO 1600-3200, and 20-25 second exposures. Frame the galactic core (the brightest, most detailed section) prominently, and shoot when it’s positioned 30-60 degrees above the horizon for optimal clarity.
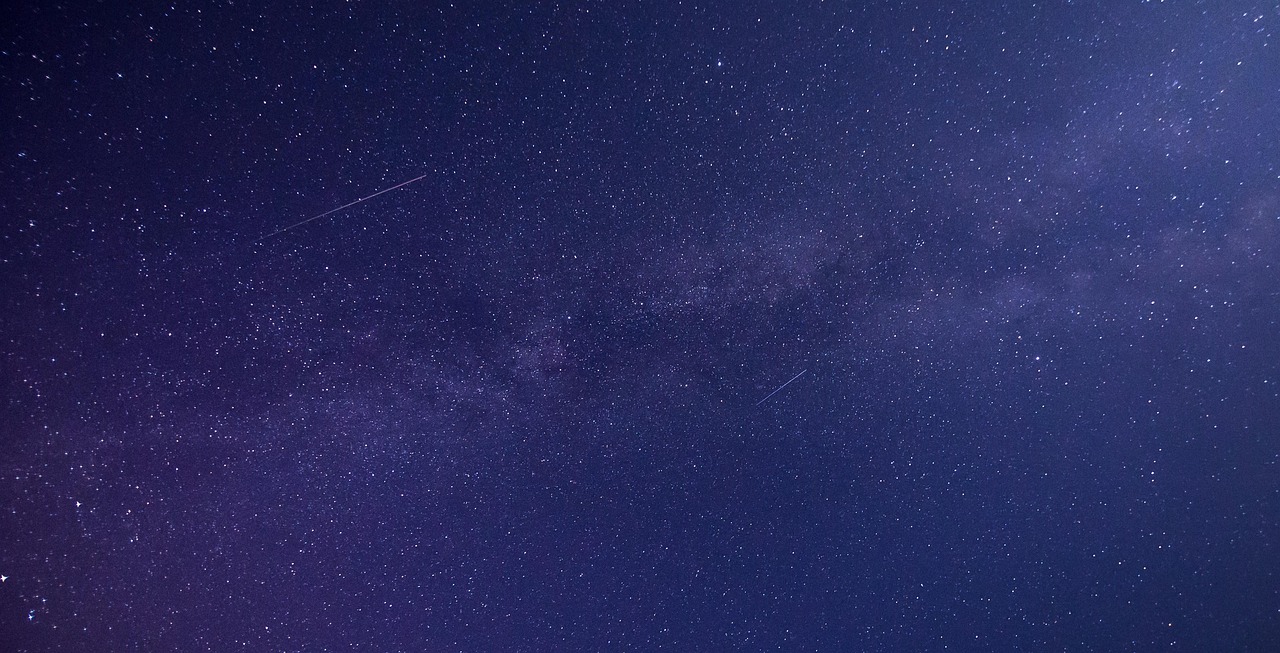
Meteor Shower Documentation
Meteor showers like the Perseids or Geminids present special challenges since meteors appear randomly and last only seconds. Set your camera to continuous shooting mode with 15-20 second exposures, letting it capture frame after frame throughout the peak hours. Review images later to find meteor streaks, or stack multiple frames in post-processing to show several meteors in one composite image.
Moon Photography Specifics
The moon is incredibly bright compared to stars, requiring completely different settings. Use ISO 100-400, fast shutter speeds of 1/125 to 1/500 second, and manual focus on the lunar surface. Digital zoom or telephoto lenses help capture surface details, though smartphone cameras have limitations compared to dedicated telescopic equipment.
💫 Overcoming Common Astrophotography Challenges
Every astrophotographer encounters obstacles. Understanding common problems and their solutions accelerates your learning curve.
Blurry Stars Despite Stable Setup
If stars appear as streaks despite a tripod, your shutter speed is too long for your focal length. Reduce exposure time by 5 seconds and increase ISO to compensate. Alternatively, verify your tripod is truly stable and not affected by wind or uneven ground.
Excessive Noise Ruining Images
Noise stems from high ISO settings or long exposures causing sensor heat. Lower your ISO and compensate with slightly longer exposures if possible. Some phones offer built-in long-exposure noise reduction—enable this feature. Alternatively, capture multiple identical frames and stack them in post-processing to reduce random noise.
Focus Issues in Complete Darkness
When no reference points exist for focusing, use a flashlight to illuminate a distant object temporarily while setting focus, then turn it off before capturing. Some photographers tape their focus ring after achieving perfect infinity focus, preventing accidental adjustment.
🚀 Taking Your Phone Astrophotography to the Next Level
Once you’ve mastered basic techniques, advanced methods push your capabilities toward professional territory.
Image Stacking for Reduced Noise
Professional astrophotographers capture dozens or hundreds of identical frames, then use software to align and average them. This technique dramatically reduces random noise while preserving details. Specialized apps can perform this stacking directly on your phone, or you can use desktop software for more control.
Time-Lapse Star Trail Creation
Instead of single long exposures, capture hundreds of shorter frames (15-20 seconds each) over hours, then combine them into a video showing stars wheeling across the sky. This technique avoids sensor overheating, allows you to check progress periodically, and creates dynamic content beyond static images.
Your smartphone contains remarkable astrophotography potential waiting to be unlocked. By mastering manual settings, understanding environmental factors, and applying proper techniques, you’ll capture night sky images that inspire wonder and showcase the universe’s breathtaking beauty. The stars are literally within reach—now you have the knowledge to photograph them brilliantly.