Capturing the night sky with your smartphone can be both magical and frustrating. The stars above hold infinite beauty, but translating that magnificence into a clear, noise-free photo requires knowledge and technique.
Modern smartphones have come remarkably far in their photographic capabilities, yet night photography remains one of the most challenging scenarios. The combination of low light, long exposures, and small sensors creates the perfect storm for digital noise—those grainy, speckled artifacts that can ruin an otherwise spectacular shot. Understanding how to minimize this noise while maximizing clarity will transform your astrophotography from disappointing snapshots into gallery-worthy images.
Understanding Digital Noise in Night Photography 🌙
Before diving into solutions, it’s essential to understand what causes noise in your night sky photos. Digital noise appears as random color variations and grain across your image, particularly noticeable in darker areas. This occurs because your phone’s camera sensor struggles to capture enough light information in low-light conditions.
When you photograph the night sky, your phone compensates for darkness by increasing ISO sensitivity and extending shutter speed. Higher ISO amplifies the sensor’s signal, but unfortunately amplifies the background electronic interference as well. This creates the visible grain and color specks that diminish image quality.
The smaller sensor size in smartphones compared to professional cameras means less surface area to collect light photons. This physical limitation makes smartphones inherently more susceptible to noise in challenging lighting conditions. However, computational photography and smart techniques can overcome many of these limitations.
Essential Pre-Shoot Preparation for Crystal-Clear Shots
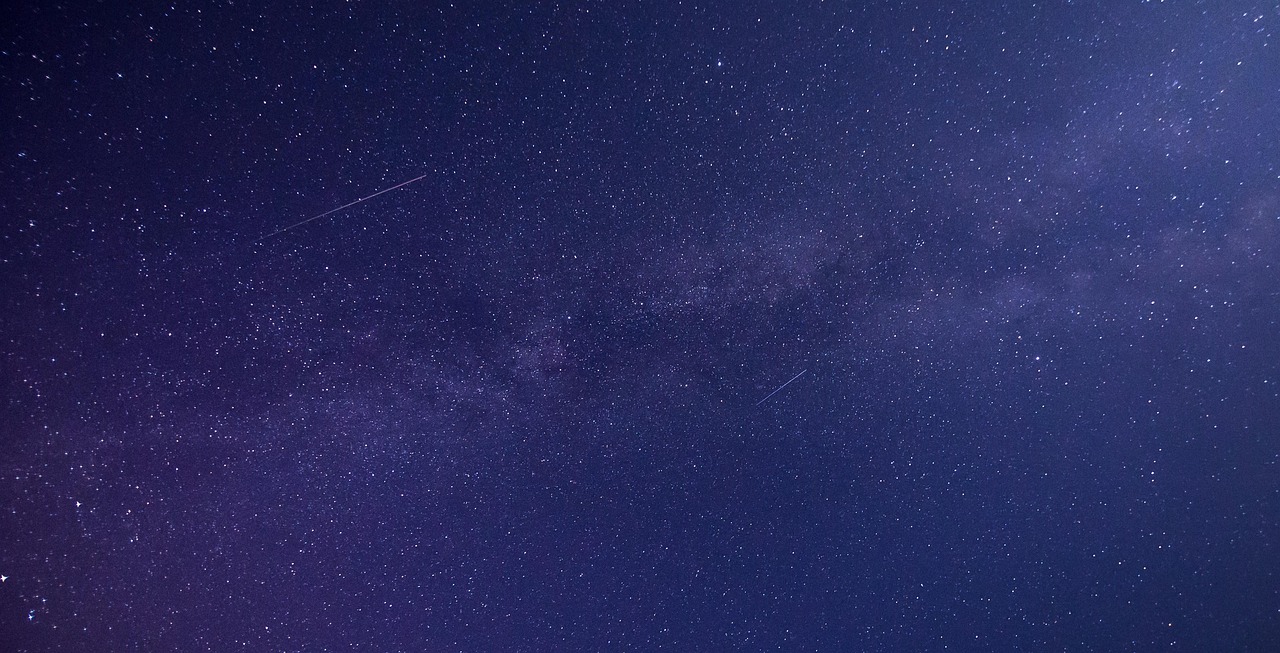
Success in night sky photography starts long before you press the shutter button. Location scouting is crucial—you need to escape light pollution from cities and towns. Even a few miles can make a dramatic difference in how many stars become visible and how clean your final image appears.
Check weather conditions and moon phases before heading out. Clear skies are obviously essential, but the moon’s brightness can actually add unwanted noise and wash out fainter stars. New moon phases or times when the moon has set provide the darkest skies for optimal star photography.
Clean your phone’s camera lens thoroughly. Fingerprints, dust, and smudges scatter light and reduce sharpness, making noise more apparent. A microfiber cloth should be part of your essential night photography kit.
Critical Equipment That Makes the Difference
A stable tripod designed for smartphones is absolutely non-negotiable for night sky photography. Even the slightest movement during long exposures creates blur and motion artifacts that appear similar to noise. Many affordable smartphone tripods include flexible legs for positioning on uneven terrain.
Remote shutter controls or timer functions prevent camera shake from physically touching your phone. Most smartphones allow you to set a 2-10 second timer, giving the device time to stabilize after you’ve pressed the screen.
Consider investing in external lenses specifically designed for smartphones. Wide-angle lenses capture more of the night sky in a single frame, while lenses with better light-gathering capabilities can improve overall image quality.
Mastering Your Phone’s Camera Settings ⚙️
Most modern smartphones offer manual or “pro” camera modes that give you control over critical settings. Accessing these controls is the first step toward reducing noise in your night photography.
Start by setting your ISO to the lowest possible value that still captures visible stars—typically between 400 and 1600 for most smartphones. Lower ISO means less sensor gain and consequently less noise. You’ll need to compensate with longer exposure times, which is why your tripod is essential.
Shutter speed for star photography depends on your focal length and desired effect. For pinpoint stars, use the 500 rule: divide 500 by your focal length (in 35mm equivalent) to find the maximum exposure time before stars begin trailing. Most smartphone wide-angle lenses allow 15-25 second exposures before visible trailing occurs.
White Balance and Focus Considerations
Set white balance manually rather than using auto mode. For natural-looking night skies, start with a setting between 3200K and 4000K. You can adjust this in post-processing if shooting in RAW format, but getting it close initially helps you visualize the final result.
Achieving sharp focus on stars challenges smartphone autofocus systems. Switch to manual focus if available, and zoom in on a bright star or distant light to ensure perfect focus. Some phones offer focus peaking, which highlights in-focus areas—an invaluable feature for night photography.
Advanced Shooting Techniques for Noise Reduction
Multiple exposure stacking is perhaps the most effective technique for reducing noise while maintaining detail. This involves taking several identical photos and combining them using specialized software. The random noise patterns differ between frames, while the stars remain constant. Averaging these images together dramatically reduces visible noise.
Take between 8 and 20 frames of the same composition without moving your phone or tripod. Consistency is key—use identical settings for every frame. Later, stacking software will align and merge these images, producing a final photograph with significantly cleaner skies and more visible stars.
Bracketing your exposures provides flexibility in post-processing. Take several shots at different ISO values and shutter speeds to ensure you capture the full dynamic range of the scene. This technique also serves as insurance against unexpected issues with any single exposure.
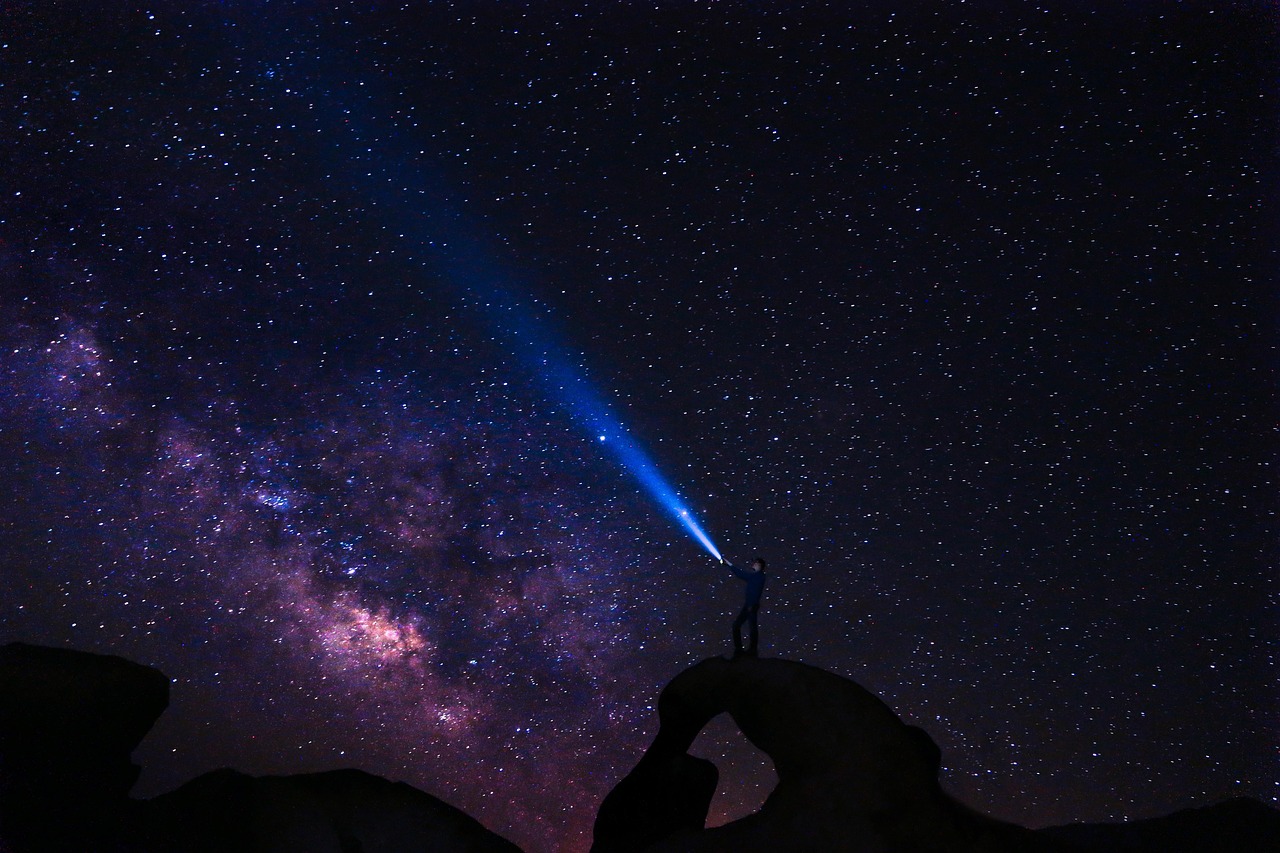
Light Painting the Foreground ✨
Including interesting foreground elements adds depth and context to night sky photos. However, properly exposing both the dark foreground and stars requires special technique. Light painting—using a flashlight or headlamp to selectively illuminate foreground objects during long exposures—creates balanced compositions.
Use warm-toned lights for natural-looking results, and paint in smooth, sweeping motions to avoid harsh shadows. This technique allows you to keep ISO low for the sky while ensuring foreground details emerge from darkness without excessive noise.
Leveraging Computational Photography Features 📱
Modern smartphones employ sophisticated computational photography algorithms specifically designed for low-light scenarios. Features like Night Mode, Astrophotography Mode, or Long Exposure analyze multiple frames automatically and combine them intelligently.
Google Pixel phones feature dedicated Astrophotography Mode that activates when the device detects a stable tripod mount and dark conditions. This mode captures and stacks multiple exposures automatically, producing remarkably clean images with minimal user intervention.
iPhone users can leverage Night Mode, which automatically activates in low light. For best results with stars, use a tripod to enable the longest possible Night Mode exposures—up to 30 seconds on recent models. The computational processing significantly reduces noise compared to single-frame captures.
Samsung’s Night Hyperlapse and Single Take features offer creative alternatives for capturing star motion while managing noise. Experiment with your phone’s unique computational photography features to discover which produces the best results for your specific device.
Post-Processing Strategies for Maximum Clarity
Even perfectly captured photos benefit from thoughtful post-processing. The goal is enhancing what you’ve captured while further reducing any remaining noise without sacrificing important detail.
Begin with noise reduction tools available in mobile editing apps. These algorithms analyze your image and selectively smooth areas while attempting to preserve edges and fine details. The key is restraint—aggressive noise reduction creates an unnatural, plastic-looking result and eliminates fainter stars.
Selective Adjustments for Professional Results
Rather than applying global adjustments, use masking or selective editing tools to treat different areas independently. The sky may need different noise reduction strength than foreground elements. This targeted approach maintains maximum detail where it matters most.
Increase clarity and texture moderately to enhance star definition and bring out the Milky Way’s structure. These adjustments make details more prominent without introducing additional noise. Be cautious with these powerful tools—subtlety produces more professional-looking results.
Adjust the luminance and color noise reduction separately. Luminance noise appears as grain in brightness values, while color noise manifests as random color specks. Most photos benefit from stronger color noise reduction, which is less likely to affect perceived sharpness.
Recommended Apps for Night Sky Photography Enhancement
Specialized photography apps provide more control than native camera applications. ProCam, Manual Camera, and Camera FV-5 offer comprehensive manual controls including fine-tuned ISO adjustment, precise shutter speed selection, and RAW capture capabilities.
For post-processing, Adobe Lightroom Mobile delivers professional-grade editing tools including advanced noise reduction algorithms, selective adjustments, and RAW file support. The mobile version synchronizes with desktop Lightroom, allowing you to begin edits on your phone and finish on a computer.
Snapseed offers powerful editing capabilities completely free, including structure enhancement, selective adjustments, and healing tools perfect for removing satellite trails or other unwanted elements from your night sky compositions.
Star stacking applications like Sequator (via emulation) or specialized astrophotography apps automate the frame alignment and averaging process. These dedicated tools understand the unique requirements of star photos and produce exceptional noise reduction results.
Common Mistakes That Increase Noise in Night Photos ⚠️
Using digital zoom is perhaps the most detrimental mistake in smartphone night photography. Digital zoom crops and interpolates the image, magnifying noise and reducing overall quality. Instead, physically move closer to foreground subjects or crop during post-processing from a full-resolution capture.
Maxing out ISO unnecessarily creates excessive noise that no amount of post-processing can fully eliminate. Always start with the lowest ISO that produces visible stars, then gradually increase only if absolutely necessary. The difference between ISO 800 and ISO 3200 is dramatic in final image quality.
Rushing your shots leads to composition and technical errors. Night photography requires patience—wait for your eyes to adjust to darkness, take test shots to verify settings, and allow time between exposures for your phone’s sensor to cool slightly, which reduces thermal noise.
Understanding Your Phone’s Limitations
Expecting smartphone cameras to match dedicated astrophotography equipment sets you up for disappointment. Understanding what your device can realistically achieve allows you to work within those parameters and still create stunning images through technique and creativity.
Sensor size, lens quality, and processing power vary significantly between smartphone models. Older devices may struggle more with noise than flagship phones released in recent years. Acknowledge your phone’s specific strengths and limitations to maximize results.
The Magic of Timing: When to Shoot for Best Results 🌠
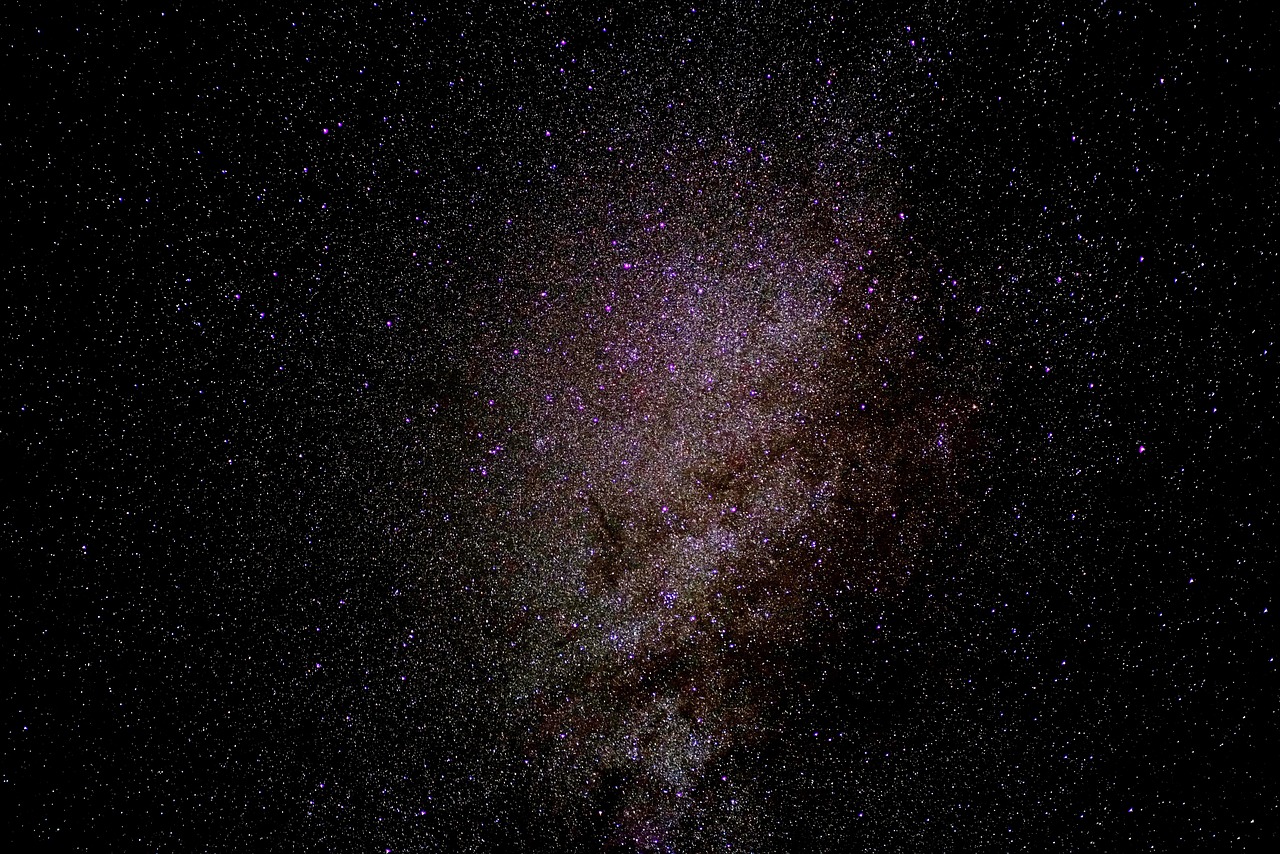
The quality of your night sky photos depends heavily on timing factors beyond your control. The Milky Way’s galactic core is most prominent in the Northern Hemisphere from March through October, offering the most dramatic compositions during these months.
Blue hour—the period just after sunset or before sunrise—provides unique opportunities. Residual light in the sky reduces the dynamic range challenge between foreground and stars, allowing for more balanced exposures with less noise in shadow areas.
Astronomical events like meteor showers, planetary alignments, and the aurora borealis create special photographic opportunities. Research these events and plan shoots accordingly. The excitement of capturing rare celestial phenomena makes the effort of noise reduction techniques worthwhile.
Building Your Night Photography Workflow
Developing a consistent workflow ensures you don’t miss critical steps in the field or during editing. Create a checklist that covers location scouting, equipment preparation, shooting sequence, and post-processing steps. Consistency produces consistently better results.
Review your photos on a larger screen when possible before leaving a location. What looks acceptable on your phone’s small display might reveal noise issues when viewed on a tablet or computer. This habit allows you to reshoot if necessary while still on location.
Organize and back up your night photography immediately. These files represent significant time investment, and losing them to device failure would be heartbreaking. Cloud storage, external drives, or both provide security for your best work.
Pushing Your Skills Further: Advanced Techniques
Once you’ve mastered basic noise reduction techniques, experiment with time-lapses and star trails. These techniques transform multiple exposures into videos or composite images that show celestial motion. The same noise reduction principles apply, but with additional creative possibilities.
Panorama stitching expands your night sky coverage beyond a single frame’s limitations. Capture multiple overlapping photos of the sky, then merge them in post-processing. This technique requires careful exposure consistency and produces spectacular wide-field images.
Learn to identify and photograph specific celestial objects. Capturing recognizable constellations, the Andromeda Galaxy, or other deep-sky objects adds narrative to your images. Specialized star chart apps help locate these targets and plan compositions.

Transforming Challenges into Stunning Results 🎯
Night sky photography with smartphones presents unique challenges, but the rewards justify the effort. Each clear night offers new opportunities to refine your technique and capture the cosmos’s breathtaking beauty. The combination of preparation, proper technique, and thoughtful post-processing transforms noisy, disappointing captures into images that inspire wonder.
Remember that even professional astrophotographers continuously learn and adapt their methods. Technology evolves, new techniques emerge, and every shooting location presents different challenges. Embrace experimentation and don’t fear failure—some of the most valuable lessons come from analyzing what went wrong in unsuccessful shots.
Your smartphone’s night photography capabilities exceed what most people realize is possible. With the techniques outlined here—proper settings, stability, computational photography features, and noise reduction strategies—you’re equipped to capture stunning clarity in your night sky photos. The universe awaits your unique perspective, so get out there and start shooting. The stars have stories to tell, and your phone can help you share them with the world.