Night photography with your smartphone doesn’t have to be a frustrating blur of motion and noise. With the right tripod setup and techniques, you can transform your phone into a powerful low-light imaging tool that captures breathtaking nocturnal scenes.
The magic of night photography lies in understanding how light behaves in darkness and how your phone’s camera sensor responds to challenging conditions. Modern smartphones have made incredible advances in computational photography, but even the best algorithms need a stable foundation and proper technique to truly shine when the sun goes down.
🌙 Why Tripods Are Non-Negotiable for Night Photography
When shooting in low-light conditions, your phone’s camera needs to keep its shutter open longer to gather sufficient light. This extended exposure time makes even the slightest hand movement catastrophic to image sharpness. A tripod eliminates this variable entirely, providing the rock-solid stability necessary for crisp, detailed night shots.
The difference between handheld and tripod-mounted night photography is dramatic. Handheld shots in low light typically result in increased ISO settings, which introduce digital noise and grain into your images. With a tripod, your phone can use lower ISO settings and longer exposures, resulting in cleaner images with better color accuracy and dynamic range.
Beyond stability, tripods offer creative freedom. They allow you to experiment with long exposures that capture light trails from traffic, smooth out water surfaces, or create ethereal effects with moving clouds. These artistic techniques are virtually impossible to achieve without proper support equipment.
Choosing the Perfect Tripod for Phone Photography
Not all tripods are created equal, especially when it comes to smartphone photography. The ideal tripod for phone night photography should balance portability with stability while offering flexible positioning options.
Essential Features to Consider
Look for tripods with adjustable legs that can handle uneven terrain, as many compelling night scenes occur in locations without perfectly flat surfaces. Ball heads or pan-tilt heads provide the flexibility to frame your shot precisely, even when shooting at unusual angles.
Weight matters significantly for phone photographers who want to travel light. While heavier tripods offer more stability in windy conditions, modern materials like carbon fiber provide excellent stability at reduced weight. For most phone photography situations, a compact tripod weighing between 500 grams and 1.5 kilograms strikes the perfect balance.
The phone mount itself deserves careful consideration. Spring-loaded grips should hold your device securely without blocking buttons or ports. Look for mounts that accommodate various phone sizes and allow both portrait and landscape orientation without requiring removal and reattachment.
Types of Tripods for Different Scenarios
Traditional tripods with telescoping legs work wonderfully for standard shooting heights and provide maximum stability. They’re ideal for cityscapes, architectural photography, and any situation where you have space to set up properly.
Tabletop tripods offer incredible portability and work perfectly when you can place them on existing surfaces like walls, rocks, or actual tables. These compact options fit easily in jacket pockets and provide surprising stability for their size.
Flexible tripods with bendable legs offer unique positioning possibilities. You can wrap them around poles, branches, or railings to secure shots from perspectives impossible with traditional tripods. This versatility makes them excellent companions for urban exploration and nature photography.
📱 Mastering Your Phone’s Night Mode Capabilities
Modern smartphones feature sophisticated night modes that combine multiple exposures into single images with remarkable clarity. Understanding how these modes work helps you leverage them effectively with tripod setups.
Night mode typically captures several frames over a few seconds, then uses computational photography to align and merge them. This process reduces noise while preserving detail. When your phone detects stability (like when mounted on a tripod), it automatically extends the exposure time, capturing even more light and detail.
Most phones indicate when they’re stable enough for extended night mode exposures. You’ll often see the exposure time increase from 1-3 seconds to 10-30 seconds when properly stabilized. This extended capture window dramatically improves image quality, revealing details invisible to the naked eye.
Manual Controls for Advanced Results
While automatic night modes produce impressive results, manual camera controls unlock even greater creative potential. Professional camera apps give you direct control over ISO, shutter speed, white balance, and focus.
For night photography on a tripod, start with your phone’s lowest ISO setting (typically 50-100). This minimizes digital noise, producing cleaner images. Then adjust your shutter speed to properly expose the scene—anywhere from a few seconds to 30 seconds depending on available light.
White balance becomes crucial at night when artificial lighting sources create color casts. Streetlights often produce orange or yellow tints, while moonlight can appear quite blue. Experiment with white balance presets or set a custom value to achieve the mood you envision.
⭐ Essential Techniques for Breathtaking Night Shots
Technical equipment matters, but technique transforms good night photos into stunning ones. These strategies will elevate your nocturnal imagery regardless of your phone model.
Timing Your Shots Perfectly
The “blue hour”—the period just after sunset or before sunrise—offers magical lighting for night photography. The sky retains deep blue tones while city lights begin illuminating, creating beautiful contrast and color harmony. This brief window typically lasts only 20-40 minutes, so arrive early and plan your compositions.
Weather conditions dramatically impact night photography potential. Clear nights produce crisp images with visible stars, while light fog or mist can add atmospheric mystery to urban scenes. Overcast conditions scatter city lights, creating soft, even illumination that’s particularly flattering for architectural photography.
Composition Strategies for Night Scenes
Strong compositions become even more critical at night when reduced visibility can make scenes feel chaotic. Lead the viewer’s eye using light sources as compositional elements—streetlights, illuminated buildings, or vehicle headlights create natural leading lines and focal points.
Reflections multiply visual interest in night photography. Wet pavement after rain transforms ordinary streets into mirror-like surfaces that double the impact of artificial lights. Bodies of water reflect city skylines and create stunning symmetry in your compositions.
Silhouettes work beautifully against illuminated backgrounds. Position subjects between your camera and light sources, then expose for the highlights to create dramatic silhouetted shapes. This technique works wonderfully for people, trees, buildings, or any recognizable form.
🎯 Overcoming Common Night Photography Challenges
Even with proper equipment and technique, night photography presents unique challenges that require specific solutions.
Dealing with Camera Shake and Vibration
Touching your phone’s screen to trigger the shutter introduces micro-vibrations that can blur images during long exposures. Solve this by using your phone’s timer function—set a 2-3 second delay to allow any vibrations to settle before capture begins.
Alternatively, volume buttons can trigger the shutter without touching the screen. Some phones support Bluetooth remote triggers, offering the most vibration-free method for initiating exposures. These inexpensive accessories prove invaluable for serious night photography.
Environmental factors like wind can vibrate even tripod-mounted phones. When possible, position yourself to block wind or add weight to your tripod by hanging your camera bag from the center column. Some photographers use small sandbags for additional stability in challenging conditions.
Managing Extreme Contrast and Dynamic Range
Night scenes often feature extreme contrast between bright lights and dark shadows. Your phone’s sensor struggles to capture detail in both simultaneously. HDR modes help by combining multiple exposures, but they require extended capture times and perfect stability.
For scenes with extreme contrast, consider exposing for the highlights and letting shadows go dark. This prevents blown-out light sources while maintaining dramatic mood. You can recover surprising shadow detail during editing without introducing excessive noise when you’ve shot at low ISO.
Graduated exposure techniques work well when the sky is much brighter than the foreground. Some advanced camera apps allow in-app blending of multiple exposures specifically for this purpose, giving you DSLR-level dynamic range control.
🌃 Creative Night Photography Projects to Try
With your tripod setup mastered, these creative projects will expand your skills and portfolio.
Light Trail Photography
Capturing moving vehicle lights as colorful streaks creates dynamic urban images. Position your tripod beside a busy road, set a 10-30 second exposure, and watch as headlights and taillights transform into flowing rivers of light. Elevated positions like overpasses or parking garages offer particularly compelling perspectives.
Vary your exposure times to control trail length—shorter exposures create broken trails, while longer ones produce continuous streams. Include stationary elements like buildings or trees to anchor the composition and provide context for the motion.
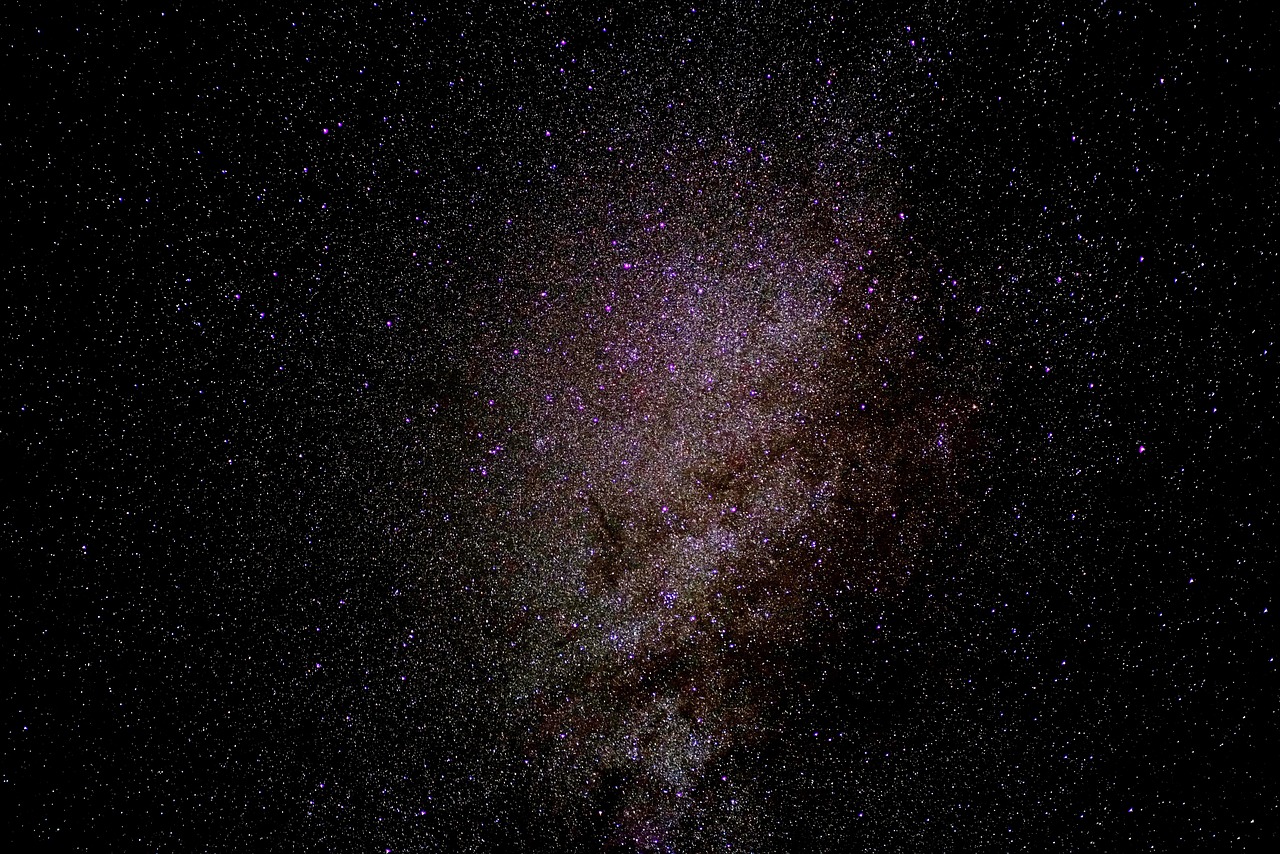
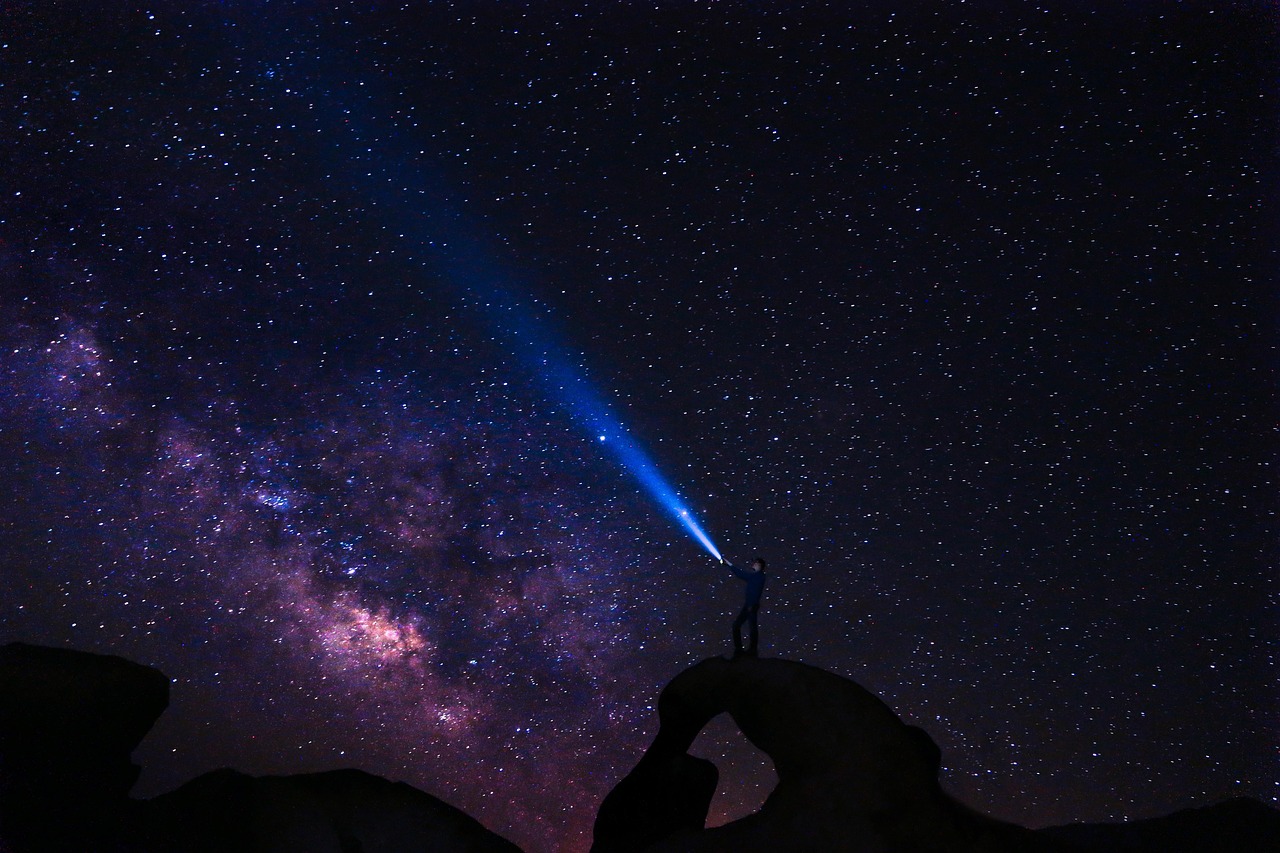
Star Photography and Night Skies
Modern phone cameras can capture surprisingly detailed star photographs when properly supported. Escape light pollution by traveling to rural areas, then set your phone to manual mode with maximum shutter speed (typically 15-30 seconds) and lowest ISO that still captures stars.
Include foreground elements to add scale and interest to star shots. Illuminated tents, silhouetted trees, or moonlit landscapes create compelling compositions that tell stories rather than simply documenting celestial objects.
Moon photography requires opposite techniques—the moon is surprisingly bright, requiring faster shutter speeds than you might expect. Experiment with exposures around 1/250 second to capture surface detail without overexposing.
Urban Architecture After Dark
Cities transform at night when architectural lighting reveals buildings in ways impossible during daylight. Modern structures with colored illumination offer particularly photogenic subjects. Use symmetrical compositions to emphasize architectural elements, and shoot during blue hour when sky tones complement artificial lights.
Interior lights visible through windows add depth and human interest to architectural shots. Time your photography for early evening when interior lights are on but exterior light remains, creating balance between inside and outside exposure.
🔧 Post-Processing Night Photos for Maximum Impact
Capturing the shot is only half the battle—thoughtful editing transforms good night photos into exceptional ones.
Essential Adjustments for Night Images
Start with exposure correction to ensure your image matches your vision. Night photos often benefit from slight brightening to reveal shadow detail without losing the nocturnal mood. Use graduated adjustments to separately control sky and foreground exposure.
Contrast adjustments define shapes and create visual separation between elements. Increase contrast moderately to make lights pop against dark backgrounds, but avoid crushing shadows completely unless pursuing a specific dramatic effect.
Color temperature corrections remove unwanted color casts or enhance them for creative effect. Cooling down warm-tinted streetlight scenes can create moonlit atmospheres, while warming blue-tinted images adds coziness and intimacy.
Noise Reduction Strategies
Even when shooting at low ISO with proper technique, some noise inevitably appears in dark areas. Modern editing apps include impressive noise reduction algorithms that preserve detail while smoothing grain. Apply noise reduction selectively to shadow areas rather than entire images for best results.
Luminance noise appears as grainy texture, while color noise manifests as random colored pixels. Most editing tools address these separately—prioritize reducing color noise as it’s more visually distracting, while moderate luminance noise can actually add appealing texture.
Building Your Night Photography Workflow
Consistent results require consistent processes. Develop a workflow that ensures you’re prepared for night shooting opportunities.
Before heading out, charge your phone completely and consider bringing a portable battery pack—long exposures and screen usage drain batteries quickly in cold night air. Clean your phone’s camera lens thoroughly, as smudges and dust become particularly problematic when photographing bright lights.
Scout locations during daylight when possible. Identify interesting compositions, check for safety concerns, and note optimal shooting positions. Many spectacular night photography locations pose challenges in darkness that are easier to navigate when familiar.
Create a shot list for each outing to ensure you capture all planned compositions before conditions change. Include specific technical notes like estimated exposure times and compositional approaches for each shot.
Safety Considerations for Night Photography
Photographing after dark requires additional awareness and precautions. Always inform someone of your location and expected return time when shooting alone. Choose well-lit, populated areas until you’re comfortable with night photography workflows.
Bring a headlamp or flashlight for navigating to shooting positions and checking camera settings. Red-light modes preserve your night vision while providing sufficient illumination for equipment management.
Protect your equipment from dew and condensation by keeping gear slightly warmer than ambient temperature when possible. Sudden temperature changes when moving between warm cars and cold exterior locations can cause problematic condensation on lenses.

Embracing the Night Photography Journey
Mastering night photography with your phone opens entirely new creative possibilities. The techniques and equipment discussed transform challenging low-light situations into opportunities for stunning imagery that stands apart from typical daytime shots.
Start with simple subjects near your home—illuminated buildings, busy intersections, or even your backyard under moonlight. As your confidence grows, expand to more ambitious projects like star trails, light painting, or complex urban landscapes.
Remember that technical perfection matters less than emotional impact. A slightly imperfect image that captures magical atmosphere will always outperform a technically flawless but uninspired shot. Use your tripod and phone as tools to realize your creative vision, not as ends in themselves.
The night world offers endless photographic opportunities invisible during daylight hours. With proper tripod support, understanding of your phone’s capabilities, and creative vision, you’ll capture stunning nocturnal images that showcase the hidden beauty of darkness. Every sunset becomes an invitation to explore, experiment, and create compelling visual stories that transform how viewers see the world after dark. 🌟