The night sky has captivated humanity for millennia, and now you can capture its breathtaking beauty right from your pocket. Smartphone technology has evolved to unlock stunning celestial photography possibilities once reserved for professional equipment.
Whether you’re standing in your backyard or exploring remote landscapes, your smartphone can transform ordinary nights into extraordinary visual experiences. The barrier between amateur photography and professional-quality astrophotography continues to narrow with each technological advancement. Modern smartphones equipped with advanced sensors, computational photography, and specialized apps have democratized access to capturing the cosmos, making it possible for anyone to document meteor showers, the Milky Way, star trails, and even distant planets with remarkable clarity.
🌙 Understanding Your Smartphone’s Night Sky Capabilities
Before venturing into the darkness, it’s essential to understand what your smartphone can genuinely achieve. Not all devices are created equal when it comes to night photography. Modern flagship smartphones from manufacturers like Google, Apple, Samsung, and Huawei feature dedicated night modes that use computational photography to combine multiple exposures, creating images that surpass what the human eye can perceive in low-light conditions.
The key components that determine your smartphone’s astrophotography potential include sensor size, aperture width, optical image stabilization, and software processing capabilities. Larger sensors capture more light, which is critical when photographing faint celestial objects. Wide apertures (represented by lower f-numbers like f/1.5 or f/1.8) allow more light to reach the sensor during each exposure. Optical image stabilization helps counteract hand movements during longer exposures, while advanced software algorithms reduce noise and enhance detail in the final image.
Checking Your Device’s Night Mode Features
Navigate to your camera settings and explore available modes. Look for options labeled “Night Mode,” “Astrophotography Mode,” or “Long Exposure.” Google Pixel phones, for instance, automatically activate astrophotography mode when the device detects it’s pointed at the night sky and remains stable for several seconds. iPhones with Night mode can capture impressive star fields with exposures up to 30 seconds when mounted on a tripod.
⭐ Essential Gear Beyond Your Smartphone
While your smartphone is the star of the show, a few accessories dramatically improve your night sky photography results. These investments are minimal compared to traditional astrophotography equipment but yield substantial improvements in image quality and creative possibilities.
A sturdy tripod is non-negotiable for serious night sky photography. Even the slightest movement during long exposures creates blur that ruins otherwise perfect shots. Choose a tripod that’s stable yet portable enough to carry to dark sky locations. Smartphone tripod mounts or universal holders ensure your device stays securely positioned throughout multi-second or even multi-minute exposures.
Remote shutter releases or intervalometers eliminate the need to physically touch your phone during capture, preventing vibrations that compromise sharpness. Many smartphones support wireless remote triggers via Bluetooth, or you can use the device’s timer function as a simple alternative. For added convenience, portable power banks keep your phone charged during extended shooting sessions in remote locations.
Optional but Valuable Accessories
- Smartphone telescope adapters for capturing lunar details and bright planets
- Light pollution filters that screw onto clip-on lens systems
- Red LED headlamps that preserve night vision while adjusting settings
- Weatherproof cases for protection in damp or cold conditions
- Portable sitting pad or chair for comfort during long sessions
📍 Finding the Perfect Location for Celestial Photography
Location dramatically influences night sky photography success. Light pollution from cities, towns, and even small communities washes out faint stars and reduces the visibility of the Milky Way. The Bortle scale, ranging from Class 1 (pristine dark skies) to Class 9 (inner-city skies), helps photographers assess light pollution levels at potential shooting locations.
Dark sky parks, national forests, and remote rural areas offer the best conditions for capturing the cosmos. Websites and apps dedicated to finding dark sky locations use light pollution maps to identify areas far from artificial illumination. Plan your trips around new moon phases when lunar brightness won’t compete with starlight. Even a quarter moon can significantly impact the visibility of fainter celestial objects.
Weather conditions matter as much as location. Clear skies free from clouds, haze, and humidity produce the sharpest star images. Check weather forecasts specifically designed for astronomers, which predict atmospheric transparency and seeing conditions. High-altitude locations generally offer clearer skies with less atmospheric distortion, though accessibility and temperature considerations come into play.
📱 Best Apps for Night Sky Photography
Specialized camera apps unlock capabilities beyond your smartphone’s native camera application. These tools provide manual controls over exposure time, ISO sensitivity, focus, and white balance—parameters essential for optimizing night sky captures.
ProCam, Camera FV-5, and Manual Camera are popular options for Android users seeking full manual control. These apps allow exposure times up to 30 seconds or longer, ISO settings up to 3200 or higher, and precise manual focus control necessary for pin-sharp stars. Many also support RAW file formats, which preserve maximum image data for post-processing flexibility.
For iPhone users, NightCap Camera and ProCamera offer similar advanced controls tailored to iOS devices. These apps maximize your iPhone’s sensor capabilities and provide features like light trail modes, star trail compositing, and time-lapse functionality specifically designed for astrophotography.
Star Tracking and Planning Applications
Knowing what celestial objects appear in your sky and when they’re visible transforms random shooting into purposeful photography. Stellarium, SkySafari, and Star Walk identify constellations, planets, and deep-sky objects by simply pointing your phone toward the heavens. These augmented reality apps overlay celestial information onto your live camera view, helping you compose shots that include specific astronomical features.
PhotoPills and The Photographer’s Ephemeris excel at planning shots by predicting sun, moon, and Milky Way positions at specific dates, times, and locations. These tools help you visualize how celestial elements will align with landscape features, enabling you to arrive at the perfect moment when everything comes together compositionally.
⚙️ Optimal Camera Settings for Smartphone Astrophotography
Manual control separates mediocre night sky photos from spectacular ones. Understanding and adjusting key camera parameters allows you to capture the maximum amount of light and detail from the darkness above.
Start with your ISO setting, which controls sensor sensitivity to light. Higher ISO values brighten images but introduce noise—digital grain that degrades image quality. For most smartphones, ISO 800-3200 strikes a balance between sufficient brightness and acceptable noise levels. Experiment with your specific device to identify its sweet spot where stars appear bright without excessive grain.
Shutter speed determines how long your sensor collects light. Longer exposures capture more starlight, making faint objects visible, but too long causes stars to trail due to Earth’s rotation. The “500 rule” provides a starting point: divide 500 by your effective focal length to calculate maximum exposure time in seconds before noticeable trailing occurs. For most smartphone wide-angle lenses (approximately 26mm equivalent), this yields exposures around 15-20 seconds.
Focus and White Balance Considerations
Achieving sharp focus in near-total darkness challenges autofocus systems. Switch to manual focus and set it to infinity, but be aware that infinity markers on smartphone screens aren’t always accurate. Instead, focus on the brightest star or distant light source visible, zoom in digitally to verify sharpness, then lock that focus before capturing your sequence.
White balance affects the color temperature of your night sky images. Auto white balance often produces inconsistent results under starlight. Set white balance manually to “Daylight” (5500K) as a starting point, or experiment with slightly cooler temperatures (4000-5000K) for bluer skies that emphasize the coolness of night, or warmer settings (6000-7000K) to bring out the golden tones of the Milky Way’s core.
🎨 Composition Techniques for Celestial Photography
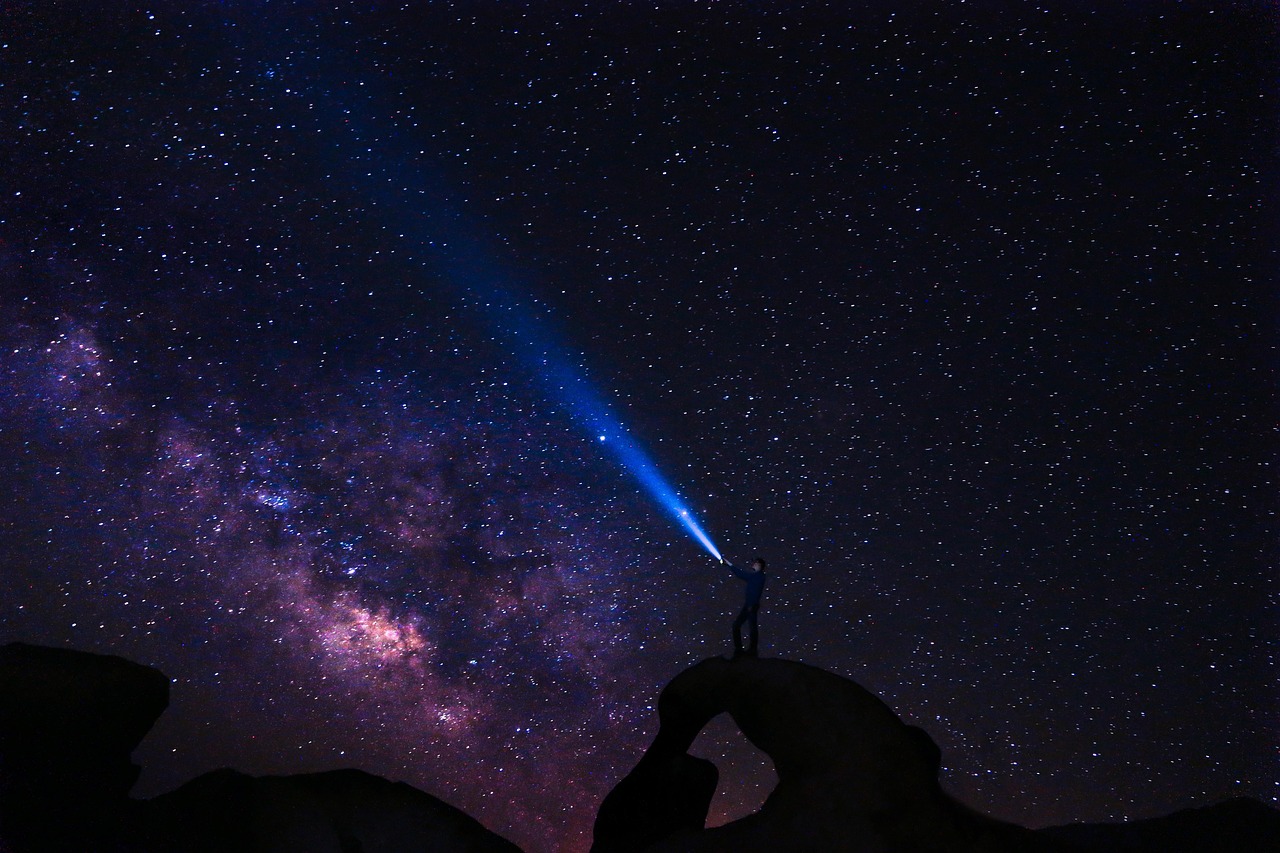
Technical settings alone don’t create compelling images. Thoughtful composition transforms technically correct photos into memorable art. Include interesting foreground elements—silhouetted trees, mountains, buildings, or natural rock formations—to provide context, scale, and visual interest that pure sky shots lack.
The rule of thirds applies to astrophotography just as it does to daytime photography. Position the horizon along the lower third line and place key celestial features at intersection points where viewers’ eyes naturally gravitate. Leading lines from foreground elements can guide attention toward astronomical subjects, creating visual pathways through your frame.
Frame orientation matters significantly. Horizontal compositions work well for wide Milky Way panoramas and expansive star fields above landscapes. Vertical orientations better capture the Milky Way’s rise from horizon to zenith or emphasize tall foreground elements like trees or structures pointing skyward. Consider shooting both orientations to provide options during editing.
🌌 Capturing Different Types of Night Sky Subjects
Various celestial phenomena require specific approaches to capture effectively. Understanding these differences helps you adapt your technique to whatever astronomical spectacle you’re documenting.
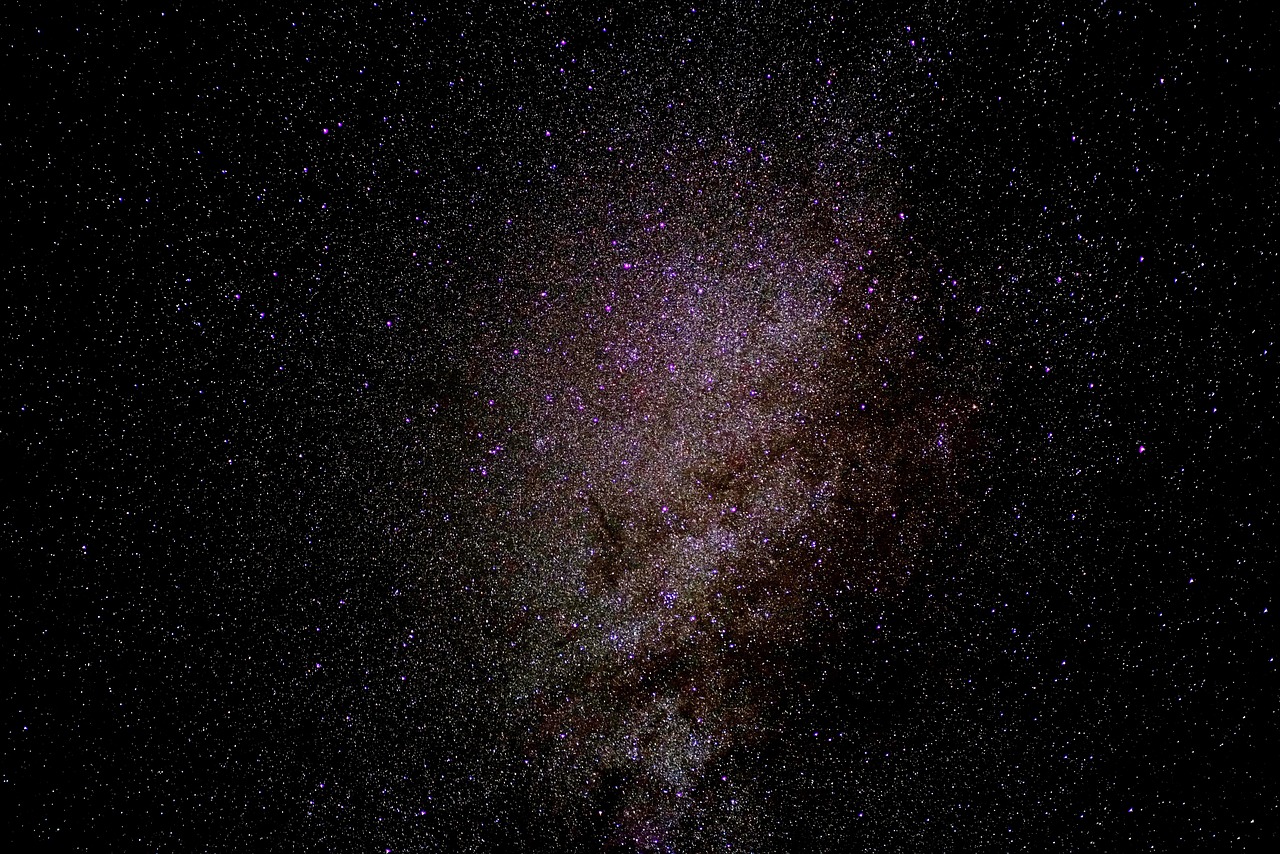
Milky Way Photography
Our galaxy’s luminous band stretches across the sky from spring through fall in the Northern Hemisphere, with the bright galactic core visible from late spring through early autumn. Use your widest lens (most smartphones default to their wide-angle camera), set ISO between 1600-3200, and expose for 15-25 seconds. Position the Milky Way prominently in your composition, ideally rising above interesting landscape features.
Star Trails
Star trail images show Earth’s rotation as concentric circles around the celestial pole. Achieve this effect by taking many consecutive short exposures (15-30 seconds each) over an extended period (30 minutes to several hours), then stacking them in post-processing. Apps with intervalometer functions automate this process. Position Polaris (North Star) in your Northern Hemisphere frame to create circular trails around a central point, or aim away from the poles for straight diagonal streaks.
Moon Photography
The moon’s brightness requires opposite settings from faint stars. Lower your ISO to 100-400 to prevent overexposure, and use faster shutter speeds around 1/125 to 1/500 second. Enable digital zoom or use telephoto cameras on multi-lens smartphones to enlarge the lunar disk. The moon is surprisingly small in wide-angle shots, so magnification reveals surface details like craters and maria.
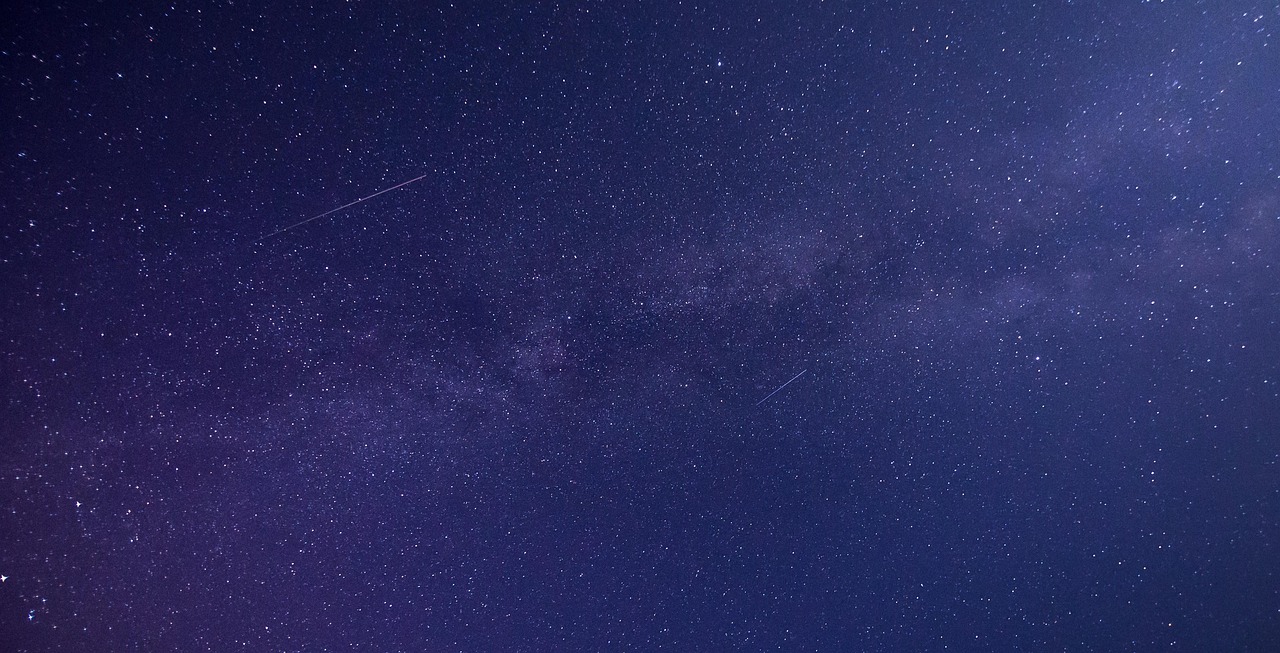
Meteor Showers
Capturing meteors requires patience and a bit of luck. Frame a wide view of the sky, preferably including some foreground, and take continuous exposures throughout the shower’s peak hours. Most captures won’t contain meteors, but eventually you’ll record these fleeting streaks. Keep your exposures similar to Milky Way settings, and be prepared for many hours of shooting to catch the best specimens.
✨ Post-Processing Your Night Sky Images
Raw captures are just the beginning. Post-processing enhances the data your sensor collected, bringing out details invisible in the original files. Shoot in RAW format whenever possible, as it preserves far more information than compressed JPEG files, providing greater flexibility during editing.
Mobile editing apps like Lightroom Mobile, Snapseed, and Polarr offer powerful adjustment tools optimized for touchscreen interfaces. Begin by adjusting exposure to brighten your image appropriately, then increase contrast to separate stars from the sky background. Boost clarity or structure sliders to enhance star definition and bring out Milky Way detail.
Noise reduction balances detail preservation with grain smoothing. Aggressive noise reduction creates smooth but plasticky skies lacking texture and fainter stars. Apply noise reduction selectively, targeting the sky while preserving foreground sharpness. Color adjustments enhance the natural hues present in night skies—cooler blues in darker areas, warmer oranges and yellows in the Milky Way’s dusty regions, and perhaps slight magenta in airglow or auroral activity.
Advanced Stacking Techniques
Stacking multiple exposures reduces noise while maintaining detail—the same principle professional astrophotographers use with dedicated cameras. Apps like Starry Landscape Stacker and Sequator (desktop) or DeepSkyCamera (mobile) align and average multiple frames, revealing fainter stars and nebulosity impossible to capture in single exposures. This technique elevates smartphone astrophotography closer to DSLR quality.
🌠 Common Challenges and Solutions
Every night sky photographer encounters obstacles. Understanding common issues and their solutions accelerates your learning curve and prevents frustration during precious clear-sky opportunities.
Excessive noise plagues high-ISO smartphone images. Combat this by shooting multiple frames for stacking, using your device’s native night mode algorithms, or investing in smartphones specifically engineered for low-light performance. Cold weather also reduces noise, so winter astrophotography sessions often produce cleaner results than summer shooting.
Lens flare from nearby lights creates unwanted artifacts. Shield your lens from direct illumination using your hand, a lens hood, or by positioning yourself so foreground objects block light sources. Light pollution domes glowing orange on your horizon can be minimized through location selection or removed selectively during post-processing using gradient filters.
Battery drain accelerates in cold conditions and during extended shooting sessions. Keep spare power banks in inner pockets where body heat maintains their charge capacity. Enable airplane mode to reduce background battery consumption, and disable features like GPS when not needed for geotagging.
🚀 Taking Your Skills to the Next Level
Once you’ve mastered the basics, advanced techniques open new creative dimensions. Time-lapse sequences showing star movement across hours compress celestial motion into mesmerizing videos. Set your intervalometer to capture frames every 5-15 seconds throughout the night, then compile them at 24-30 frames per second in video editing apps.
Panoramic stitching expands your field of view beyond your lens’s limitations. Shoot overlapping frames across the sky, maintaining consistent settings between shots, then merge them using panorama apps or desktop software. This technique creates ultra-wide Milky Way panoramas that showcase the entire galactic arc from horizon to horizon.
Experiment with creative light painting by briefly illuminating foreground subjects with flashlights or LED panels during long exposures. This technique balances foreground brightness with the night sky, creating dimensionality and context. Use red lights to preserve night vision while painting, and experiment with duration and intensity to achieve natural-looking illumination.

🎯 Joining the Astrophotography Community
Sharing your celestial captures and learning from experienced photographers accelerates your development. Social media platforms like Instagram, specialized forums such as CloudyNights, and communities within astronomy apps connect you with fellow enthusiasts who offer feedback, location recommendations, and inspiration.
Participate in astrophotography challenges and competitions specific to smartphone imaging. These events push creative boundaries and provide external motivation to venture out under the stars. Many planetariums and astronomy clubs host exhibitions featuring amateur astrophotography, including smartphone categories that recognize the artistry possible with mobile devices.
Document your journey through progress photos, technique notes, and location records. This personal archive helps you identify what works, track improvements, and remember successful shooting conditions. The iterative process of shooting, reviewing, and refining transforms occasional hobby shooters into skilled night sky photographers capable of consistently capturing stunning celestial imagery.
The universe above awaits your creative interpretation. With your smartphone as a portal to the cosmos, technical knowledge as your guide, and persistence as your companion, you’ll unlock breathtaking celestial photographs that seemed impossible just years ago. Each clear night offers new opportunities to explore, experiment, and capture the infinite beauty that has inspired humanity since we first looked up in wonder at the star-filled darkness above.