The night sky has captivated humanity for millennia, and now your smartphone can capture its breathtaking beauty. Modern mobile technology has revolutionized astrophotography, making it accessible to everyone.
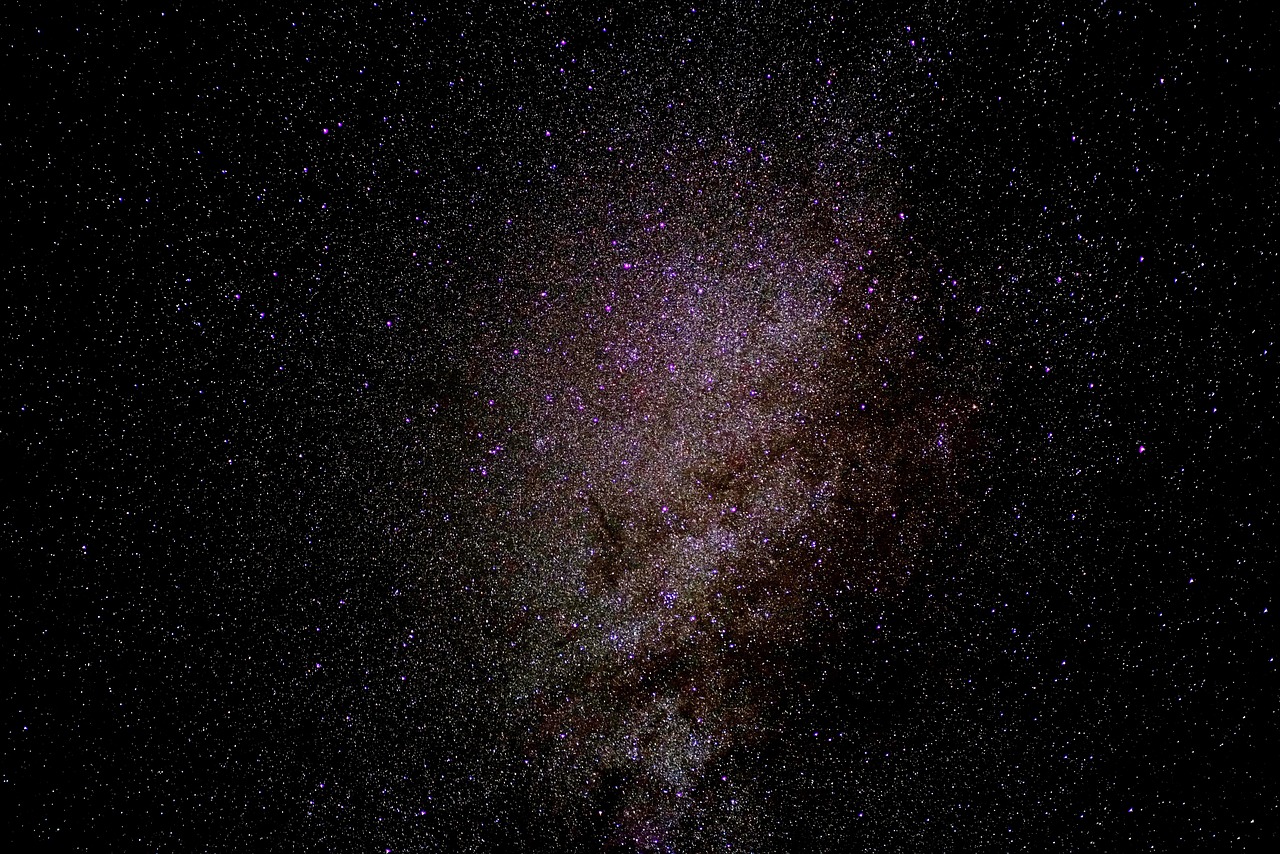
Gone are the days when capturing stellar moments required expensive equipment and years of expertise. Today’s smartphones pack powerful cameras and sophisticated software that can photograph celestial wonders with surprising clarity. Whether you’re drawn to the Milky Way’s luminous arc, individual constellations, or meteor showers streaking across darkness, your pocket-sized device holds remarkable potential for night sky photography.
This comprehensive guide will transform you from a curious beginner into a confident night sky photographer, equipped with practical techniques and insider knowledge that elevate your smartphone astrophotography game.
Understanding Your Smartphone’s Capabilities for Night Photography 📱
Before venturing into the darkness, you need to understand what your smartphone can actually accomplish. Not all devices are created equal when it comes to low-light photography, but even mid-range phones today offer features that were professional-grade just years ago.
Modern smartphones typically include manual camera controls, long exposure capabilities, and computational photography features. These tools work together to gather light from distant stars and transform raw sensor data into stunning images. The key lies in knowing how to access and optimize these features for night sky conditions.
Check whether your device offers Pro Mode or Manual Mode in the camera app. This functionality gives you control over ISO sensitivity, shutter speed, and focus—three critical parameters for astrophotography. Additionally, look for night mode features specifically designed for low-light scenarios, as these can significantly enhance star visibility.
Essential Camera Settings That Make a Difference
Your smartphone camera settings determine whether you’ll capture spectacular star fields or disappointing blur. Start by switching to manual or professional mode, which unlocks precise control over exposure parameters that automatic modes simply cannot provide.
Set your ISO between 1600 and 3200 for most night sky scenarios. Higher ISO values increase light sensitivity but also introduce noise, so finding the sweet spot for your specific device requires experimentation. Modern smartphones handle noise remarkably well, making higher ISOs more viable than ever before.
Shutter speed represents how long your camera sensor collects light. For star photography, you’ll typically need exposures between 15 and 30 seconds. Longer exposures capture more light but may show star trails due to Earth’s rotation—sometimes a desirable effect, other times not.
Focus requires special attention since autofocus struggles in darkness. Switch to manual focus and set it to infinity, though on smartphones, this might require tapping the screen on a distant bright object or star, then locking the focus before recomposing your shot.
Location Selection: Finding Your Perfect Dark Sky Spot 🌌
Where you shoot matters as much as how you shoot. Light pollution from cities washes out stars, reducing contrast and obscuring fainter celestial objects. Finding genuinely dark skies dramatically improves your results and reveals the night sky’s true magnificence.
Use light pollution maps available through various apps and websites to identify dark sky locations near you. Even traveling 30-50 miles from urban centers can reveal exponentially more stars. National parks, rural areas, and designated dark sky preserves offer optimal conditions for astrophotography.
Consider factors beyond darkness when scouting locations. Interesting foreground elements—silhouetted trees, mountains, or structures—add depth and context to star photos. A compelling composition balances celestial grandeur with earthly anchors that tell a more complete visual story.
Weather and Atmospheric Conditions to Watch
Clear skies are obviously essential, but atmospheric quality matters tremendously too. Check weather forecasts for cloud cover, humidity, and atmospheric stability. High humidity and haze scatter light and reduce star visibility, while stable, dry air produces sharper, more defined stars.
The moon’s phase significantly impacts night photography. New moon periods offer the darkest skies and most visible stars, while full moons brighten the landscape but wash out fainter stars. Quarter moons provide a middle ground, illuminating foreground elements while still allowing star photography.
Equipment Beyond Your Smartphone That Enhances Results 🎒
While your smartphone is the star of the show, several affordable accessories dramatically improve your night sky photography capabilities. These tools address smartphone-specific limitations and unlock techniques impossible with handheld shooting.
A sturdy tripod ranks as the single most important accessory for astrophotography. Long exposures require absolute stillness, and even the steadiest hands introduce blur during 15-30 second shots. Invest in a compact smartphone tripod with adjustable legs for uneven terrain and a ball head for easy angle adjustments.
A remote shutter release or timer function prevents camera shake from physically pressing the screen. Most smartphones include built-in timer options, typically 3 or 10 seconds, which work perfectly for this purpose. Bluetooth remote shutters offer additional convenience and precision timing for multiple shots.
Extra batteries or portable chargers prove essential since long exposures drain smartphone batteries quickly, especially in cold nighttime temperatures. Cold weather particularly affects battery performance, sometimes reducing capacity by 30-40 percent compared to normal conditions.
Helpful Apps for Planning and Capturing
Specialized photography apps extend your smartphone’s native capabilities and provide tools specifically designed for night sky shooting. These applications offer advanced manual controls, RAW capture, and features tailored to astrophotography challenges.
Camera apps with manual controls like ProCam, Camera FV-5, or your phone’s native pro mode provide the foundation for night photography. These apps let you adjust ISO, shutter speed, and focus independently, giving you creative control that automated modes cannot match.
Sky mapping apps such as SkySafari, Star Walk, or Stellarium help you identify constellations, locate the Milky Way’s position, and plan shots around specific celestial events. These tools are invaluable for composition planning and understanding what you’re photographing.
Composition Techniques That Elevate Star Photography 🎨
Technical excellence means little without compelling composition. The most memorable star photos combine celestial beauty with thoughtful framing, balance, and visual storytelling that engages viewers beyond mere documentation.
The rule of thirds applies to night sky photography just as it does to daytime shooting. Position the horizon along the lower or upper third line rather than dead center, and place interesting foreground elements or celestial features at intersection points for dynamic, balanced compositions.
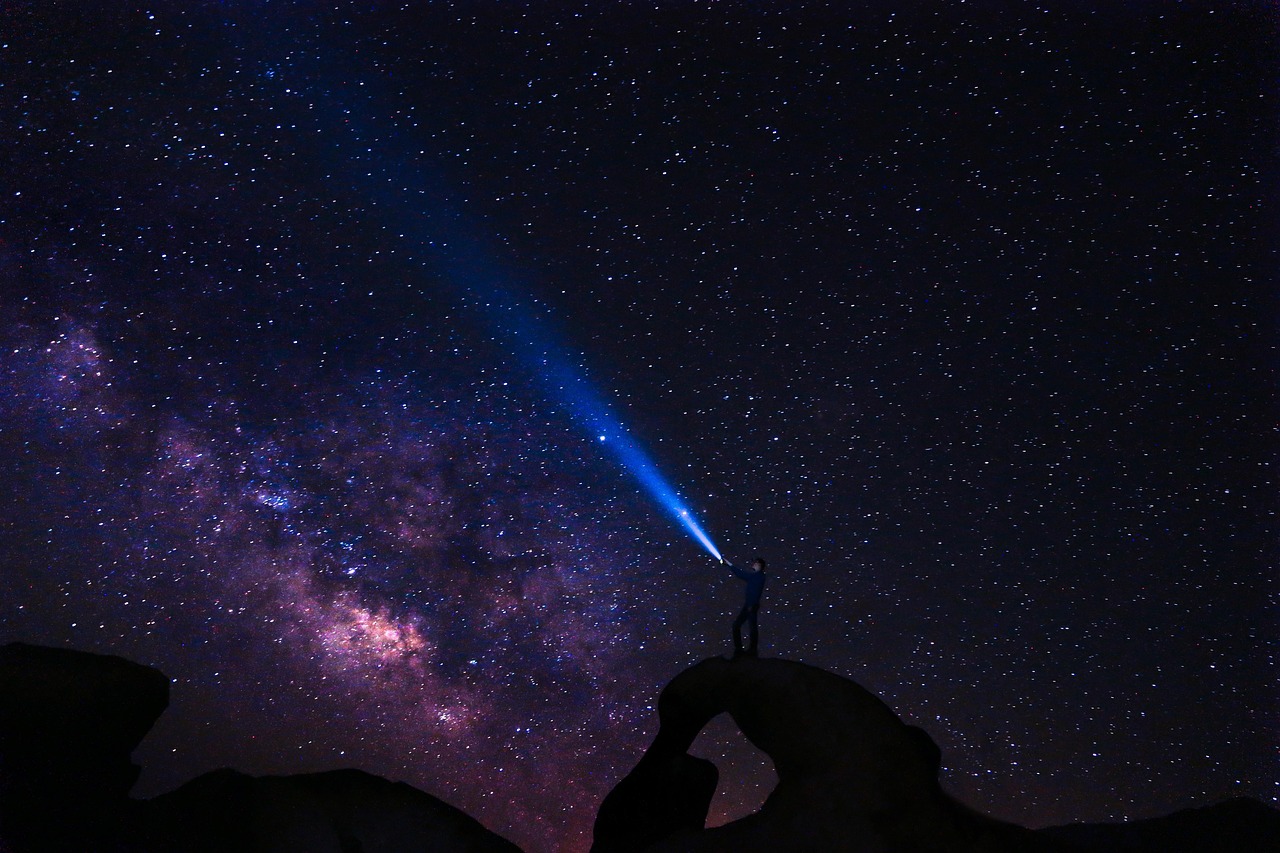
Include foreground interest to provide scale and context. Silhouetted trees, rock formations, buildings, or people gazing skyward create layers that add depth and narrative to your images. These earthly anchors help viewers connect emotionally with the cosmic vastness above.
Experiment with orientation—both horizontal and vertical frames offer unique advantages. Horizontal compositions capture wider sky expanses and work well for Milky Way arcs, while vertical frames emphasize height and can follow the galaxy’s vertical sweep during certain seasons.
Understanding the Milky Way’s Seasonal Movement
The Milky Way’s visibility and position change throughout the year, requiring photographers to adapt their approach seasonally. Understanding these patterns helps you plan shoots and manage expectations based on timing.
In the Northern Hemisphere, the galactic core becomes visible from March through October, with peak visibility during summer months when it arcs high across the southern sky. Winter months showcase different Milky Way sections that are less dramatic but still photographable.
The galactic core rises in the southeast after sunset during spring, moves overhead through summer, and sets in the southwest by autumn. Timing your shoots to catch the Milky Way in interesting positions relative to your foreground creates more dynamic compositions.
Advanced Techniques for Stunning Results ⭐
Once you’ve mastered basics, advanced techniques take your night sky photography to professional levels. These methods require patience and practice but produce images that stand out from typical smartphone astrophotography.
Stacking multiple exposures reduces noise and reveals fainter details invisible in single shots. Take 10-20 identical frames using the same settings, then combine them using specialized apps like StarStaX or desktop software. This technique averages out noise while preserving star detail, resulting in cleaner, more professional images.
Light painting adds creative illumination to foreground elements during long exposures. Using a small flashlight or smartphone screen light, briefly illuminate trees, rocks, or other subjects during your 20-30 second exposure. This technique balances foreground and sky, preventing silhouettes from becoming formless black shapes.
Star trail photography creates circular arc patterns showing Earth’s rotation. Set your camera to continuous shooting mode with 30-second exposures, capturing dozens or hundreds of frames over 30-120 minutes. Stack these images afterward to create mesmerizing circular star trails around the celestial pole.
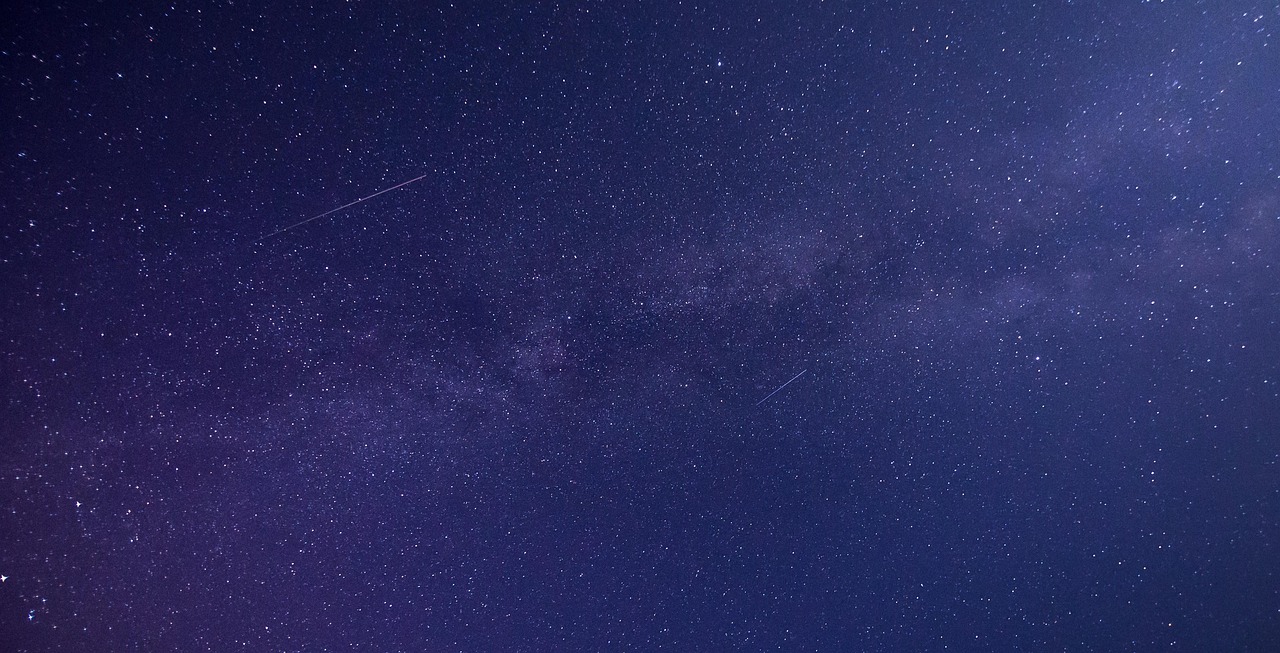
Capturing Meteor Showers and Special Events
Meteor showers offer spectacular opportunities for dramatic night sky photos, though capturing meteors requires timing, patience, and some luck. These transient events demand different strategies than static star photography.
During meteor shower peaks, set up early and shoot continuously in the direction of the radiant point—where meteors appear to originate. Take consecutive 20-30 second exposures for hours, increasing your odds of capturing bright meteors streaking across your frame.
Expect many blank shots; meteor photography involves volume. You might capture only 2-3 meteors across 100+ frames, but those successful shots make the effort worthwhile. Review images periodically to ensure settings remain optimal as conditions change throughout the night.
Post-Processing: Bringing Out Celestial Details 🖼️
Raw captures represent only the beginning of your creative process. Post-processing transforms good night sky photos into breathtaking masterpieces by enhancing details, adjusting colors, and correcting technical imperfections.
Shoot in RAW format when your smartphone supports it, as RAW files contain significantly more data than JPEGs. This extra information provides greater flexibility during editing, allowing you to recover shadow details, adjust colors, and control highlights without quality degradation.
Mobile editing apps like Lightroom Mobile, Snapseed, or Adobe Photoshop Express offer powerful tools optimized for smartphone workflows. Start with basic adjustments—increasing exposure slightly, boosting contrast, and enhancing clarity to make stars pop against dark skies.
Careful adjustments to highlights and shadows reveal details in both sky and foreground. Reduce highlights to preserve star definition and prevent blown-out bright stars, while lifting shadows brings out foreground detail without introducing excessive noise.
Color Correction and Creative Enhancement
Night sky photos often appear with color casts from artificial lights or atmospheric conditions. Color temperature adjustments correct these issues, restoring natural tones or creating stylistic looks that enhance mood.
Increase vibrance rather than saturation to enhance subtle star colors without oversaturating the image. Stars display various hues—blue, white, red, orange—that vibrance adjustments reveal naturally, while saturation sliders can quickly produce unrealistic, garish results.
Apply selective adjustments using masking or local adjustment tools. Brighten and enhance the sky independently from foreground elements, maintaining balance while emphasizing celestial details. This targeted approach produces more sophisticated results than global adjustments alone.
Common Mistakes and How to Avoid Them 🚫
Learning from common pitfalls accelerates your progress and prevents frustration. Many beginners make predictable mistakes that compromise image quality, but awareness and proper technique easily overcome these challenges.
Camera shake from touching the screen ruins countless night photos. Always use timer mode or remote shutter releases, and enable any available image stabilization features. Even on a tripod, physically pressing the screen introduces vibration that blurs long exposures.
Underestimating exposure time produces dim, disappointing images. Don’t be afraid to push shutter speeds to 25-30 seconds, adjusting ISO accordingly. Experiment with different combinations since optimal settings vary based on your specific smartphone model and conditions.
Neglecting white balance creates unnatural color casts. Set white balance manually rather than relying on auto, typically using daylight or custom Kelvin temperature settings between 3500-4500K. Shooting RAW allows white balance adjustment in post-processing without quality loss.
Safety and Practical Considerations for Night Shooting
Night photography involves unique safety challenges that deserve serious attention. Planning and precaution ensure enjoyable, safe shooting sessions in remote dark locations.
Never venture into unfamiliar wilderness areas alone at night. Bring a companion, inform others of your location and expected return time, and carry adequate lighting, water, and emergency supplies. Cell service often doesn’t exist in ideal dark sky locations.
Dress warmly—even summer nights grow cold after sunset, especially in high-altitude locations. Layers allow temperature adjustment as conditions change throughout extended shooting sessions. Cold weather also drains smartphone batteries faster, so keep backup power sources warm.
Red light flashlights preserve night vision while allowing you to see equipment and surroundings. White light destroys the dark adaptation your eyes develop after 20-30 minutes in darkness, forcing you to wait again before seeing dim stars clearly.
Building Skills Through Practice and Experimentation 🎯
Mastery comes through consistent practice and willingness to experiment. Each night sky session teaches new lessons and develops intuition that transforms technical knowledge into artistic expression.
Keep detailed notes about settings, conditions, and results for each shooting session. Recording ISO, shutter speed, location, moon phase, and weather helps you identify patterns and refine your technique based on what produces your best images.
Join online communities focused on smartphone astrophotography. Sharing images, receiving feedback, and learning from others’ experiences accelerates your growth and provides inspiration during inevitable creative plateaus.
Challenge yourself with specific projects—documenting constellation positions across seasons, capturing every moon phase, or photographing the same location under different celestial conditions. Structured goals maintain motivation and push technical boundaries.

Sharing Your Cosmic Captures With the World 🌍
Your stunning night sky photos deserve an audience beyond your phone’s gallery. Sharing work connects you with fellow enthusiasts, provides validation for your efforts, and inspires others to explore astrophotography.
Social media platforms like Instagram, specialized photography forums, and astronomy communities welcome night sky content. Use relevant hashtags like #astrophotography, #nightsky, #mobilephotography, and location-specific tags to increase visibility and connect with interested viewers.
Include technical details in captions—settings used, location type, processing approach—as educational content that helps others learn while showcasing your expertise. The astrophotography community values knowledge sharing and appreciates transparency about techniques.
Enter photography contests and submit to publications that feature smartphone photography. Numerous competitions specifically welcome or even require smartphone images, providing recognition opportunities once reserved exclusively for traditional camera users.
The night sky offers endless photographic opportunities, limited only by your creativity and willingness to venture into darkness. Your smartphone contains remarkable technology capable of capturing celestial wonders that inspire and amaze. With proper technique, thoughtful composition, and persistent practice, you’ll create star photos that showcase both the universe’s magnificence and your growing artistic vision. Step outside tonight, point your smartphone skyward, and begin your journey into the captivating world of night sky photography.