The moon has captivated humanity for millennia, and now capturing its ethereal beauty is easier than ever with modern smartphone technology.
Whether you’re a beginner photographer or an enthusiast looking to improve your lunar shots, understanding the right techniques can transform your smartphone into a powerful tool for moon photography. The key lies in mastering specific settings, timing, and creative approaches that bring out the moon’s stunning details and mysterious glow.
🌙 Understanding Why Moon Photography Is Challenging
Moon photography presents unique challenges that differ significantly from typical smartphone photography. The moon is an incredibly bright object against a dark sky, creating extreme contrast that confuses most camera sensors. Your smartphone’s automatic settings often struggle to balance this exposure difference, resulting in either an overexposed white blob or an underexposed dark image with a tiny bright spot.
Additionally, the moon is approximately 238,855 miles away from Earth, making it a distant subject that requires special attention to focus and zoom techniques. Smartphone cameras, despite their technological advances, have physical limitations in their lens capabilities that need to be worked around creatively.
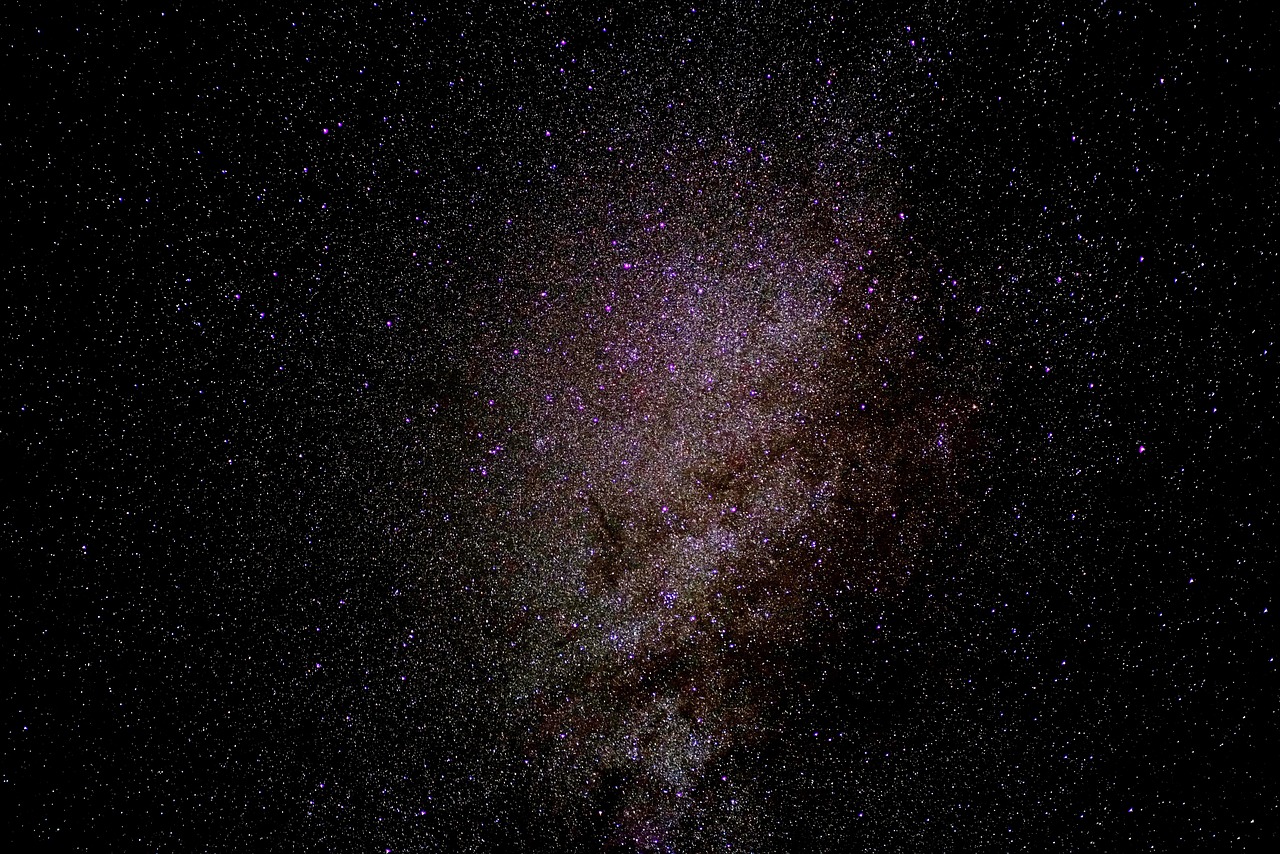
Understanding atmospheric conditions also plays a crucial role. Light pollution, humidity, and air quality all affect how clearly you can capture lunar details. The moon’s position in the sky changes throughout its monthly cycle, offering different photographic opportunities from crescent to full moon phases.
Essential Preparation Before Your Moon Photography Session
Successful moon photography starts long before you point your smartphone skyward. Planning is absolutely critical to capturing those breathtaking lunar images you envision.
Timing Your Shoot for Maximum Impact
The lunar phase dramatically affects your photographic results. A full moon provides maximum brightness and surface visibility, making it easier for smartphones to capture detail. However, quarter moons and crescents offer dramatic shadows that reveal the moon’s topography more clearly, creating more interesting textural photographs.
The “golden hour” concept applies to moon photography too. Shoot during moonrise or moonset when the moon appears larger due to an optical illusion and takes on warmer, more atmospheric tones. The moon positioned lower on the horizon also allows you to include foreground elements for compelling compositional storytelling.
Check moon phase calendars and use astronomy apps to predict exactly when and where the moon will appear in your location. This preparation ensures you’re in the right place at the optimal time with your equipment ready.
Choosing the Perfect Location
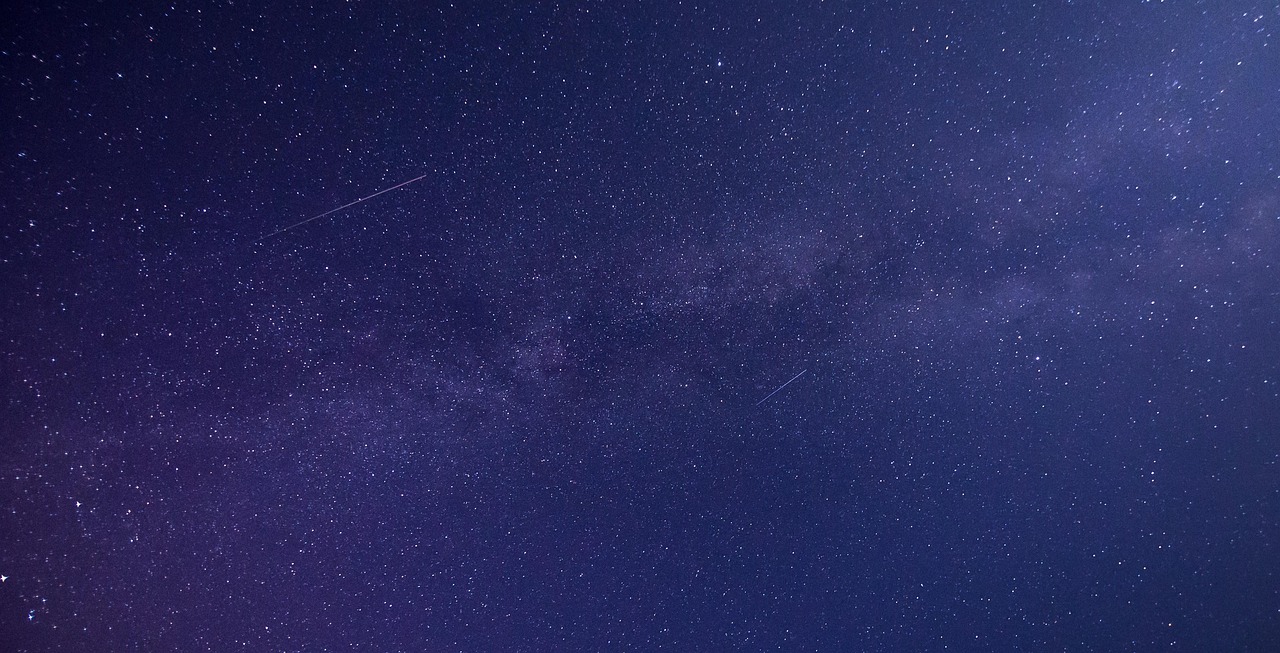
Location selection significantly impacts your moon photography quality. Urban environments present challenges with light pollution that creates an orange or purple glow in your images, reducing contrast and clarity. Whenever possible, travel to darker locations away from city lights.
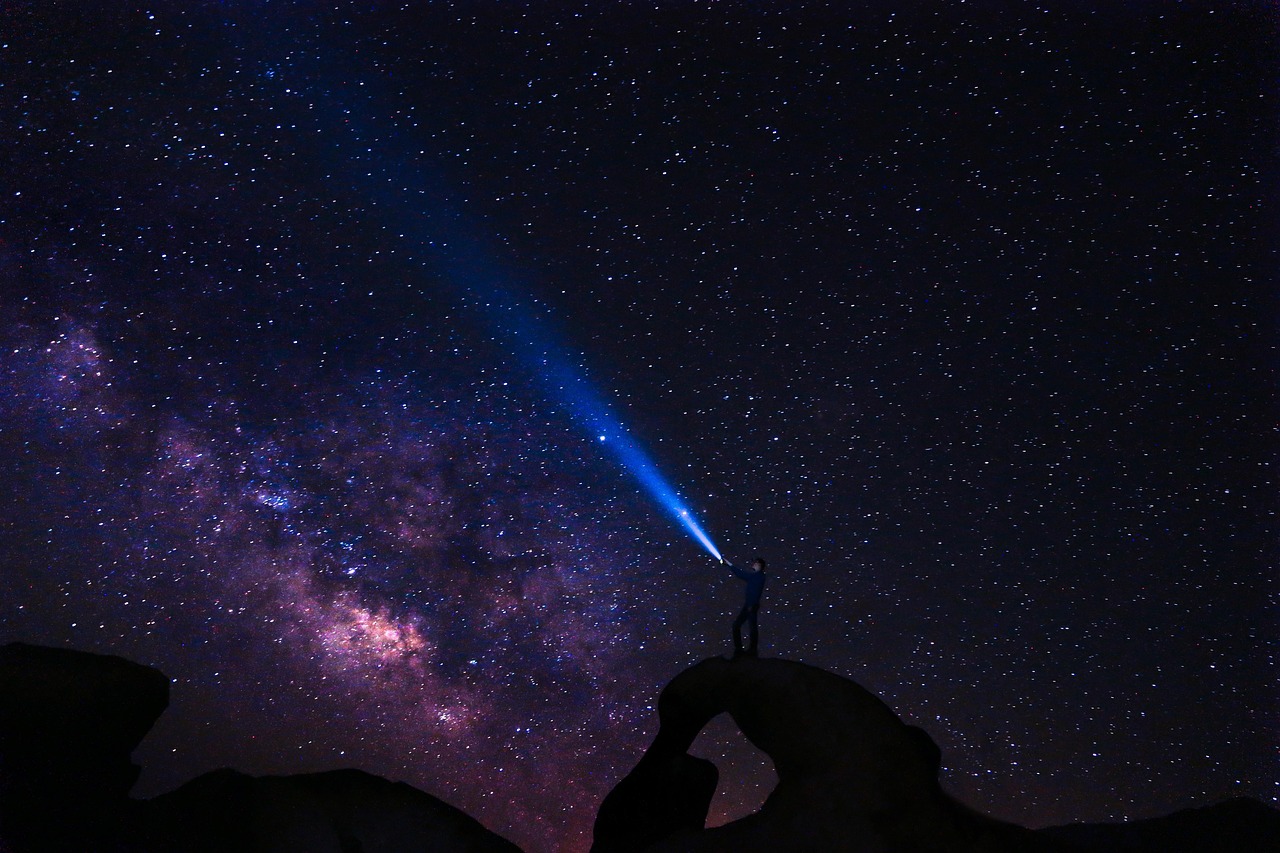
Consider what you want in your composition beyond just the moon. Incorporating silhouettes of trees, buildings, mountains, or landmarks creates context and visual interest. Scout locations during daylight to identify potential foreground elements and safe shooting positions.
Elevation matters too. Higher vantage points reduce atmospheric interference and haze, resulting in sharper, clearer moon images. Rooftops, hills, and open fields provide excellent elevated perspectives.
Mastering Your Smartphone Camera Settings 📱
Modern smartphones pack impressive camera technology, but automatic modes rarely deliver optimal moon photography results. Taking manual control of your camera settings is essential for capturing lunar magic.
Switching to Manual or Pro Mode
Most contemporary smartphones include a manual or pro camera mode that grants access to critical settings. Navigate to your camera app and locate this mode—it might be labeled as “Pro,” “Manual,” “Expert,” or represented by a settings icon.
In manual mode, you gain control over ISO, shutter speed, focus, and exposure compensation. These adjustments allow you to override your phone’s automatic decisions that typically fail with high-contrast moon scenarios.
Optimizing ISO Settings
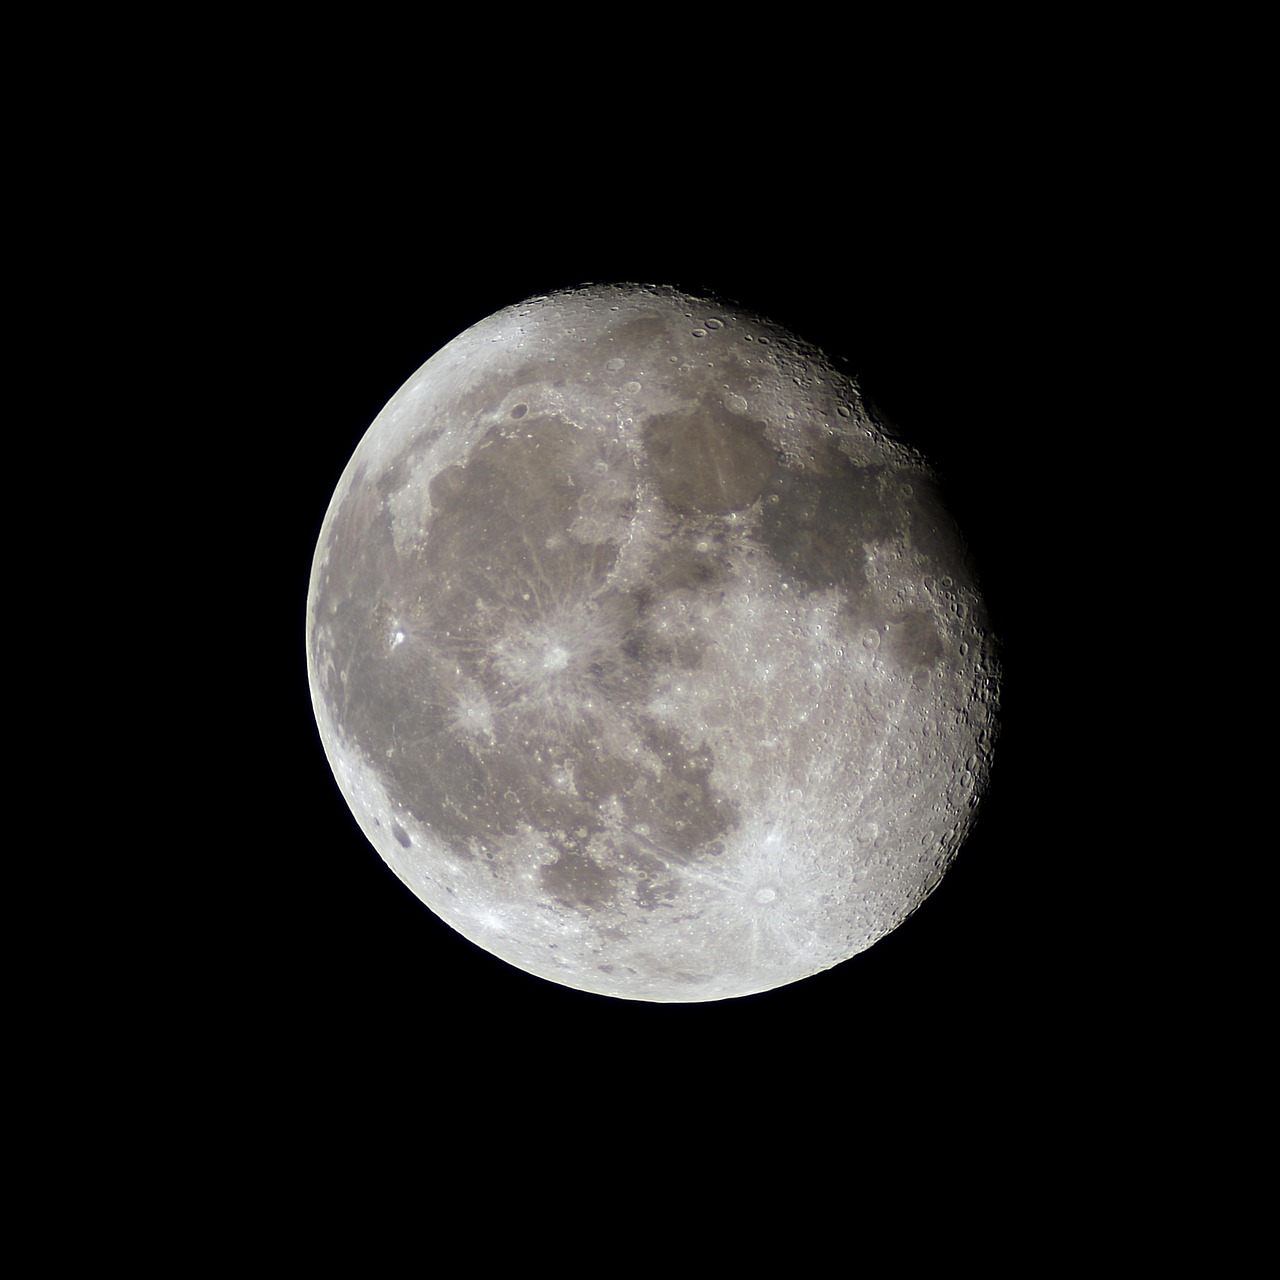
ISO controls your camera sensor’s sensitivity to light. For moon photography, lower ISO values between 50-200 produce the best results. The moon is surprisingly bright, so high ISO settings introduce unnecessary digital noise and grain that degrades image quality.
Start with your camera’s lowest native ISO setting and adjust upward only if absolutely necessary. Lower ISO also helps prevent overexposure of the moon’s bright surface, preserving detail in the lunar landscape.
Controlling Shutter Speed
Shutter speed determines how long your camera sensor is exposed to light. Faster shutter speeds between 1/125 and 1/500 seconds work best for moon photography, freezing the moon’s apparent motion across the sky and preventing blur.
Remember that Earth’s rotation causes the moon to move across your frame more quickly than you might expect. Longer exposures result in motion blur, creating an oval-shaped moon instead of a crisp circle. Faster shutter speeds combat this issue effectively.
Precise Focus Techniques
Autofocus often fails with moon photography because the dark surrounding sky confuses the focus system. Switch to manual focus if your camera app allows it, then carefully adjust until the moon’s edge appears sharp and defined.
Tap directly on the moon in your viewfinder to set focus point. Some cameras allow you to lock focus by holding your finger on the screen. Zoom in on your preview to verify sharpness before capturing your final image.
Stabilization: The Secret to Sharp Moon Photos 🔧
Even the slightest camera movement ruins moon photographs. Human hands naturally shake, and this micro-movement becomes magnified when photographing distant subjects like the moon, especially when using digital zoom.
Using a Tripod or Stable Support
A smartphone tripod is your most valuable moon photography accessory. Inexpensive tripods with phone mounts are widely available and transform your shooting capability. The stable platform eliminates hand shake completely, allowing you to use optimal settings without blur concerns.
If you don’t have a tripod, improvise stable support using walls, fence posts, car roofs, or bean bags. Any solid surface that steadies your phone dramatically improves results. Some photographers create DIY stabilizers using household items.
Timer and Remote Shutter Techniques
Even touching your phone’s shutter button introduces vibration. Use your camera’s timer function, typically offering 2-10 second delays, allowing vibrations to settle before capture. This simple technique significantly enhances sharpness.
Bluetooth remote shutters or your phone’s volume buttons provide alternative triggering methods that minimize camera shake. Voice-activated shutter commands available on some smartphones offer completely touch-free operation.
Mastering Exposure for Lunar Perfection
Exposure is perhaps the most critical element in moon photography. Getting it right means the difference between a detailed lunar surface and a featureless white circle.
Your smartphone’s metering system measures the entire frame’s brightness, averaging the dark sky with the bright moon. This averaging causes the camera to overexpose the moon, washing out all surface detail. You must manually reduce exposure to compensate.
Most camera apps feature exposure compensation, usually represented by a +/- icon or slider. Reduce exposure by 1-2 stops (negative compensation) to prevent the moon from becoming overexposed. The surrounding sky will appear darker, but the moon’s surface details will emerge beautifully.
Bracket your exposures by taking multiple shots at different exposure settings. This approach ensures you capture at least one perfectly exposed image and provides options during post-processing.
Zoom Strategies for Smartphones 🔍
Smartphone zoom capabilities significantly impact moon photography quality. Understanding the difference between optical and digital zoom helps you make informed decisions.
Optical Versus Digital Zoom
Optical zoom uses physical lens elements to magnify subjects without quality loss. Smartphones with telephoto lenses (2x, 3x, 5x, or even 10x optical zoom) produce significantly better moon photos than those relying solely on digital zoom.
Digital zoom simply crops and enlarges the image, reducing resolution and introducing pixelation. While sometimes necessary, minimize digital zoom usage. If your phone has 3x optical zoom, use it fully but avoid excessive digital zoom beyond that point.
Finding the Sweet Spot
Experiment to find your smartphone’s optimal zoom level where moon detail remains sharp. Often this sweet spot exists at maximum optical zoom with minimal digital zoom added. Excessive zoom degrades quality more than it helps, so sometimes less is more.
Consider that you can always crop during post-processing with better control than relying on maximum digital zoom during capture. Shoot with moderate zoom and refine composition later for superior results.
Recommended Photography Apps for Enhanced Control 📲
While native camera apps continue improving, specialized photography apps offer advanced features specifically beneficial for moon photography. These applications provide greater manual control and professional-grade tools.
Camera FV-5 for Android users delivers DSLR-like manual controls including long exposure capabilities, RAW format support, and detailed exposure bracketing. The interface mimics professional cameras, making it intuitive for photography enthusiasts.
ProCam X offers comprehensive manual controls for both Android and iOS platforms, with excellent focus peaking features that help achieve perfect sharpness on the moon’s surface. The histogram display helps nail exposure precisely.
Adobe Lightroom Mobile provides both camera controls and powerful editing capabilities in one package. Shoot in RAW format directly through the app, then immediately process your moon photos with professional-grade adjustments.
Composition Techniques That Elevate Moon Photography 🎨
Technical excellence alone doesn’t create captivating moon photographs. Thoughtful composition transforms technically correct images into compelling visual stories.
Incorporating Foreground Elements
The moon alone against black sky, while detailed, often lacks context and visual interest. Including foreground elements creates depth, scale, and narrative. Silhouettes of trees, architecture, mountains, or people provide compelling contrast against the luminous moon.
Position yourself so the moon appears to interact with foreground subjects—rising between buildings, sitting atop a mountain ridge, or framed by tree branches. These creative compositions tell stories rather than simply documenting the moon’s appearance.
Rule of Thirds and Creative Positioning
Avoid centering the moon in every shot. Apply the rule of thirds by positioning the moon at intersection points of imaginary grid lines dividing your frame into thirds horizontally and vertically. This creates more dynamic, professional-looking compositions.
Consider the moon’s relationship to negative space. Sometimes placing the moon in the upper corner with vast dark sky creates dramatic minimalism. Experiment with both tight crops showing lunar detail and wider shots emphasizing the moon’s context within larger scenes.
Post-Processing Magic for Lunar Enhancement ✨
Even perfectly captured moon photos benefit from thoughtful post-processing. Editing refines your images, bringing out details and correcting minor imperfections.
Essential Editing Adjustments
Increase clarity or structure to enhance lunar surface texture without over-sharpening. This adjustment brings out craters, maria (dark plains), and terrain features beautifully. Be subtle—excessive clarity creates unnatural halos.
Adjust highlights and shadows to recover detail in the brightest and darkest areas. Reducing highlights prevents blown-out white areas on the moon’s surface, while lifting shadows can reveal subtle detail in darker lunar regions.
Fine-tune white balance if the moon appears too warm or cool. The moon’s natural color is neutral gray, though atmospheric conditions sometimes add interesting color casts worth preserving for creative effect.
Sharpening and Noise Reduction
Apply moderate sharpening to enhance edge definition and surface detail. Most editing apps include sharpening tools—start conservatively and increase gradually while zooming in to check for artifacts.
If you had to use higher ISO settings, noise reduction tools minimize grain while preserving detail. Balance noise reduction carefully; excessive application creates artificial-looking smoothness that eliminates the natural lunar texture.
Creative Variations Beyond Standard Moon Shots 🌔
Once you’ve mastered basic moon photography, explore creative variations that showcase your artistic vision and technical skills.
Capturing Moon Phases and Time-Lapses
Document the moon’s complete cycle by photographing the same location throughout the lunar month. Combine images into a composite showing all phases, creating an educational and visually striking piece.
Time-lapse sequences showing the moon’s movement across the sky create dynamic content. Use interval shooting apps to capture frames automatically over hours, then compile them into video showing the moon’s journey.
Experimenting with Supermoons and Eclipses
Supermoons occur when the full moon coincides with its closest approach to Earth, appearing approximately 14% larger and 30% brighter. These events provide exceptional photography opportunities worth planning around.
Lunar eclipses offer rare chances to photograph the moon’s dramatic transformation as Earth’s shadow crosses it. The “blood moon” coloration during total lunar eclipses creates unforgettable images requiring different exposure techniques than normal moon photography.
Common Mistakes to Avoid in Smartphone Moon Photography ⚠️
Learning from common pitfalls saves frustration and accelerates your moon photography progress.
Overreliance on digital zoom ranks among the most frequent mistakes. Excessive zoom degrades image quality more than it helps. Learn your phone’s limits and work within them, using cropping during editing for better control.
Shooting without stabilization ruins otherwise perfect images. Never attempt handheld moon photography if alternatives exist. Even makeshift stabilization dramatically improves results compared to handheld shooting.
Forgetting to clean your lens seems obvious but happens constantly. Fingerprints, dust, and smudges significantly reduce image sharpness and contrast. Wipe your lens with a microfiber cloth before every session.
Ignoring weather and atmospheric conditions wastes opportunities. Check forecasts for clear skies and low humidity. Hazy or cloudy conditions obscure lunar detail and reduce the contrast necessary for compelling moon photographs.
Building Your Moon Photography Skills Over Time 📈
Moon photography mastery develops through consistent practice and experimentation. Each lunar cycle provides fresh opportunities to refine techniques and try new approaches.
Keep detailed notes about successful shots—recording settings, locations, conditions, and techniques. This documentation helps you replicate success and understand what works best with your specific smartphone model.
Join online photography communities focused on smartphone and lunar photography. Sharing work, receiving feedback, and seeing others’ creative approaches accelerates learning and inspires new ideas.
Challenge yourself with increasingly difficult shots. Progress from basic full moon captures to creative compositions, multiple exposures, and challenging phases like thin crescents that test your technical abilities.
Remember that smartphone technology constantly evolves. New models bring improved sensors, better zoom capabilities, and enhanced computational photography features. Stay informed about your phone’s capabilities and software updates that might unlock new potential.
The moon’s timeless beauty offers endless photographic inspiration. With proper techniques, planning, and creative vision, your smartphone becomes a powerful tool for capturing lunar magic. The stunning shots you’ll create showcase not just the moon’s ethereal glow, but your growing skills as a photographer. Every clear night presents another opportunity to perfect your craft and share the wonder of Earth’s celestial companion with the world.