The night sky holds breathtaking beauty that’s now within reach of your smartphone camera. Modern phone technology has transformed astrophotography from an expert-only pursuit into an accessible hobby for everyone.
Whether you’re standing in your backyard or venturing into darker locations, your phone can capture stunning celestial images that were once impossible without expensive equipment. The key lies in knowing what to photograph, when to shoot, and how to make the most of your device’s capabilities. This guide will walk you through the most beginner-friendly targets that deliver spectacular results, even if you’ve never pointed your camera at the stars before.
🌙 Why Your Smartphone Is Perfect for Beginning Astrophotography
Smartphones have evolved dramatically in recent years, with computational photography bringing professional-level capabilities to devices that fit in your pocket. Unlike traditional cameras, phones automatically stack multiple exposures, reduce noise, and enhance detail through artificial intelligence.
The convenience factor cannot be overstated. Your phone is always with you, already charged, and requires minimal setup. Most importantly, the learning curve is gentle—you can start capturing decent astro shots within your first attempt and gradually improve your technique over time.
Modern phone cameras feature larger sensors, improved low-light performance, and dedicated night modes specifically designed for capturing scenes with minimal lighting. These advances mean that targets once requiring telescopes or DSLR cameras are now accessible to anyone with a recent smartphone model.
🌕 The Moon: Your Gateway to Astrophotography Success
The Moon represents the ideal starting point for phone astrophotography. Its brightness makes it easily visible even in light-polluted urban areas, and it’s large enough to show remarkable detail through your phone’s camera.
Begin photographing the Moon during its crescent or quarter phases rather than when it’s full. These phases reveal dramatic shadows along the terminator line—the boundary between day and night on the lunar surface—creating depth and texture that make your images more compelling.
Techniques for Capturing Lunar Details
Use your phone’s zoom function cautiously, as digital zoom often degrades image quality. Instead, capture the Moon at your camera’s native focal length, then crop the image during editing to reveal finer details. This approach maintains better resolution and sharpness.
Lock your focus by tapping on the Moon in your camera app, then manually reduce the exposure using the slider that appears. The Moon is surprisingly bright, and overexposure will wash out all the beautiful crater details you want to capture.
A tripod or stable surface is essential for sharp Moon photos. Even slight movement during capture will blur those crisp crater edges. Simple phone tripods are inexpensive and dramatically improve your results.
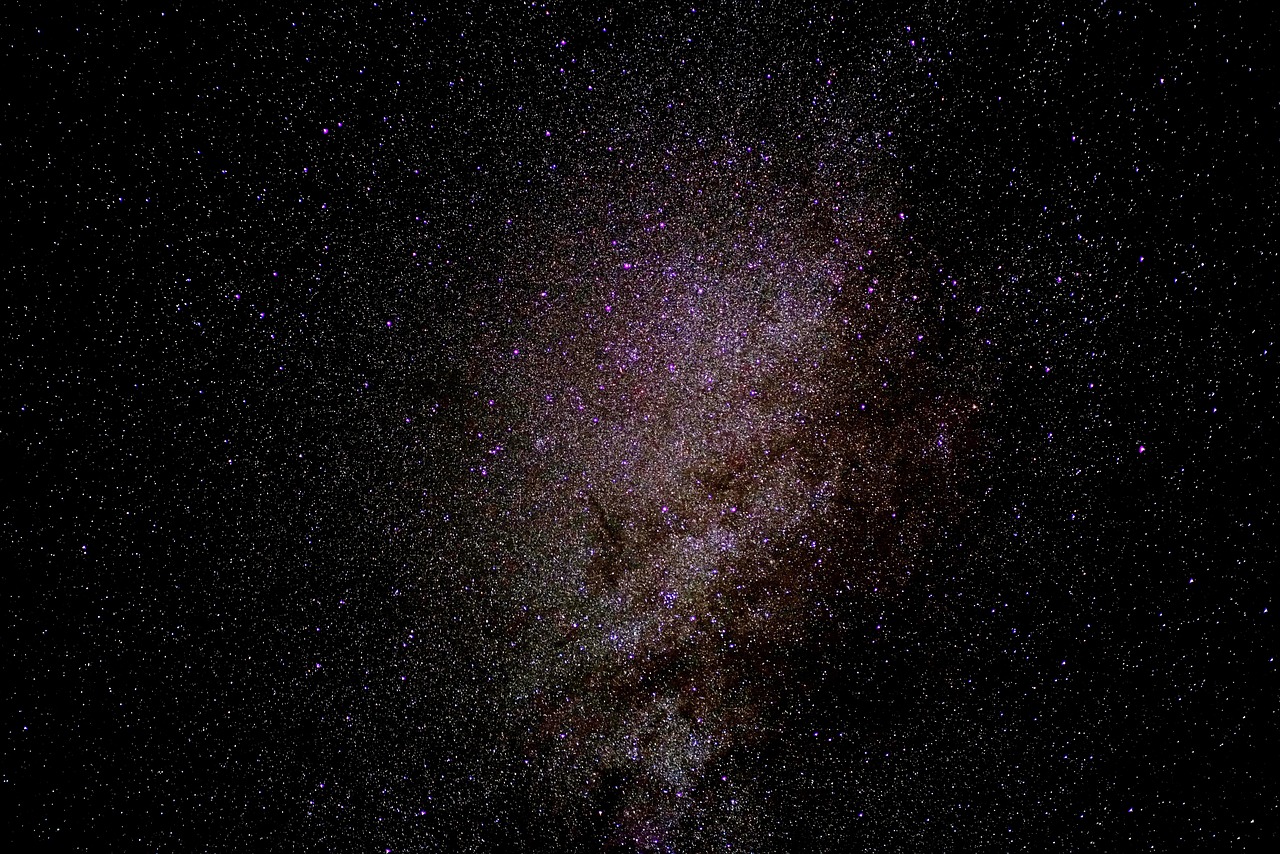
✨ The Milky Way: Capturing Our Galactic Home
Photographing the Milky Way represents a significant step up in difficulty but delivers breathtaking results that showcase your growing skills. This cosmic river of stars stretching across the night sky creates images that inspire wonder in everyone who sees them.
Timing and location are critical for Milky Way photography. You’ll need dark skies away from city lights, ideally during new moon phases when moonlight won’t compete with the galactic core. The Milky Way’s brightest section is visible from March through October in the Northern Hemisphere.
Settings and Preparation for Milky Way Shots
Enable your phone’s night mode or astrophotography mode if available. These specialized modes take longer exposures and stack multiple frames to reveal faint stars invisible to the naked eye. Keep your phone completely still during the entire capture process, which may take 15-60 seconds.
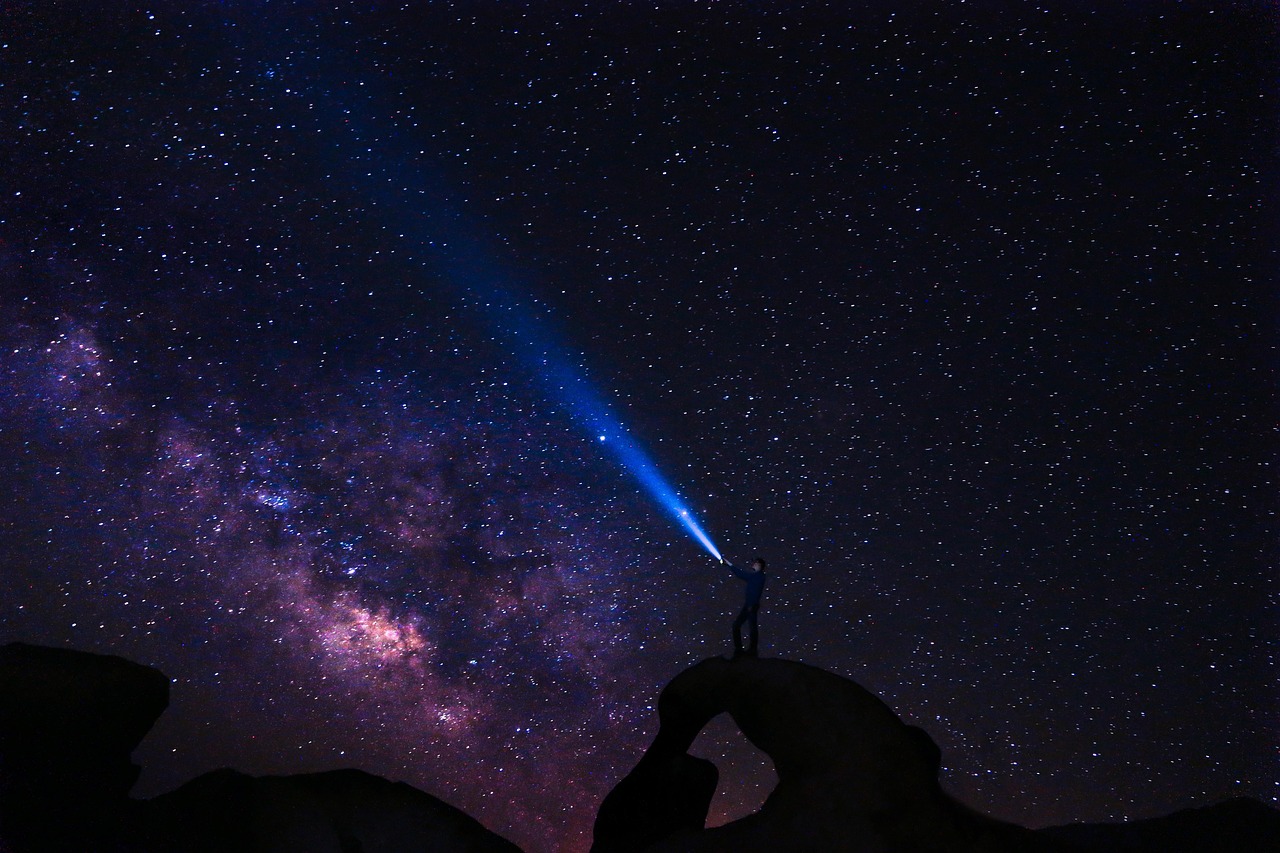
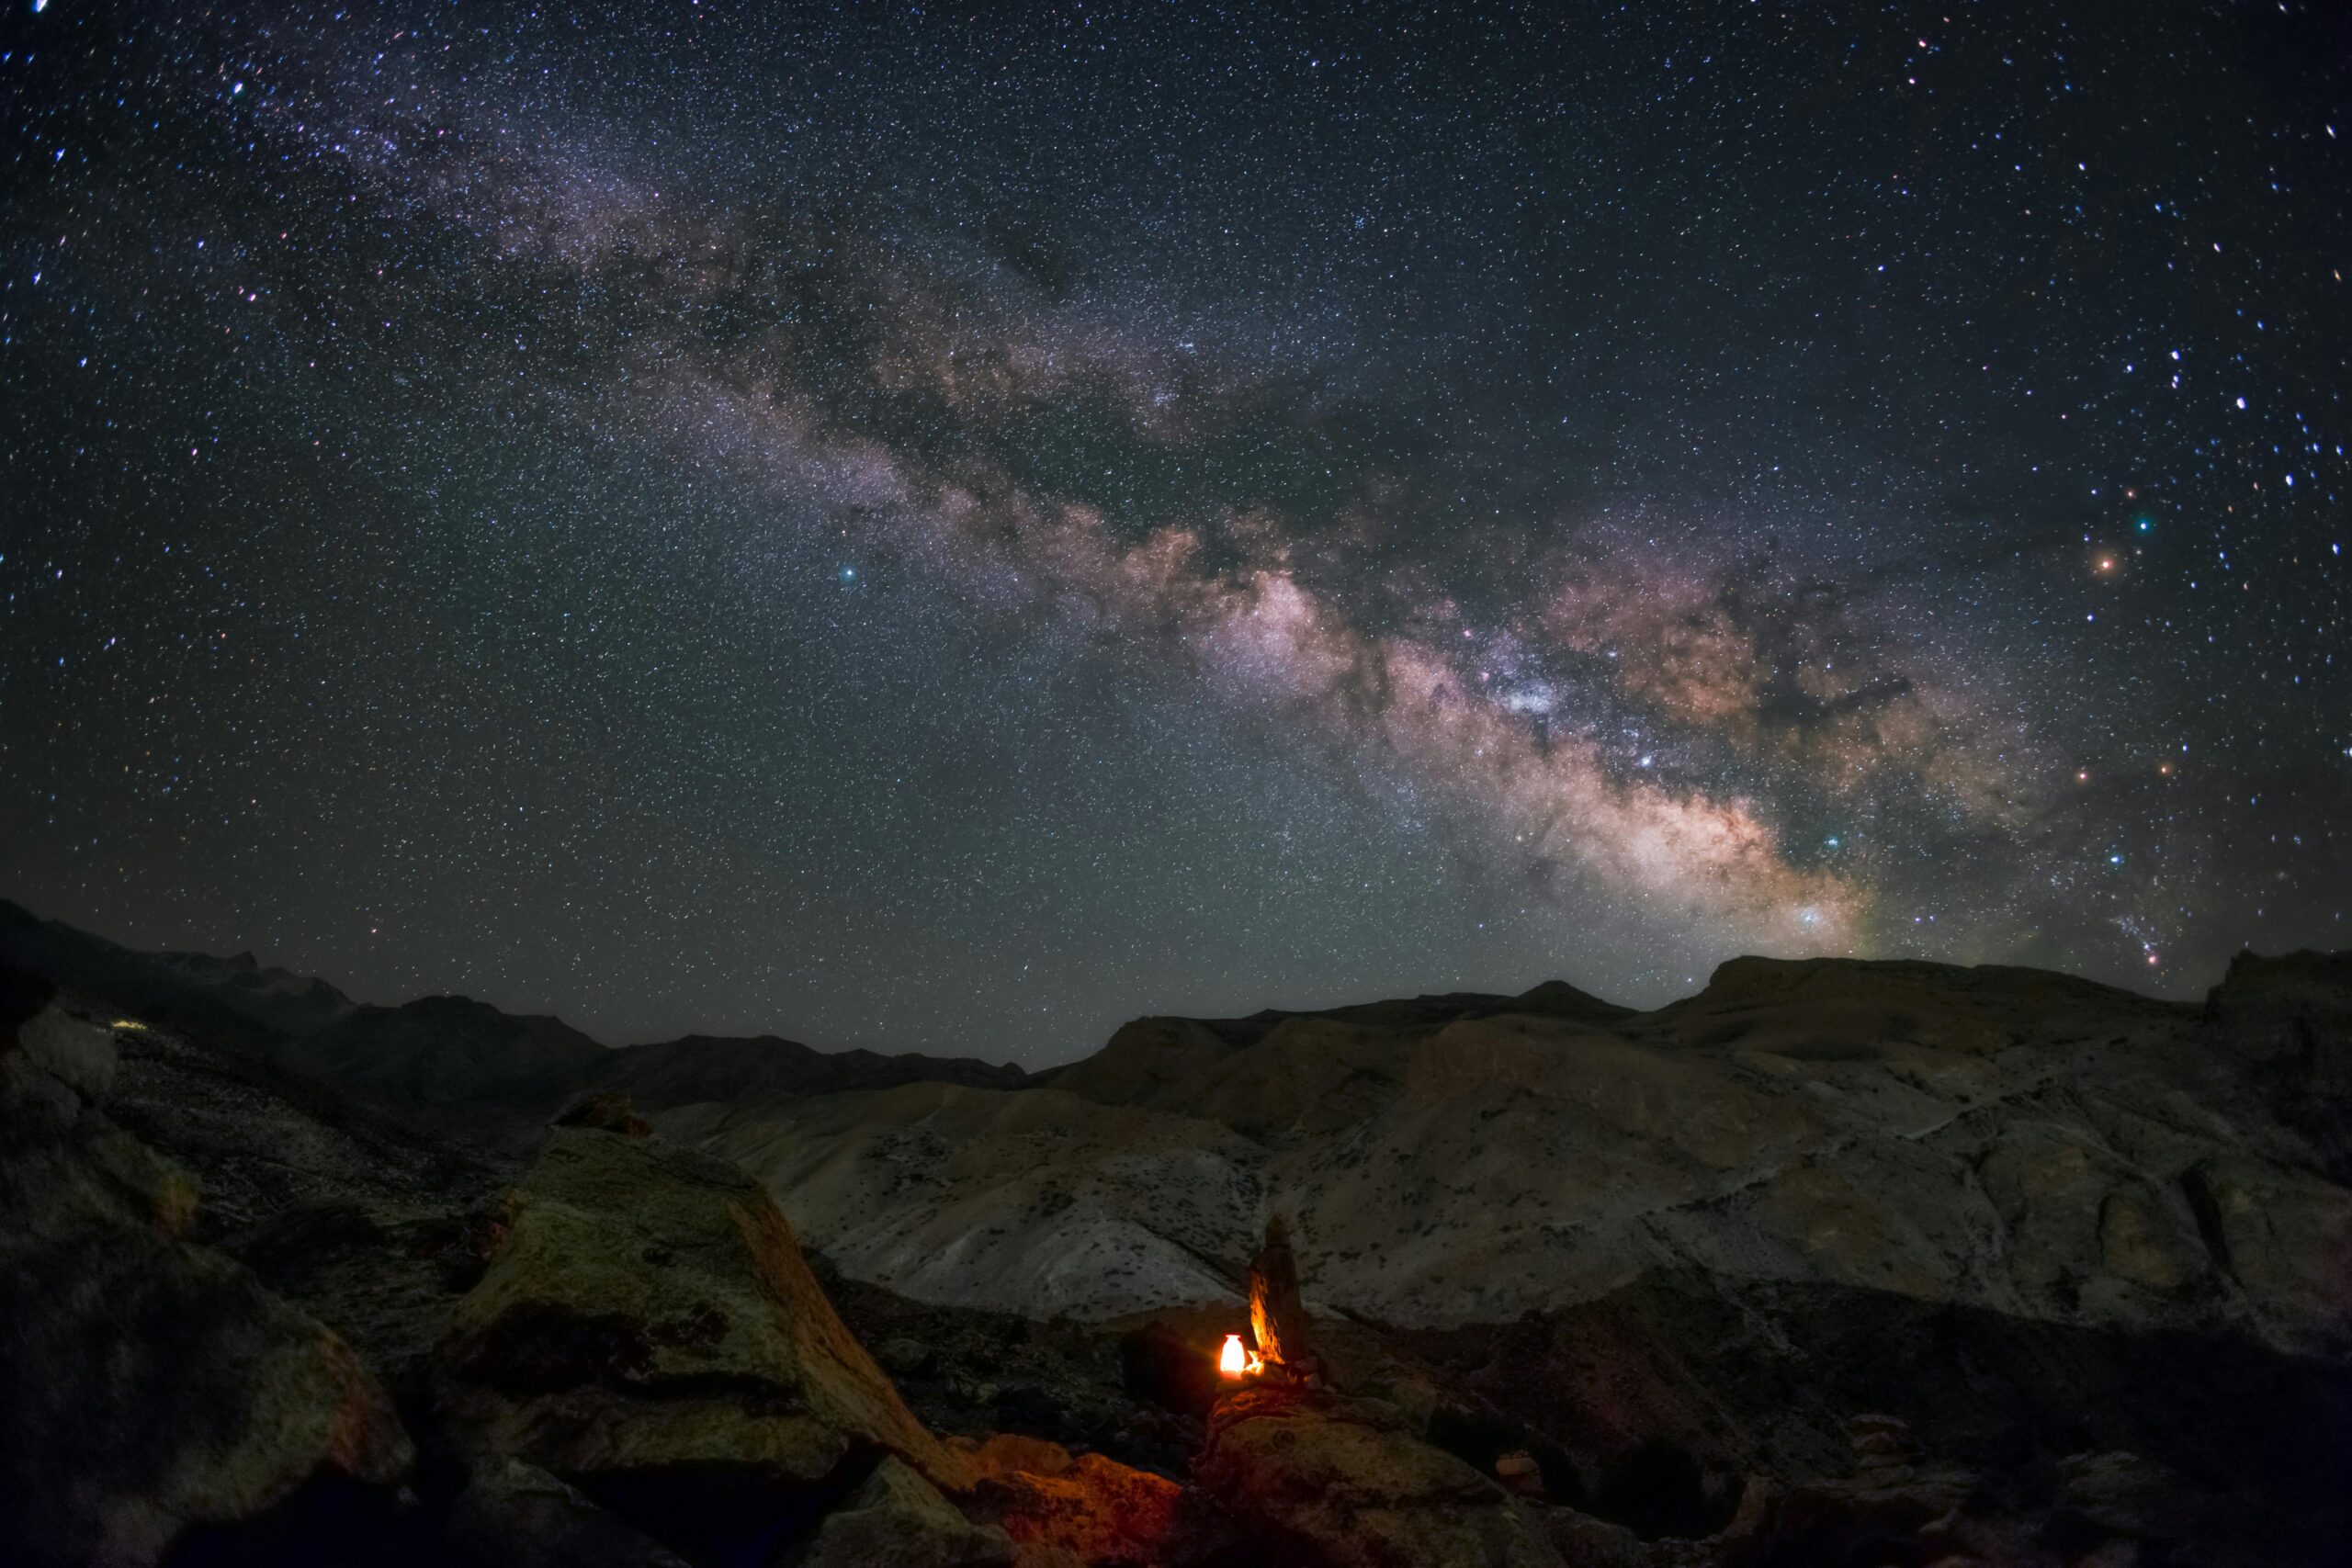
Include foreground elements like trees, mountains, or buildings to add context and scale to your Milky Way images. This compositional technique transforms a good astro shot into a compelling photograph that tells a story about our place in the universe.
Apps designed for astrophotography can help you plan your shoots by showing where the Milky Way will appear at specific times and locations. These tools eliminate guesswork and ensure you arrive at the perfect spot during optimal conditions.
🪐 Planets: Bright Jewels in the Darkness
Venus, Jupiter, Mars, and Saturn periodically become bright enough to photograph beautifully with phone cameras. These wandering lights move against the background stars, making them dynamic subjects that change positions throughout the year.
Jupiter and Venus are the brightest planets and easiest targets for beginners. Venus appears near the horizon shortly after sunset or before sunrise, while Jupiter is visible for longer periods throughout the night during its opposition—when Earth passes between Jupiter and the Sun.
Capturing Planetary Color and Brightness
Planets will appear as bright points of light in phone photos unless you use a telescope adapter. However, you can still create compelling compositions by including planets alongside the Moon, trees, or architectural elements that provide visual interest.
Reduce exposure when photographing bright planets to prevent blooming—the halo effect that occurs when bright objects are overexposed. This technique preserves the planet’s distinct color, whether it’s Venus’s creamy white, Mars’s reddish hue, or Jupiter’s golden glow.
Planetary conjunctions, when two or more planets appear close together in the sky, offer particularly photogenic opportunities. These events are widely announced in astronomy news and provide can’t-miss photo opportunities even for complete beginners.
⭐ Star Trails: Painting with Celestial Motion
Star trail photography captures Earth’s rotation by recording stars as they arc across the sky over extended periods. These images create mesmerizing circular or curved patterns that demonstrate our planet’s constant motion through space.
Creating star trails requires longer shooting sessions—typically 30 minutes to several hours—but the process is surprisingly straightforward with the right approach. The result is a unique image that clearly differs from standard astrophotography.
Methods for Creating Star Trail Images
You can create star trails in two ways: a single long exposure or multiple shorter exposures stacked together. Most phones perform better with the stacking method, which reduces noise and allows you to keep some usable images even if the session is interrupted.
Point your camera toward Polaris (the North Star) in the Northern Hemisphere for circular trails, or aim in any other direction for arcing patterns. The choice affects the final aesthetic, with circumpolar star trails appearing most dramatic.
Intervalometer apps allow your phone to capture hundreds of sequential images automatically, which you later stack using free software. This technique produces cleaner results than attempting single long exposures with phone cameras not designed for extended sensor operation.
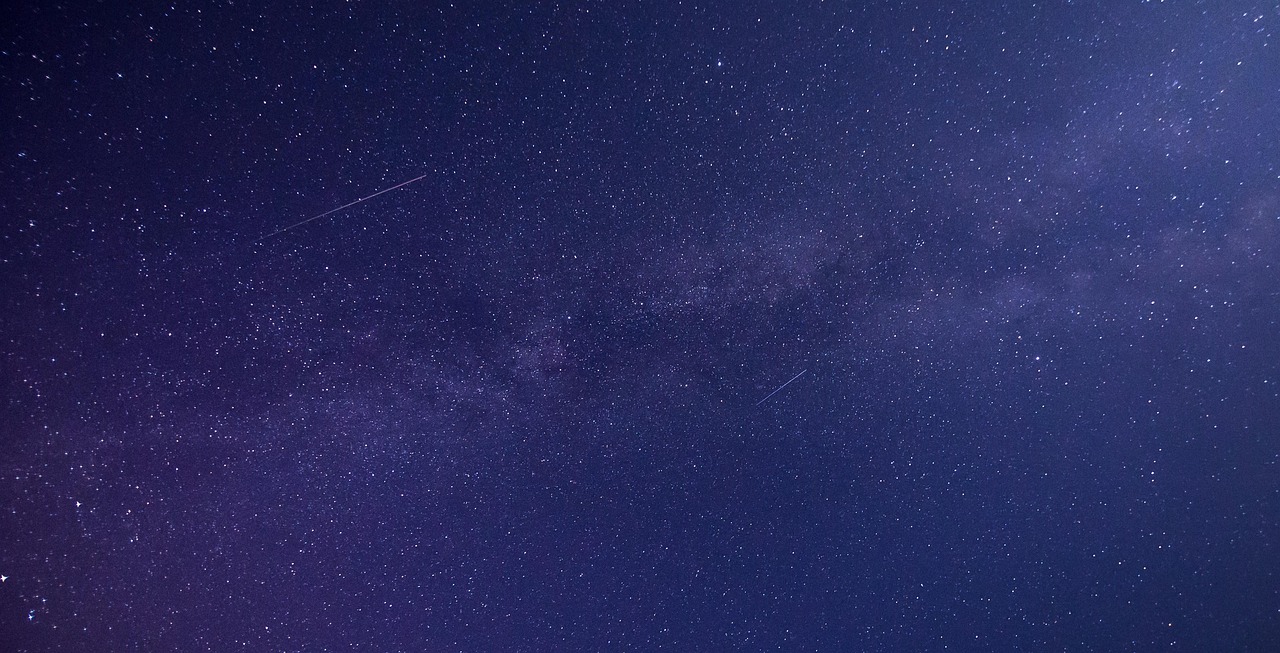
🌠 Meteor Showers: Catching Shooting Stars
Major meteor showers like the Perseids in August or Geminids in December provide opportunities to capture shooting stars streaking across your frame. While catching meteors requires patience and luck, the attempt itself delivers beautiful starry sky images.
Position your phone toward the shower’s radiant point—the area where meteors appear to originate—and use the widest angle lens available. Wider fields of view increase your chances of capturing a meteor’s path through your frame.
Maximizing Your Meteor Photography Success
Set your phone to capture continuous exposures throughout the shower’s peak hours, typically between midnight and dawn. While most frames won’t contain meteors, you’ll accumulate dozens of sky photos, and a few will hopefully capture those magical streaks of light.
Meteors move quickly, so individual exposures should be 15-30 seconds rather than longer. This timing freezes the meteor as a distinct streak rather than a dim blur that might not even register in the final image.
Patience is essential for meteor photography. Professional astrophotographers often capture hundreds of frames to get a handful of meteor shots. Consider the process an enjoyable night under the stars rather than a guaranteed photographic outcome.
🔭 Constellations: Connecting the Stellar Dots
Constellations provide recognizable patterns that make your astrophotography immediately understandable to viewers. Familiar shapes like Orion, the Big Dipper, or Cassiopeia serve as anchors that help people connect with your images.
Wide-angle shots work best for constellation photography since most patterns span significant portions of the sky. Include multiple constellations in a single frame to show the relationships between different star groupings.
Identifying and Framing Constellation Shots
Stargazing apps overlay constellation lines and names directly on your phone screen as you point it toward the sky. This augmented reality feature helps you identify patterns and plan compositions before switching to your camera app.
Seasonal changes bring different constellations into view, giving you fresh subjects throughout the year. Orion dominates winter skies, while Scorpius and Sagittarius mark summer nights. This variety ensures you’ll always have new targets to photograph as seasons progress.
Consider adding constellation lines to your images during post-processing. This educational element helps viewers identify the patterns you’ve captured and adds an informative dimension to your artistic work.
🌌 The International Space Station: Photographing Human Presence in Space
The International Space Station appears as a brilliant point of light moving steadily across the sky, brighter than most stars. Capturing its transit creates a distinctive bright line through your starfield—proof of humanity’s presence in orbit above.
ISS passes are predictable and announced through various tracking websites and apps. Each pass lasts only a few minutes, so preparation is crucial. Know exactly when and where to point your camera before the pass begins.
Capturing ISS Transits Successfully
Use your phone’s time-lapse or long-exposure mode to record the ISS’s path across your frame. The station moves quickly enough that you’ll see a bright streak rather than a point, creating a dynamic element in an otherwise static starfield.
The brightest ISS passes rival Venus in intensity, making them visible even from moderately light-polluted areas. These bright passes offer the best photographic opportunities and require less exposure compensation than dimmer passes.
Including the ISS passing near or in front of the Moon creates particularly striking images. These precise alignments require careful planning and split-second timing, but specialized apps can help you determine when and where these rare opportunities occur.
🎯 Essential Tips for Improving Your Phone Astrophotography
Stability is paramount in astrophotography. Any movement during exposure creates blur that ruins sharpness. Invest in even a basic phone tripod—the improvement in image quality will amaze you and instantly elevate your results from amateur to impressive.
Clean your camera lens before each shooting session. Fingerprints, dust, and smudges scatter light and reduce contrast, particularly problematic when capturing faint celestial objects. A quick wipe with a microfiber cloth makes a noticeable difference.
Disable flash and HDR modes, which interfere with astrophotography by attempting to brighten scenes inappropriately. Manual control over exposure, focus, and ISO—available in your phone’s pro mode or third-party camera apps—provides better results than automated settings.
Understanding Light Pollution and Location Selection
Light pollution is the astrophotographer’s enemy, washing out faint stars and reducing contrast in your images. Even driving 30 minutes away from city centers dramatically improves sky darkness and the number of visible stars your camera can capture.
Dark sky maps available online show light pollution levels across regions, helping you identify the nearest locations with truly dark skies. National parks, rural areas, and elevated locations typically offer the best conditions for astrophotography.
If you cannot escape urban areas, focus on brighter targets like the Moon, planets, and major constellations. These objects remain visible despite light pollution and can produce excellent results even from city balconies or backyards.
📱 Post-Processing: Bringing Out Celestial Details
Post-processing transforms good astrophotography into great images by revealing details hidden in your original capture. Don’t view editing as cheating—it’s an essential step that mimics what your eyes would see if they were as sensitive as camera sensors.
Increase contrast and clarity to make stars pop against the dark sky background. Adjust highlights and shadows to balance bright celestial objects with surrounding darkness. These basic adjustments dramatically improve visual impact without requiring advanced editing skills.
Reduce noise carefully, as aggressive noise reduction eliminates faint stars along with grain. Modern editing apps offer selective noise reduction that preserves star detail while smoothing the sky background—use these tools with restraint for natural-looking results.
Color Enhancement for Astro Images
Stars display subtle colors reflecting their temperatures—blue stars are hotter, while red and orange stars are cooler. Enhance color saturation moderately to reveal these beautiful hues that add scientific interest and visual appeal to your photographs.
The Milky Way’s core shows stunning orange and teal colors when properly processed. Adjust color temperature and vibrance sliders to bring out these tones without creating unnatural, oversaturated results that look artificial.
Free mobile editing apps offer surprising power for astrophotography post-processing. Experiment with different tools to develop your personal editing style that enhances your images while maintaining their natural character and authenticity.
🚀 Your Journey Through the Cosmos Begins Now
The night sky offers unlimited photographic opportunities once you understand which targets work best for smartphone cameras. Start with easier subjects like the Moon and bright planets, building confidence and skills before tackling challenging targets like the Milky Way.
Each clear night presents new possibilities for capturing cosmic beauty. Weather, seasons, and celestial mechanics constantly change what’s visible, ensuring you’ll never run out of subjects to photograph. This variety keeps astrophotography endlessly engaging.
Remember that even professional astrophotographers started as beginners pointing cameras skyward with more enthusiasm than expertise. Every expert was once a novice wondering whether their phone could really capture stars. Your journey follows that same path—one image at a time.
Share your astrophotography with online communities where enthusiasts exchange tips, celebrate successes, and offer constructive feedback. These supportive groups accelerate your learning and connect you with people who share your passion for the night sky.
The universe awaits your camera. Step outside tonight, point your phone toward the heavens, and capture the cosmic wonders that have inspired humanity for millennia. Your stunning astrophotography journey starts with a single shot, and that perfect moment is closer than you think.