The night sky holds infinite beauty, and capturing its movement through star trail photography is one of the most rewarding experiences for any aspiring astrophotographer.
What once required expensive DSLR cameras and complex equipment can now be achieved with the smartphone in your pocket. Modern mobile devices have evolved to include powerful sensors, manual camera controls, and long exposure capabilities that make stellar photography accessible to everyone. Whether you’re standing in your backyard or exploring remote dark sky locations, your smartphone can help you create breathtaking images of the cosmos in motion.
Understanding Star Trails and Why They’re So Captivating ✨
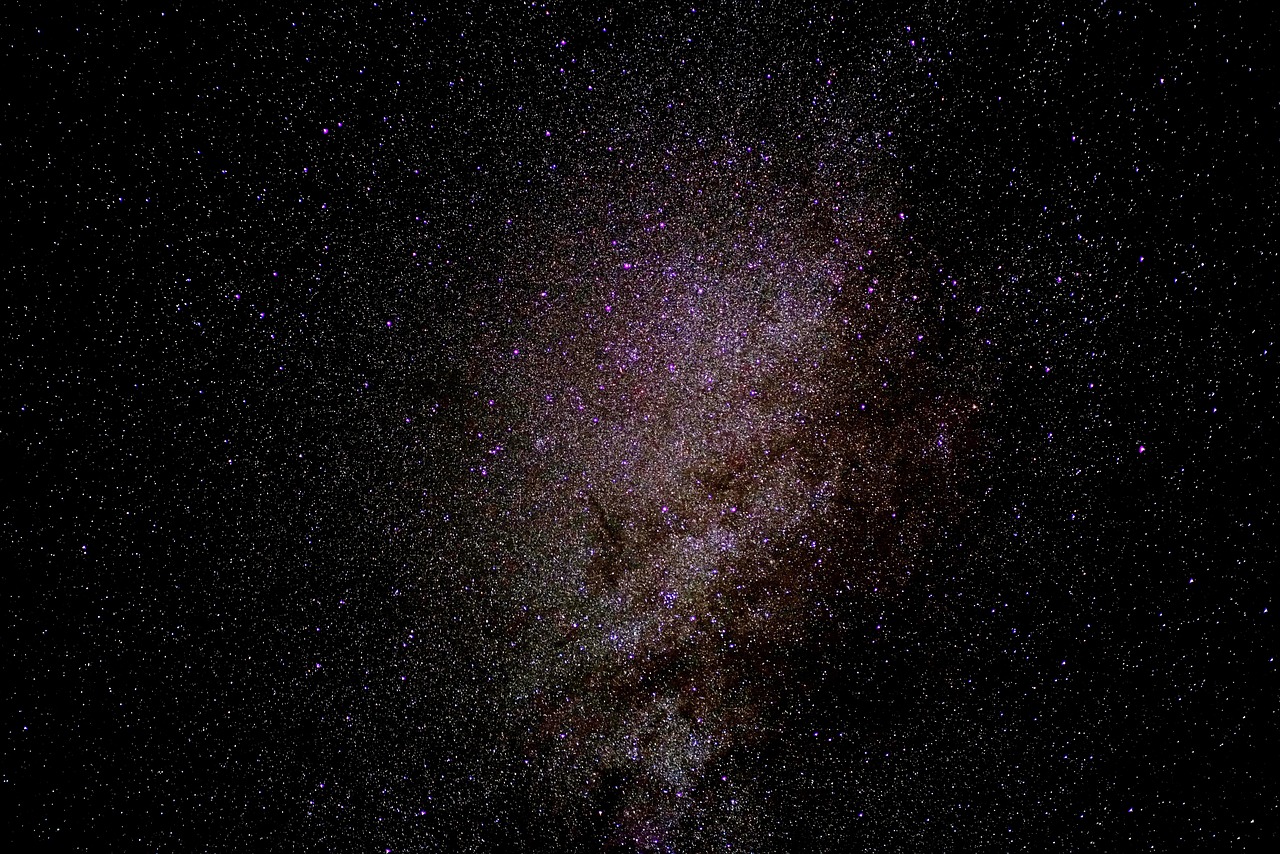
Star trails are those mesmerizing circular or arc-shaped light streaks that appear in long-exposure photographs of the night sky. These patterns aren’t just artistic—they’re visual proof of Earth’s rotation. As our planet spins on its axis, stars appear to move across the sky, creating beautiful light paths when captured over extended periods.
The direction and shape of star trails depend on where you point your camera. If you aim toward Polaris (the North Star in the Northern Hemisphere) or the southern celestial pole, you’ll capture circular trails. Point toward the eastern or western horizons, and you’ll see more linear, arc-shaped patterns. Each composition tells a different story of our planet’s dance through space.
Preparing Your Smartphone for Astrophotography 📱
Before heading out under the stars, you’ll need to ensure your smartphone is properly configured for night sky photography. Most modern smartphones from manufacturers like Samsung, Google, Apple, and OnePlus include the necessary features, though the specific capabilities vary by model.
Essential Camera Settings and Features
Your smartphone needs manual camera controls to capture star trails effectively. Look for these features in your native camera app or download a specialized photography application:
- Manual exposure control (ability to set shutter speed from 15-30 seconds or longer)
- ISO adjustment (typically between 800-3200 for night sky photography)
- Manual focus with infinity setting
- RAW image capture for maximum editing flexibility
- Timer or remote shutter to prevent camera shake
If your default camera app lacks these features, several specialized applications can unlock your phone’s full potential. Apps like ProCam, Camera FV-5, and NightCap Camera offer advanced controls specifically designed for low-light and astrophotography scenarios.
Battery and Storage Considerations
Star trail photography is a marathon, not a sprint. A complete star trail sequence might require one to three hours of continuous shooting, which demands substantial battery power and storage space.
Bring at least one fully charged power bank with enough capacity to recharge your phone completely. Cold night temperatures drain batteries faster than normal, so keep your power bank in an inside pocket to maintain warmth. Clear unnecessary files from your phone beforehand, and consider using a high-capacity microSD card if your device supports expandable storage.
The Right Equipment Beyond Your Smartphone 🎒
While your smartphone is the star of the show, a few affordable accessories will dramatically improve your results and make the entire process more enjoyable.
Tripod: Your Most Important Accessory
A stable tripod is absolutely non-negotiable for star trail photography. Any movement during exposure will ruin your images, turning pinpoint stars into blurry streaks. You don’t need an expensive professional tripod—a budget model between $20-40 will work perfectly fine for smartphone photography.
Look for tripods with adjustable legs that can handle uneven terrain, and ensure it includes a smartphone mount or adapter. Some tripods come with flexible legs that can wrap around tree branches or railings, offering creative positioning options in the field.
Additional Helpful Gear
Consider bringing these items to enhance your star trail photography sessions:
- Red headlamp or flashlight (preserves night vision while allowing you to see equipment)
- Bluetooth remote shutter or timer app (eliminates touching the phone during exposure)
- Lens cleaning cloth (removes fingerprints and moisture from the camera lens)
- Warm clothing and blanket (nights get cold, even in summer)
- Portable chair (comfort matters during long sessions)
- Star map app for orientation and planning
Finding the Perfect Location for Stellar Results 🌍
Location makes or breaks star trail photography. Even the most advanced smartphone can’t overcome severe light pollution or obstructed views. Choosing your shooting location carefully is as important as mastering your camera settings.
Escaping Light Pollution
Urban and suburban areas suffer from light pollution that washes out faint stars, reducing the number of visible trails in your final image. Ideally, travel to locations with Bortle Scale ratings of 4 or lower—these darker sky zones reveal thousands of stars invisible from cities.
Use light pollution maps available through websites like Dark Site Finder or Light Pollution Map to identify dark sky locations within driving distance. National parks, rural areas, and designated Dark Sky Preserves offer the best conditions. Even driving 30-50 miles away from city centers can dramatically improve your results.
Composition and Foreground Elements
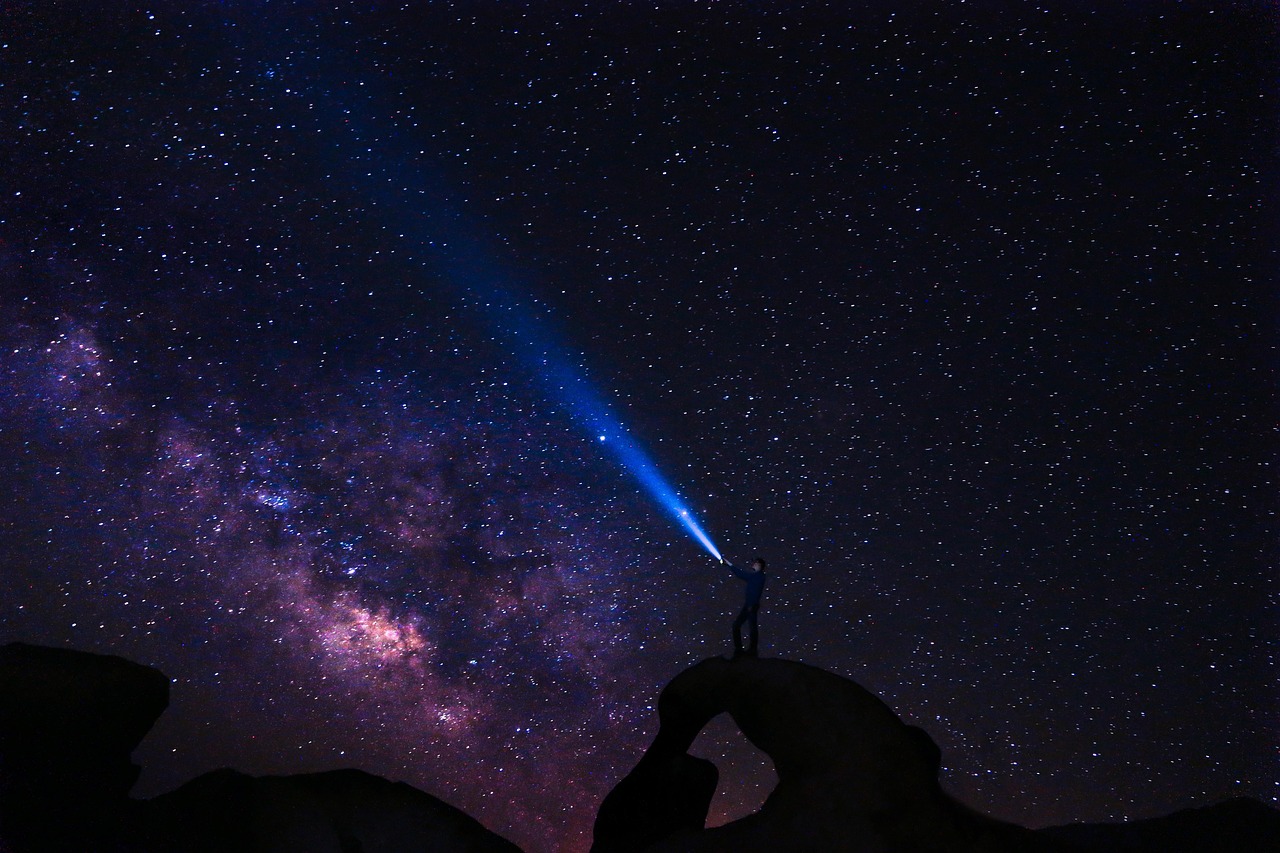
Star trails become even more compelling when paired with interesting foreground subjects. Look for distinctive silhouettes like lone trees, rock formations, abandoned buildings, or mountain ridges. These terrestrial elements provide context and scale while adding visual interest to your composition.
Scout locations during daylight if possible, noting potential compositions and any obstacles. Consider how foreground elements will appear as silhouettes against the star-filled sky. Bodies of water can add beautiful reflections, though you’ll need exceptionally still conditions for mirror-like effects.
Mastering the Technical Approach 🎯
Creating star trails involves either single ultra-long exposures or stacking multiple shorter exposures. The stacking method is generally superior for smartphone photography, as it reduces noise and prevents overheating issues that plague phones during extended single exposures.
The Image Stacking Technique
Rather than attempting one continuous 2-hour exposure, you’ll capture dozens or hundreds of individual images, then blend them digitally in post-processing. This approach offers several advantages: reduced noise, flexibility to stop early if conditions deteriorate, and the ability to create timelapses from the same image sequence.
Configure your camera app to shoot in intervalometer mode, taking consecutive images with minimal gaps between frames. Set each individual exposure between 15-30 seconds, depending on your smartphone’s capabilities and the ambient light conditions. The interval between shots should be 1-2 seconds maximum to create smooth, continuous trails.
Optimal Camera Settings for Star Trails
Start with these baseline settings, then adjust based on your specific conditions and smartphone model:
| Setting | Recommended Value | Purpose |
|---|---|---|
| Shutter Speed | 15-30 seconds | Captures star movement without overexposing |
| ISO | 800-1600 | Balances sensitivity with noise levels |
| Aperture | Widest available (f/1.8-2.4) | Maximizes light gathering |
| Focus | Manual infinity | Ensures stars are sharp |
| White Balance | 3200-4000K | Maintains natural star colors |
| Format | RAW (DNG) | Maximum editing flexibility |
Achieving Perfect Focus in Darkness
Focusing accurately in darkness challenges even experienced photographers. Smartphone screens can deceive you, making slightly out-of-focus stars appear acceptably sharp when they’re not.
Use these techniques to nail focus every time: First, find the brightest star or planet visible in your frame. Zoom into live view at maximum magnification, then slowly adjust manual focus until the point of light becomes as small and tight as possible. Some apps offer focus peaking, which highlights in-focus areas—use this feature when available. Take a test shot and examine it at 100% magnification to verify sharpness before starting your sequence.
Post-Processing: Bringing Your Star Trails to Life 💫
Capturing the raw images is only half the journey. Post-processing transforms your individual exposures into stunning star trail compositions. You’ll need specialized software or apps capable of image stacking and basic editing.
Stacking Your Images into Star Trails
For mobile editing, apps like StarStaX (available for desktop with files transferred from your phone) or LightTrails can automatically blend your image sequence into continuous star trails. The process is remarkably simple: import all images from your sequence, select the “lighten” or “maximum” blending mode, and let the software combine them.
Desktop applications like StarStaX or Photoshop offer more control but require transferring images from your smartphone. The extra effort pays off with superior results and more creative possibilities. In Photoshop, stack all images as layers, then change each layer’s blend mode to “Lighten”—the software automatically creates the trails by keeping only the brightest pixels from each frame.
Enhancing the Final Image
Once your star trails are stacked, basic adjustments can enhance the final result without making it look artificial. Increase contrast slightly to make stars pop against the dark sky. Adjust color temperature if needed to correct any unwanted color casts. Reduce noise if visible, though stacking naturally minimizes noise compared to single exposures.
Be conservative with editing—the goal is to enhance natural beauty, not create something that looks heavily processed. Pay special attention to foreground elements, which may need separate exposure adjustments to maintain detail without distracting from the star trails.
Common Challenges and How to Overcome Them 🔧
Even experienced smartphone astrophotographers encounter obstacles. Understanding common problems and their solutions will save frustration and improve your success rate.
Dealing with Dew and Condensation
Temperature drops during night photography sessions often cause condensation on smartphone lenses, resulting in blurry, hazy images. This problem intensifies in humid climates or near bodies of water.
Prevent condensation by keeping your phone slightly warmer than ambient temperature—store it in an inside pocket until you’re ready to shoot. Some photographers attach small hand warmers near (but not directly touching) their phone using rubber bands. Check your lens every 15-20 minutes and wipe away any moisture immediately with a microfiber cloth.
Airplane and Satellite Trails
Modern skies are busier than ever, with satellites and aircraft frequently crossing your frame during long sequences. While some photographers embrace these unexpected elements, others prefer pure star trails.
Remove unwanted trails during stacking by manually excluding the specific frames where aircraft or satellites appear. Most stacking software allows you to deselect individual images from your sequence. This requires patience but results in cleaner final images if that’s your aesthetic preference.
Managing Phone Temperature
Extended shooting sessions can cause smartphones to overheat, especially in warmer weather. Overheating triggers automatic shutdowns or reduces performance, potentially ruining your sequence.
Minimize processing load by closing all background apps before starting. Enable airplane mode to prevent notifications and reduce power consumption. Remove any phone case that might trap heat. In extreme situations, take short breaks between shooting sessions to allow the device to cool.
Advanced Techniques for Creative Results 🎨
Once you’ve mastered basic star trail photography, experiment with these advanced approaches to create unique and memorable images.
Circumpolar Star Trails
The most dramatic star trails form complete or nearly complete circles around the celestial pole. These compositions require longer shooting sessions—typically 2-4 hours—and precise framing centered on Polaris or the southern celestial pole.
Use compass apps or star map applications to locate the exact celestial pole position before setting up. Frame your composition so the pole star sits in the upper third of your image rather than dead center, which creates more dynamic compositions. Include interesting foreground elements at the bottom of the frame for context.
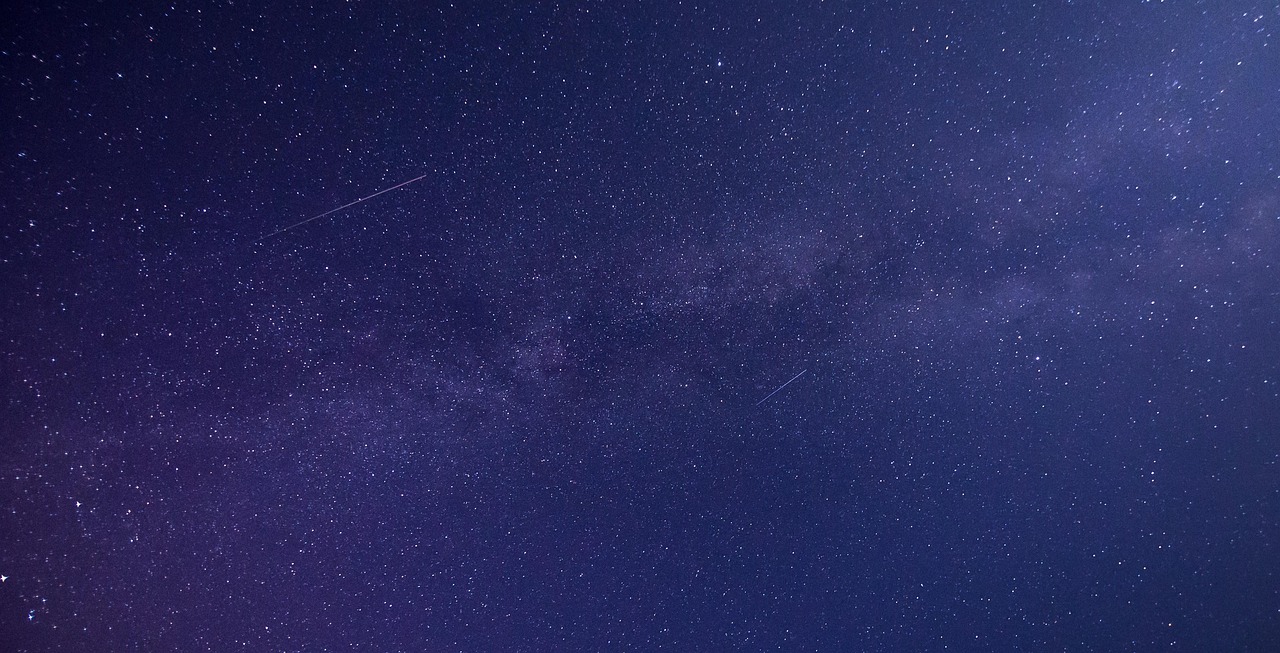
Incorporating the Milky Way
Combining star trails with visible Milky Way structure creates ethereal, otherworldly images. This technique requires shooting during new moon phases in exceptionally dark locations. The Milky Way galactic core (visible in summer months from northern latitudes) provides a stunning backdrop for star trails.
Capture your star trail sequence as usual, but also take several shorter exposures (10-15 seconds) at the beginning or end specifically to capture Milky Way detail. Blend these detail frames with your star trail stack in post-processing for the best of both worlds.
Weather and Timing Considerations 🌙
Successful star trail photography depends heavily on weather conditions and careful timing. Even perfect technique can’t overcome cloudy skies or unfavorable moon phases.
Choosing the Right Moon Phase
Moon phase dramatically affects your results. A full moon illuminates the landscape beautifully but also washes out fainter stars, reducing the number of visible trails. New moon periods offer the darkest skies and maximum star visibility, ideal for dramatic, dense star trail patterns.
Quarter moons provide middle-ground conditions—enough moonlight to illuminate foregrounds without completely overpowering stars. Plan shooting sessions around moon rise and set times; photographing after moonset during waxing phases or before moonrise during waning phases gives you darkness when you need it.
Reading Weather Patterns
Check multiple weather forecasts and specifically look for cloud cover predictions. Specialized apps like Clear Outside or Astrospheric provide astronomy-specific forecasts including transparency, seeing conditions, and cloud cover at different altitudes. Even thin high-altitude clouds invisible to the naked eye can ruin star trail photography.
Humidity levels matter too—high humidity increases atmospheric haze and condensation risks. Windy conditions can shake your tripod setup, though moderate breezes help prevent dew formation. Ideal nights feature calm, dry, cloudless conditions with minimal atmospheric disturbance.
Safety and Practical Considerations for Night Photography 🚨
Photographing in remote locations during nighttime hours requires additional safety awareness beyond typical photography outings.
Always inform someone of your location and expected return time. Bring a fully charged cell phone separate from your photography phone if possible. Pack more warm clothing than you think necessary—nights get surprisingly cold when you’re sitting still for hours. Bring adequate water and snacks for extended sessions.
Be aware of wildlife in your area—nocturnal animals are active during your shooting hours. Make noise when walking to your location to avoid surprising animals. Keep a flashlight handy and know the signs of local dangerous wildlife. In some regions, photographing alone at night isn’t advisable for safety reasons.
Research property boundaries and regulations before shooting. Many public lands prohibit nighttime access, and private property obviously requires permission. State and national parks often have specific rules about nighttime photography—verify regulations to avoid fines or confrontations with law enforcement.

Sharing Your Cosmic Creations 📸
After investing hours capturing and processing your star trail images, sharing them with appreciative audiences brings well-deserved satisfaction and valuable feedback.
Instagram, Flickr, and specialized astrophotography communities like AstroPhotography Reddit welcome star trail images. When posting, include technical details about your capture process—photographers love learning about techniques and settings. Mention your smartphone model to inspire others who might doubt their equipment’s capabilities.
Enter your best work into photography competitions or submit to astrophotography publications. Many contests specifically welcome smartphone photography categories. Local astronomy clubs often host imaging competitions where smartphone captures compete alongside DSLR work. Your unique perspective and accessibility-focused approach might resonate more strongly than you expect.
The beauty of smartphone star trail photography lies in its accessibility—anyone with a modern phone, basic equipment, and determination can capture the cosmos in motion. Each session teaches new lessons about the night sky, patience, and creative problem-solving. Your smartphone transforms from a communication device into a window on the universe, revealing Earth’s rotation through rivers of starlight. Start tonight, experiment fearlessly, and watch as your cosmic captures improve with each session under the stars.