Phone astrophotography has revolutionized how we capture the cosmos, making stellar photography accessible to everyone with a smartphone. Yet many beginners struggle to achieve impressive results.
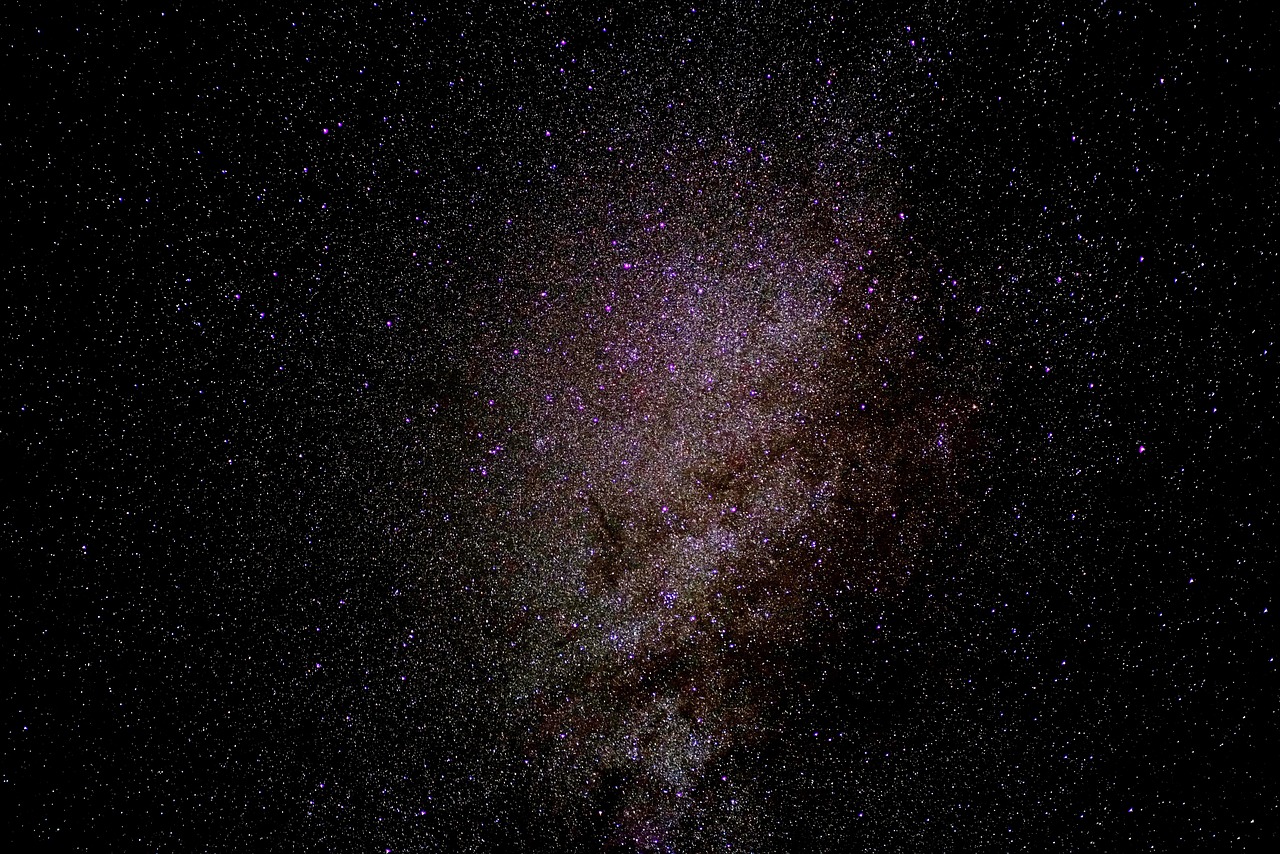
The night sky offers endless photographic opportunities, from the Milky Way’s luminous band to distant planets and meteor showers. Modern smartphones possess surprising capabilities for capturing these celestial wonders, but success requires understanding both your device’s potential and the common pitfalls that sabotage night sky photography. Whether you’re photographing star trails, the moon, or deep space objects, avoiding fundamental mistakes will dramatically improve your astronomical images and transform frustrating sessions into rewarding experiences under the stars.
🌙 Understanding Your Smartphone Camera’s Night Sky Limitations
Before venturing into astrophotography, recognizing your phone’s technical constraints prevents unrealistic expectations. Smartphone sensors are considerably smaller than dedicated cameras, limiting light-gathering capability—essential for capturing faint celestial objects. This physical limitation means longer exposures and higher ISO settings become necessary, often introducing noise that degrades image quality.
The fixed aperture on most phone cameras restricts how much light enters the sensor during exposure. Unlike interchangeable lens cameras where you can use wide apertures like f/1.4 or f/2.8, smartphones typically operate between f/1.5 and f/2.2. While respectable, this still challenges low-light performance when photographing dim stars and nebulae.
Additionally, digital zoom remains problematic for astrophotography. Many beginners pinch-to-zoom when targeting the moon or specific constellations, but this digital magnification simply crops and enlarges the image, sacrificing resolution and introducing artifacts. Understanding these inherent limitations helps you work within your equipment’s capabilities rather than fighting against them.
The Critical Mistake of Shooting in Auto Mode
Perhaps the most common beginner error is relying on your phone’s automatic camera mode for night sky photography. Auto mode optimizes settings for typical daytime scenarios—bright light, moving subjects, and quick snapshots. The night sky presents the opposite challenge: minimal light, stationary subjects, and the need for extended exposures.
When you point your camera at the dark sky in auto mode, the software struggles to focus on distant stars, often hunting endlessly or locking onto nothing. The exposure algorithms also misinterpret the darkness, either overexposing the few bright stars present or underexposing everything into blackness. The automatic ISO selection frequently pushes sensitivity too high, creating grainy, unusable images.
Switching to manual or pro mode gives you control over shutter speed, ISO, and focus—the three pillars of successful astrophotography. Most modern smartphones include professional camera modes, though they may be labeled differently across manufacturers (Pro Mode, Manual, Expert RAW, etc.).
⭐ Neglecting Proper Focus Techniques
Achieving sharp focus on stars ranks among the trickiest aspects of phone astrophotography. The autofocus system designed for earthly subjects fails when targeting pinpoints of light millions of miles away. Many beginners tap their screen hoping the camera will lock focus on stars, only to find blurry, amorphous blobs instead of crisp points of light.
The solution requires manual focus control. In your camera’s pro mode, locate the manual focus slider (often represented by a mountain icon or MF). Slide the focus to infinity, but don’t assume the infinity mark automatically delivers perfect results. Some phones require slight adjustment from the infinity position for optimal star sharpness.
A practical focusing technique involves finding the brightest star or planet visible (Venus, Jupiter, or Sirius work excellently) and zooming in digitally while adjusting focus. Once that celestial object appears as the smallest, sharpest point possible, you’ve achieved proper focus. Lock this setting before composing your final shot. Some photographers also use distant terrestrial lights on the horizon as focus targets before recomposing for the sky.
Exposure Settings That Sabotage Your Star Photos
Exposure represents the delicate balance between capturing sufficient light and avoiding image degradation. Beginners frequently make three exposure-related mistakes: using excessively long shutter speeds, pushing ISO too high, and failing to shoot in RAW format.
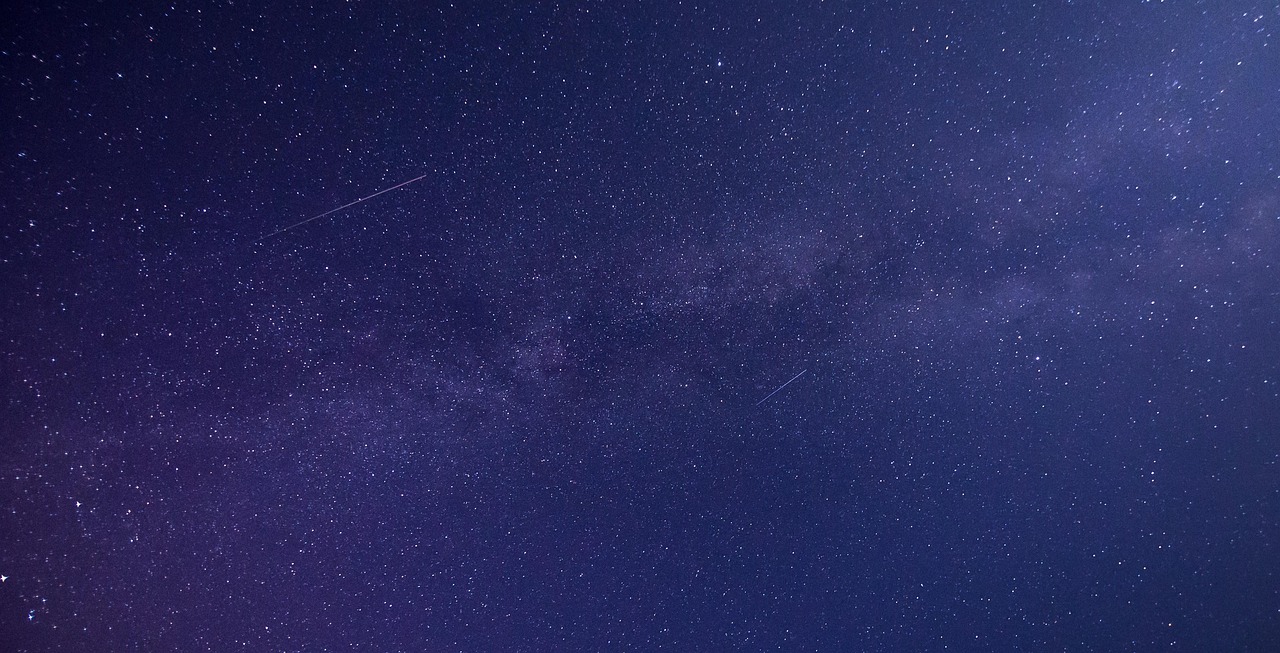
The Earth’s rotation causes apparent star movement across the sky. Exposures exceeding 15-25 seconds (depending on your focal length and latitude) transform pinpoint stars into elongated trails. While star trails create intentional artistic effects, they’re generally undesirable for general night sky photography. The “500 rule” provides guidance: divide 500 by your lens’s focal length (in 35mm equivalent) to determine maximum shutter speed before noticeable trailing occurs.
For most smartphones with approximately 26mm equivalent focal length, this calculates to roughly 19 seconds (500 ÷ 26 ≈ 19). However, modern recommendations suggest using the more conservative “300 rule” for sharper results, yielding approximately 11 seconds for the same lens.
Optimal Exposure Settings for Smartphone Astrophotography
| Setting | Recommended Range | Notes |
|---|---|---|
| Shutter Speed | 10-20 seconds | Shorter for telephoto, longer for wide-angle |
| ISO | 800-3200 | Lower values reduce noise; test your phone’s limits |
| Aperture | Widest available | Fixed on most phones (f/1.5-f/2.2) |
| Focus | Manual infinity | Fine-tune for sharpest stars |
ISO sensitivity determines your sensor’s light responsiveness. Higher ISO values brighten images but introduce digital noise—random colored pixels that obscure fine detail. Each smartphone handles high ISO differently; flagship models with larger sensors and advanced processing manage ISO 3200 reasonably well, while budget phones may struggle above ISO 1600. Testing your specific device’s ISO performance before important shooting sessions prevents disappointment.
📱 Ignoring Specialized Astrophotography Apps
Native camera apps, even in pro mode, often lack features specifically beneficial for astrophotography. Dedicated astronomy camera applications provide advanced controls, intervalometers for time-lapses, live stacking capabilities, and better manual control interfaces optimized for night shooting.
These specialized apps often include red-light modes that preserve your night vision between shots, constellation overlays to help composition, and precise exposure controls down to fractional seconds. Some applications also offer built-in image stacking—combining multiple exposures to reduce noise while preserving detail.
Popular options include apps specifically designed for long exposures and astronomical subjects. These applications unlock your phone’s full potential by bypassing standard camera limitations and providing enthusiast-level controls in an accessible interface.
🔭 The Stability Problem: Handheld Astrophotography
Attempting handheld night sky photography guarantees disappointing results. Even the steadiest hands cannot remain motionless for the 10-20 second exposures required for capturing stars. Any movement during exposure creates blur, transforming stars into streaks and ruining detail throughout the frame.
A sturdy tripod represents the single most important accessory for phone astrophotography—more critical than external lenses or specialized apps. Phone-specific tripods with adjustable heads allow precise framing and ensure complete stability throughout long exposures. Many options exist at various price points, from compact travel tripods to full-sized models with smartphone adapters.
Beyond tripods, remote shutter release prevents the camera shake caused by physically tapping your phone’s screen. Bluetooth remote triggers cost just a few dollars and eliminate this final source of instability. Alternatively, your phone’s timer function (typically 2-10 seconds) allows vibrations from touching the screen to dissipate before the shutter opens.
Location Mistakes That Ruin Night Sky Photography
Even perfect camera settings cannot overcome poor location choices. Light pollution—artificial illumination from cities, streetlights, and buildings—washes out faint stars and reduces contrast in the night sky. Beginners often attempt astrophotography from their backyard in suburban or urban areas, then wonder why their photos show only a handful of bright stars against a murky orange-gray sky.
Successful astrophotography requires escaping light-polluted areas. Dark sky locations, typically found far from population centers, reveal thousands of stars invisible from cities. Various online resources and mobile apps map light pollution levels worldwide, helping identify nearby dark sky sites. National parks, rural areas, and designated Dark Sky Preserves offer ideal conditions.
Weather conditions matter equally. Cloud cover obviously blocks celestial objects, but atmospheric clarity varies even on cloudless nights. High humidity, dust, and particulate matter scatter light and reduce visibility. Checking astronomical seeing conditions through specialized forecasts helps plan optimal shooting nights.
Essential Location Considerations
- Light pollution levels: Seek Bortle Scale 1-4 locations for best results
- Atmospheric transparency: Clear, dry nights provide superior visibility
- Moon phase: New moon periods eliminate lunar light interference
- Safety and accessibility: Scout locations during daylight for hazards
- Interesting foreground elements: Incorporate landscapes for compelling compositions
- Weather patterns: Monitor forecasts for unexpected cloud development
Compositional Errors in Night Sky Photography
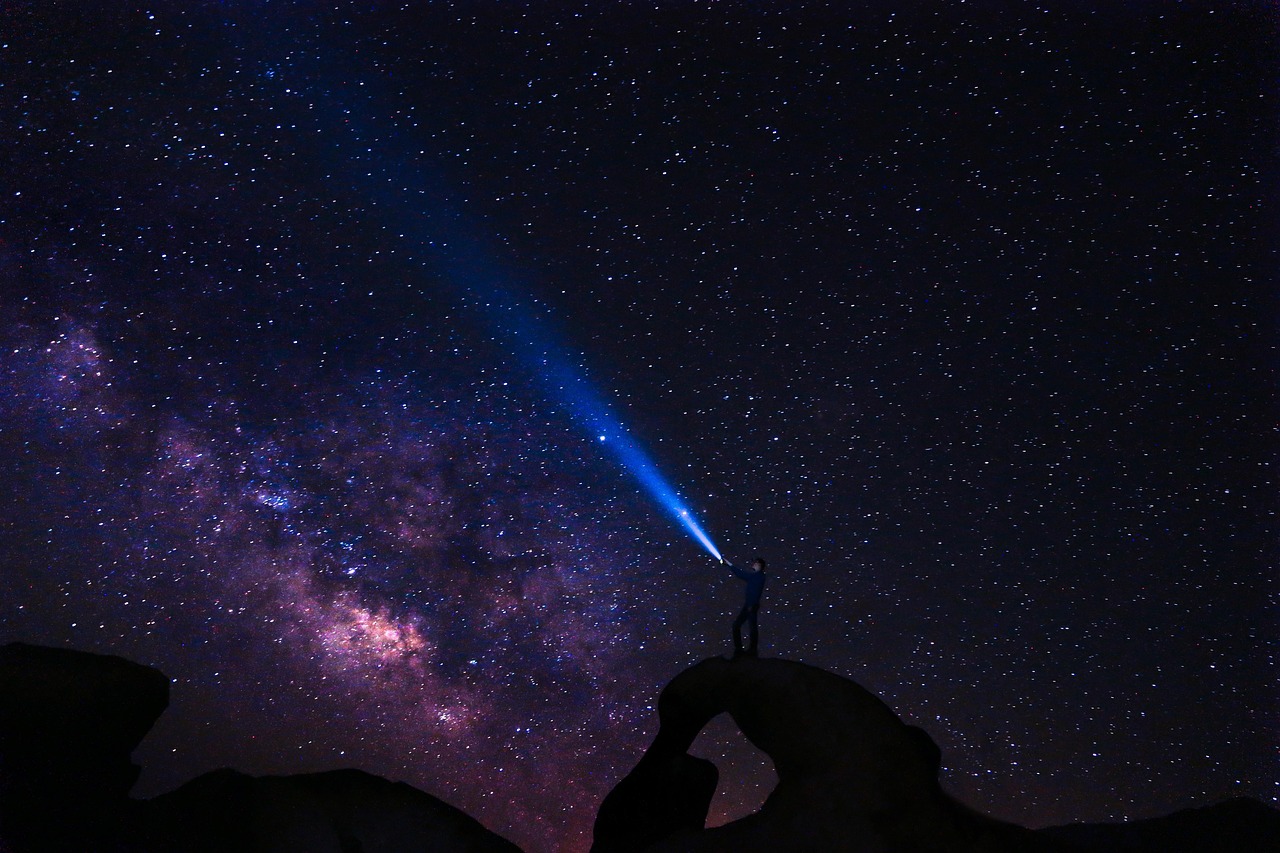
Technical proficiency means little without compelling composition. Beginners frequently frame nothing but empty sky, creating technically correct but visually boring images. The most captivating astrophotography balances celestial subjects with terrestrial elements—silhouetted trees, mountain peaks, abandoned structures, or natural rock formations.
These foreground elements provide context, scale, and visual interest that pure sky shots lack. They also help viewers connect with the image emotionally, transforming an abstract collection of stars into a scene they can imagine experiencing themselves.
When incorporating foreground elements, consider subtle illumination techniques. Complete silhouettes work beautifully, but gentle light painting with a dim flashlight or headlamp (covered with red cellophane to preserve night vision) can add dimensionality. Avoid overilluminating; the night sky should remain the primary subject.
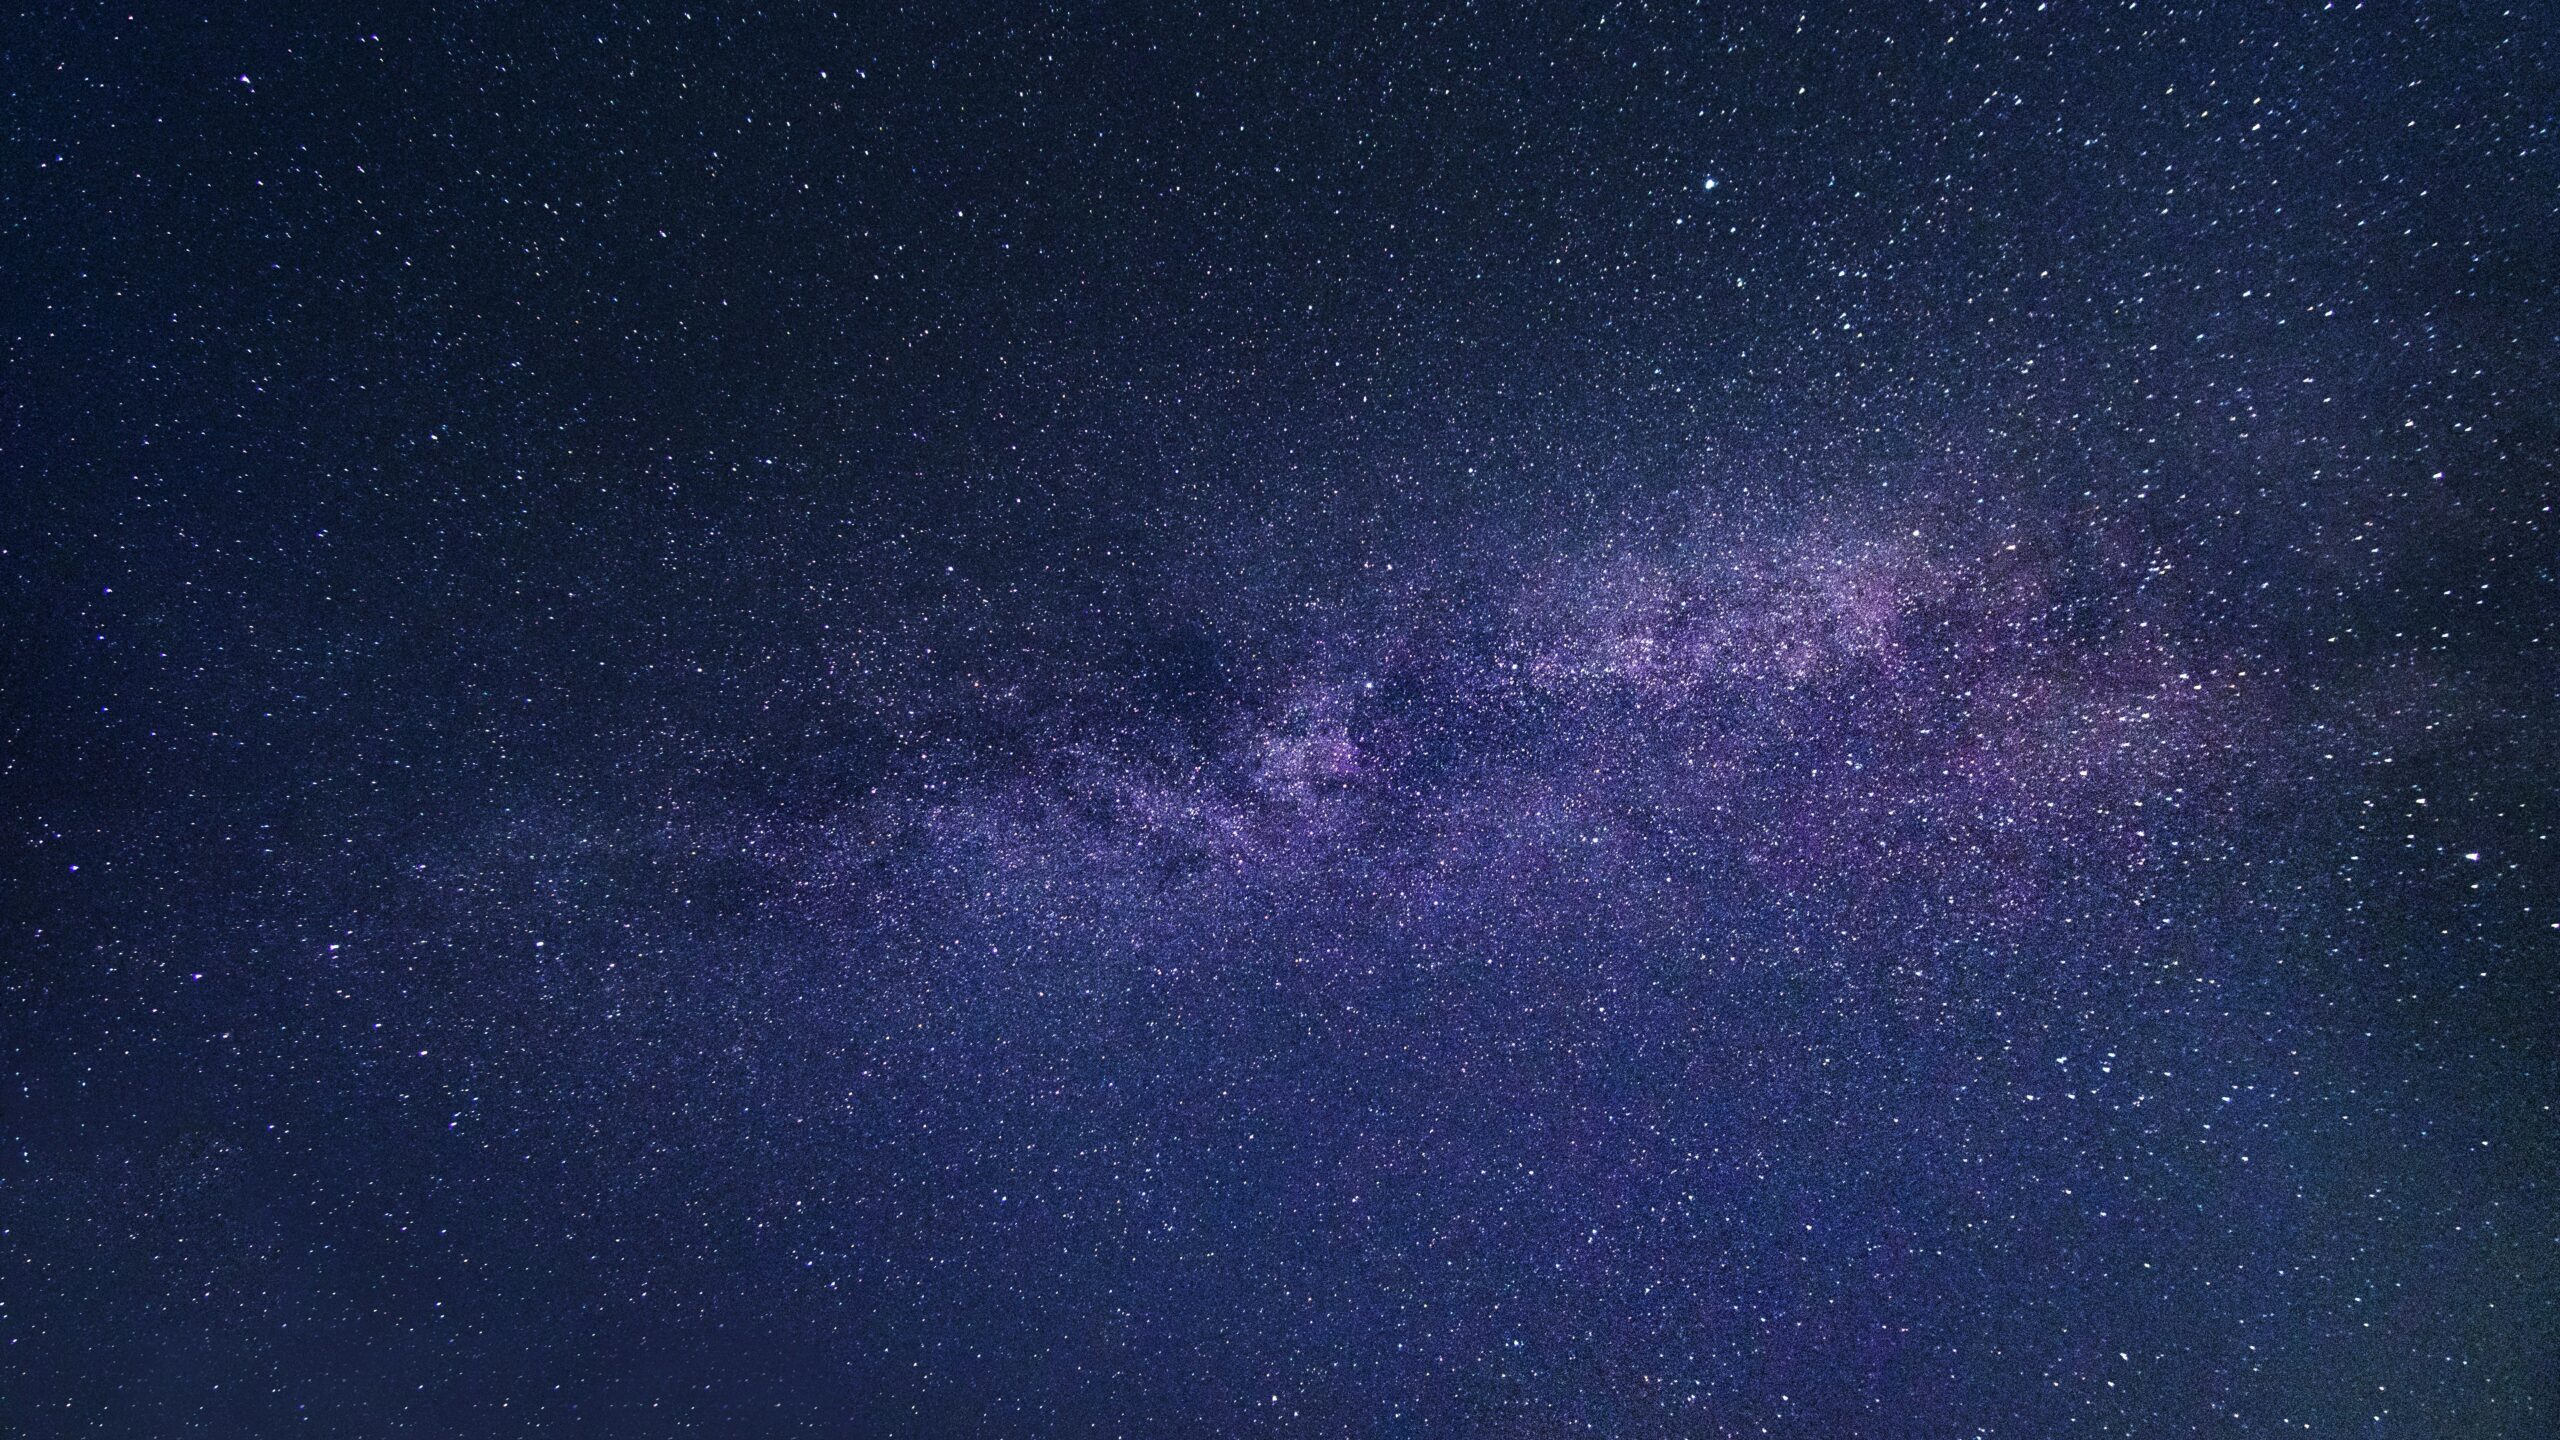
The rule of thirds applies equally to astrophotography. Positioning the horizon in the lower third with stars dominating the upper two-thirds generally creates balanced compositions. Alternatively, placing interesting celestial features like the Milky Way core at thirds intersections draws the viewer’s eye naturally.
🌌 Post-Processing Mistakes That Destroy Night Photos
Capturing the image represents only half the astrophotography process. Post-processing unlocks detail hidden in RAW files and transforms good photos into stunning images. However, excessive editing creates unnatural results that experienced viewers immediately recognize as over-processed.
The most common editing error involves pushing clarity, contrast, and saturation sliders to extremes. While these adjustments reveal detail and enhance the Milky Way’s colorful dust lanes, excessive application creates harsh, artificial-looking images with blown-out highlights, crushed shadows, and unrealistic color shifts.
A subtler approach yields superior results. Begin with basic exposure correction, gently increasing exposure if the image appears too dark. Adjust highlights and shadows separately rather than globally manipulating contrast—this preserves detail in both bright stars and dim sky regions.
Noise reduction requires careful balance. Smartphone sensors generate noise in long exposures, particularly at high ISO settings. Aggressive noise reduction creates smooth but plastic-looking skies lacking fine detail. Apply noise reduction conservatively, accepting some grain to preserve star definition and textural detail.
Recommended Post-Processing Workflow
- Import RAW files: Work with maximum image data
- Adjust white balance: Correct color casts; sky should appear neutral to slightly blue
- Exposure correction: Subtle increases reveal hidden detail
- Highlight/shadow recovery: Balance bright stars and dark sky
- Clarity and texture: Enhance moderately; avoid halos around stars
- Selective color adjustment: Enhance Milky Way colors subtly
- Noise reduction: Apply minimally; preserve detail
- Sharpening: Target stars specifically; avoid oversharpening
Timing and Planning Oversights
Spontaneous astrophotography rarely succeeds. The night sky changes constantly—the Milky Way’s position shifts with seasons, planets appear and disappear, and meteor showers occur on predictable schedules. Beginners often venture out without researching what celestial events are currently visible, missing spectacular opportunities or attempting to photograph objects below the horizon.
Planning applications and websites show precisely when and where celestial objects appear in your sky. These tools display the Milky Way’s galactic core position, planetary visibility, International Space Station passes, and upcoming astronomical events. Arriving at your location before astronomical twilight ends allows setup during remaining daylight and adaptation to darkness as stars emerge.
Seasonal considerations dramatically affect astrophotography opportunities. In Northern Hemisphere summer, the Milky Way’s brightest section arcs overhead during reasonable evening hours. Winter shifts this spectacular region to daylight hours, leaving dimmer sections visible during frigid nights. Understanding these patterns helps set realistic expectations and optimize shooting schedules.
🚀 Battery and Equipment Preparedness Failures
Night photography in remote locations tests equipment reliability. Long exposures, bright screens in pro mode, and cold temperatures rapidly drain smartphone batteries. Many beginners experience their phone dying mid-session, losing unsaved work and missing peak darkness hours.
Multiple portable battery packs ensure uninterrupted shooting throughout the night. Fully charge your phone and backup batteries before departing. Consider airplane mode to disable unnecessary background processes that consume power, leaving only the camera active.
Cold weather accelerates battery drain and can cause phones to shut down prematurely. Keep backup batteries warm inside clothing layers, and consider insulating your phone between shots. Some photographers use hand warmers attached to their device (carefully positioned away from lenses) to maintain operating temperature.
Additional preparedness items include headlamps with red light modes (preserving night vision), extra clothing layers (temperatures drop significantly after sunset), lens cleaning cloths (dew accumulates on lenses), and offline maps (cellular service is often absent in dark sky locations).
Learning from Your Astrophotography Mistakes
Every astrophotography session teaches valuable lessons. Reviewing unsuccessful images critically identifies specific problems—focus issues, trailing stars, overexposure, or compositional weaknesses. Rather than deleting disappointing photos immediately, analyze what went wrong and how to correct it next time.
Maintaining detailed notes about camera settings, conditions, and locations accelerates learning. Recording which ISO levels introduced unacceptable noise, which shutter speeds caused trailing, and which locations offered darkest skies builds personal reference data specific to your equipment and circumstances.
Joining astrophotography communities, whether online forums or local clubs, provides feedback from experienced practitioners. Sharing your work and asking specific questions yields targeted advice that generic tutorials cannot provide. These communities also share location tips, event notifications, and technique innovations.
🌠 Transforming Mistakes into Mastery
Phone astrophotography rewards patience, persistence, and continuous learning. The mistakes outlined here represent common obstacles every beginner encounters—recognizing and avoiding them dramatically shortens your learning curve. Remember that even experienced astrophotographers regularly face challenging conditions, equipment limitations, and disappointing sessions.
Start with modest goals. Before attempting the Milky Way’s faint dust lanes, master photographing bright constellations and the moon. Gradually expand your skills as you develop confidence with manual controls, stability techniques, and post-processing workflows. Each successful image builds technical knowledge and artistic vision for increasingly ambitious projects.
The universe offers unlimited photographic opportunities, and modern smartphones provide surprisingly capable tools for capturing them. By avoiding these common beginner mistakes—shooting in auto mode, neglecting stability, choosing poor locations, and over-processing images—you’ll capture stunning night sky photographs that seemed impossible when you started. The journey from frustrated beginner to confident astrophotographer begins with understanding what not to do, then consistently applying correct techniques under the stars.