The night sky holds endless beauty, yet capturing it with your smartphone can be challenging. Light pollution is one of the biggest obstacles for mobile night photography enthusiasts.
Modern smartphone cameras have evolved dramatically, offering impressive capabilities for astrophotography. However, even the most advanced phone cameras struggle when competing against artificial light from cities, streetlamps, and nearby buildings. Understanding how to minimize light pollution’s impact will transform your night sky photography from amateur snapshots to professional-quality images that showcase the stars, moon, and celestial wonders in all their glory.
🌌 Understanding Light Pollution and Its Impact on Night Photography
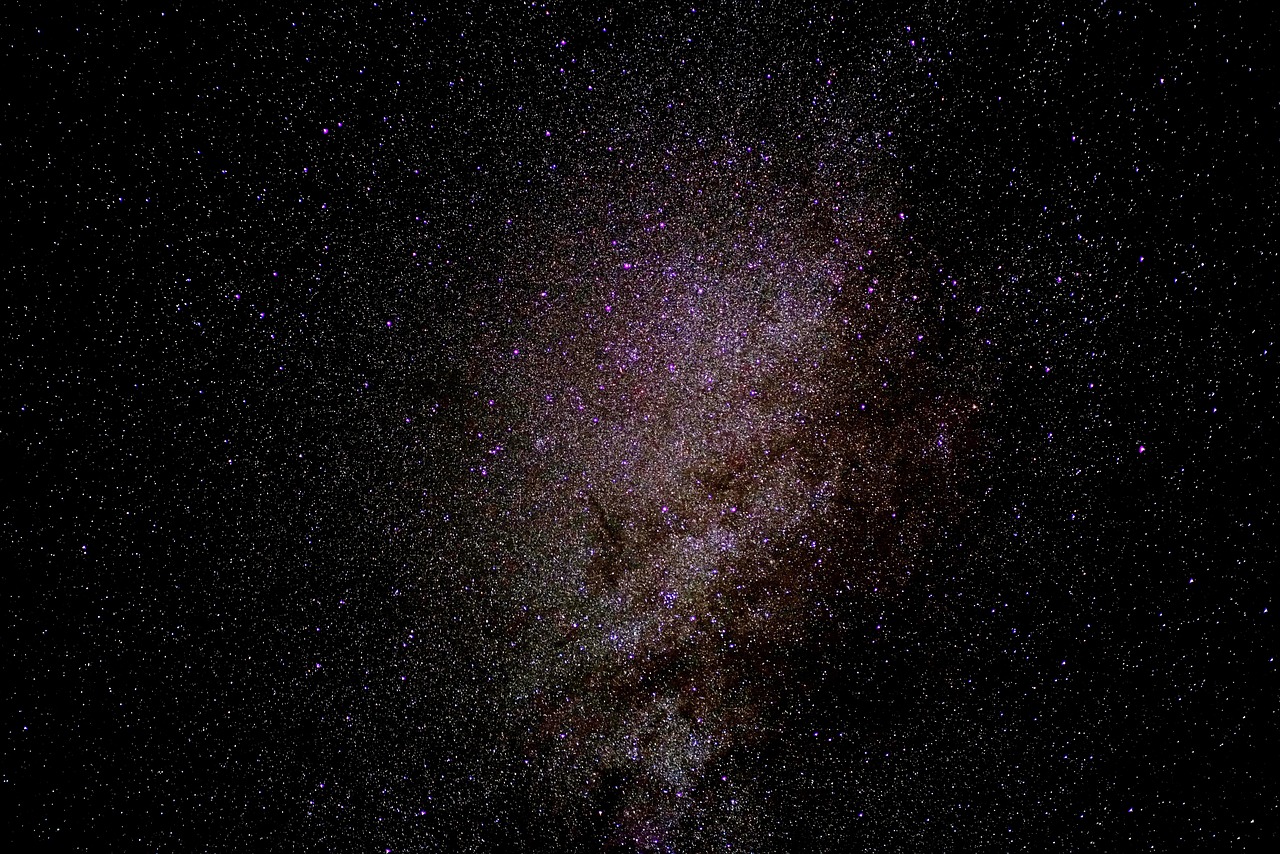
Light pollution refers to excessive or misdirected artificial light that brightens the night sky, washing out stars and celestial objects. This phenomenon affects approximately 80% of the world’s population, making pristine night sky photography increasingly difficult.
When photographing with your smartphone, light pollution creates several problems. It reduces contrast between the dark sky and stars, introduces unwanted color casts (typically orange or yellow hues), and significantly decreases the number of visible stars in your images. The camera sensor struggles to differentiate between faint starlight and ambient light pollution, resulting in flat, uninspiring photographs.
Urban areas suffer most from light pollution, with city centers experiencing skyglow that can extend dozens of miles. Suburban locations fare slightly better, while rural areas offer the best conditions for night sky photography. Understanding your shooting environment is the first step toward capturing stunning celestial images.
📍 Finding the Perfect Dark Sky Location
Location selection is absolutely critical for successful night sky photography. The farther you travel from light sources, the more stars become visible to your smartphone camera.
Dark Sky Finder apps and websites help identify areas with minimal light pollution. These tools use light pollution maps based on satellite data, showing you where darkness still exists. Look for locations classified as Bortle Scale 3 or lower for optimal results. The Bortle Scale ranges from 1 (pristine dark sky) to 9 (inner-city sky), providing a standardized measurement of night sky brightness.
Ideal Shooting Locations Include:
- National parks and protected wilderness areas
- Remote beaches away from coastal cities
- Mountain peaks and elevated terrain
- Desert regions with minimal development
- Rural farmland far from urban centers
- International Dark Sky Parks and Reserves
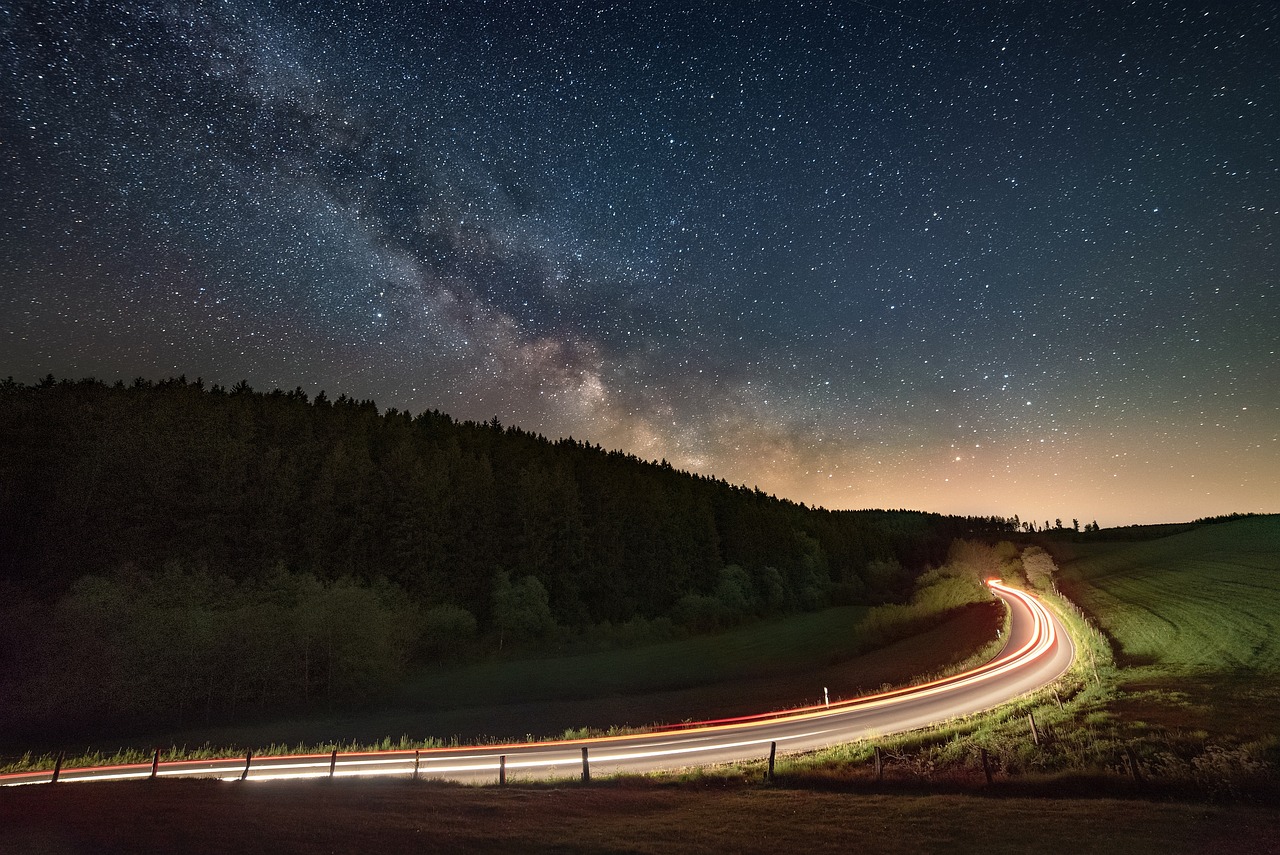
When scouting locations during daylight, note potential foreground elements like interesting rock formations, lone trees, or architectural features. These compositional elements add depth and context to your night sky photographs, creating more engaging images than sky-only shots.
⏰ Timing Your Night Sky Photography Sessions
Timing significantly influences your night photography success. Several factors determine optimal shooting conditions beyond simply waiting for darkness.
The moon phase dramatically affects starlight visibility. A full moon creates substantial natural light pollution, drowning out fainter stars and the Milky Way. New moon periods provide the darkest skies, ideal for capturing maximum stellar detail. Plan your photography sessions during the week surrounding the new moon for best results.
Astronomical twilight marks when the sun drops 18 degrees below the horizon, finally achieving true darkness. Shooting during this period ensures the sky reaches its darkest state. Weather conditions matter equally—clear skies without clouds, humidity, or atmospheric haze produce the sharpest, most detailed night sky images.
Seasonal considerations also apply. Summer months offer excellent views of the Milky Way’s galactic center in the Northern Hemisphere, while winter provides darker, longer nights for extended shooting sessions. Each season presents unique celestial events and constellations worth capturing.
📱 Optimizing Your Smartphone Camera Settings
Modern smartphones pack sophisticated camera technology, but automatic modes rarely produce quality night sky photographs. Manual control over camera settings is essential for capturing professional results.
Essential Camera Settings for Night Sky Photography:
ISO Sensitivity: Set your ISO between 1600-3200 for most night sky situations. Higher ISO values increase light sensitivity but introduce digital noise. Finding the sweet spot for your specific phone model requires experimentation. Some flagship phones handle ISO 3200 beautifully, while others show excessive grain beyond ISO 1600.
Shutter Speed: Long exposures capture more light from distant stars. However, Earth’s rotation creates star trails during extended exposures. The 500 Rule helps calculate maximum exposure time: divide 500 by your lens focal length (in millimeters) to determine seconds before star trailing becomes noticeable. Most smartphone wide-angle lenses allow 15-30 second exposures before stars begin streaking.
Focus: Achieving sharp focus on distant stars challenges smartphone autofocus systems. Switch to manual focus mode and set focus to infinity. Some phones let you tap the screen on a bright star or distant light to establish focus. Take test shots and zoom in to verify stars appear as sharp points, not blurry circles.
White Balance: Automatic white balance often produces unnatural color tints in night photography. Set white balance manually to “Daylight” or approximately 5500K as a starting point. This prevents the orange/yellow color cast from light pollution while maintaining the natural blue tones of the night sky.
RAW Format: Shoot in RAW format whenever possible. RAW files preserve maximum image data, providing tremendous flexibility during post-processing. You can recover shadow detail, adjust white balance, and reduce noise far more effectively than with compressed JPEG files.
🎒 Essential Equipment and Accessories
While smartphone cameras are remarkably capable, several accessories dramatically improve your night sky photography results.
A sturdy tripod is absolutely non-negotiable for night sky photography. Long exposures require complete camera stability—even the slightest movement creates blurry images. Invest in a quality tripod with a smartphone mount. Compact travel tripods work well for mobile photographers who hike to remote locations.
Remote shutter releases or timer functions prevent camera shake when triggering the shutter. Touching your phone to take a photo introduces vibration that reduces sharpness. Use your phone’s self-timer set to 2-10 seconds, allowing vibrations to settle before the shutter activates.
Extra battery packs are essential since cold temperatures and long exposures drain smartphone batteries rapidly. Keep spare power banks warm in your pockets and swap them as needed. Cold batteries lose charge quickly, sometimes dying within an hour of intensive shooting.
Red headlamps preserve your night vision while allowing you to see your equipment and surroundings. White lights force your eyes to readjust to darkness repeatedly, making it difficult to compose shots and navigate safely.
🛡️ Practical Techniques to Minimize Light Pollution
Beyond finding dark locations, specific shooting techniques help minimize light pollution’s impact on your night sky photographs.
Use Natural Barriers: Position yourself so that hills, buildings, or vegetation block direct light sources. Even screening a nearby streetlamp can dramatically improve sky darkness in your shooting direction. Orient your camera away from urban areas toward the darkest section of sky.
Shoot Higher in the Sky: Light pollution concentrates near the horizon. Pointing your camera toward zenith (straight up) or at higher elevation angles reduces light pollution in your frame. Horizontal shots toward the horizon capture maximum atmospheric interference and artificial light.
Wait for Late Hours: Many outdoor lights shut off after midnight as businesses close and residents sleep. Shooting between 1-4 AM often provides noticeably darker conditions than earlier evening hours, especially near populated areas.
Create Light Shields: Use your body, jacket, or a dedicated light shield to block stray light from hitting your lens. Side-angle light pollution creates lens flare and reduces contrast. Proper shielding maintains image quality even in less-than-ideal lighting environments.
🎨 Post-Processing Techniques for Light Pollution Reduction
Even with perfect shooting conditions, post-processing enhances your night sky photographs and helps combat remaining light pollution effects.
Modern mobile editing apps offer powerful tools specifically designed for astrophotography. Start by adjusting basic exposure parameters—slightly reducing exposure can make stars more prominent against the sky. Increase contrast to separate stars from the background more distinctly.
The “Blacks” slider is particularly effective for reducing light pollution’s glow. Dropping blacks darkens the sky without crushing star detail. Similarly, reducing highlights prevents brighter stars from blooming excessively while maintaining their natural appearance.
Color correction removes the orange/yellow cast typical of light pollution. Use selective color adjustments or the temperature slider to neutralize unwanted warm tones, restoring the sky’s natural deep blue or black appearance. Be subtle—overcorrection creates unnatural-looking cyan or purple skies.
Noise reduction becomes necessary with high ISO night photography. However, aggressive noise reduction destroys fine star detail. Apply noise reduction conservatively, focusing on color noise rather than luminance noise, which maintains star sharpness while smoothing ugly color speckles.
Clarity and texture adjustments bring out subtle detail in the Milky Way and nebulae. Moderate increases create dramatic results, but excessive clarity produces harsh, unnatural-looking images with prominent halos around stars.
📊 Comparing Different Smartphone Models for Night Sky Photography
Not all smartphones perform equally for astrophotography. Understanding your device’s capabilities and limitations helps set realistic expectations.
| Feature | Impact on Night Sky Photography | What to Look For |
|---|---|---|
| Sensor Size | Larger sensors capture more light with less noise | 1/1.3″ or larger sensors ideal |
| Aperture | Wider apertures (lower f-numbers) gather more light | f/1.8 or wider preferred |
| Night Mode | Dedicated modes optimize settings automatically | Astrophotography-specific modes best |
| Manual Controls | Essential for fine-tuning exposure parameters | Full manual mode (Pro mode) required |
| RAW Support | Preserves maximum data for post-processing | Native RAW capture capability |
Flagship phones from manufacturers like Google, Samsung, Apple, and others incorporate specialized night photography modes. Some devices offer dedicated astrophotography modes that automatically optimize settings for capturing stars, though manual control still provides more creative flexibility.
🌠 Advanced Techniques for Spectacular Results
Once you’ve mastered basic night sky photography, advanced techniques elevate your images from good to exceptional.
Star Stacking: This technique involves capturing multiple exposures of the same composition, then combining them using specialized software. Stacking reduces noise while increasing detail and star visibility. Some smartphones now include built-in stacking features in their night modes.
Panoramic Milky Way Shots: Create sweeping panoramas by capturing multiple overlapping frames across the night sky, then stitching them together. This technique produces ultra-wide views impossible with a single exposure, showcasing the Milky Way’s full arc.
Star Trail Photography: Instead of avoiding star trails, embrace them. Capture dozens of consecutive exposures over 30-60 minutes, then stack them to show stars’ apparent motion as Earth rotates. The resulting circular patterns create mesmerizing, artistic images.
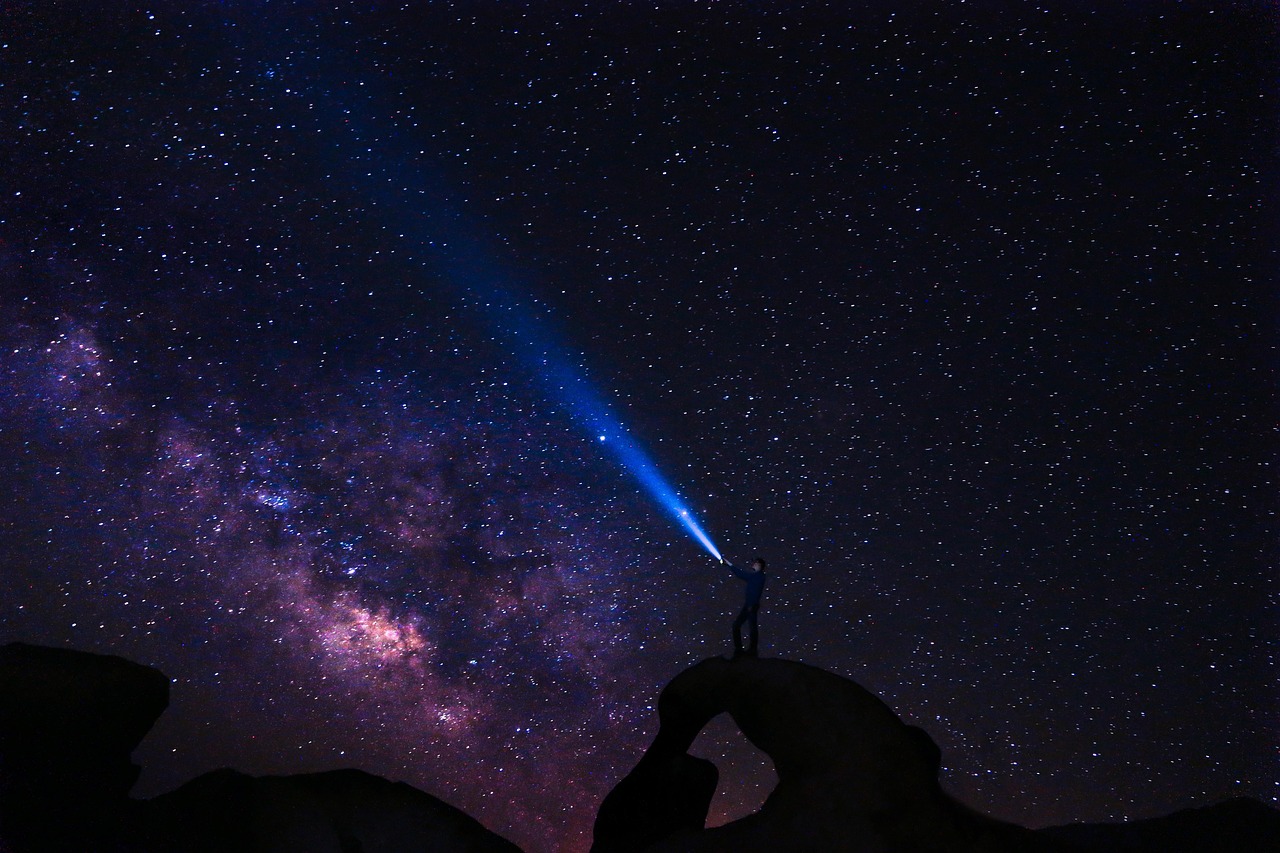
Foreground Lighting: Illuminate interesting foreground elements with brief light painting during your exposure. A quick flash from a flashlight or headlamp adds dimension and context, separating foreground subjects from the starry background.
⚠️ Safety Considerations for Night Photography
Night sky photography often takes you to remote locations in darkness. Safety should always be your top priority.
Never venture into unfamiliar territory alone at night. Bring a companion whenever possible, and always inform someone of your plans, including specific location details and expected return time. Carry a fully charged phone with emergency contacts programmed, plus a backup power bank.
Wildlife encounters increase at night, particularly in rural and wilderness areas. Research animals common to your shooting location and understand appropriate response procedures. Carry bear spray in bear country, and make noise periodically to avoid surprising animals.
Weather can change rapidly, especially in mountainous terrain. Check forecasts thoroughly and prepare for temperature drops—nights get surprisingly cold even after warm days. Dress in layers and bring emergency supplies including water, snacks, first aid kit, and emergency shelter.
Terrain hazards become more dangerous in darkness. Scout locations during daylight to identify cliffs, water hazards, unstable ground, and other dangers. Use reliable lighting to navigate safely, and don’t take unnecessary risks for a photograph.
🌟 Capturing Specific Celestial Objects and Events
Different celestial targets require adapted techniques for optimal smartphone photography results.
The Milky Way: Our galaxy’s band appears brightest during summer months in the Northern Hemisphere. Compose shots including the galactic center for maximum visual impact. Use the widest angle available on your phone to capture expansive views. Exposures between 20-30 seconds at ISO 1600-3200 typically produce excellent results.
Moon Photography: The moon is surprisingly bright, requiring different settings than general night sky photography. Use much lower ISO (100-400) with faster shutter speeds (1/125 to 1/500 second). The telephoto lens on multi-camera phones provides better detail than the wide lens. Photograph during partial phases rather than full moon for dramatic shadow definition across craters.
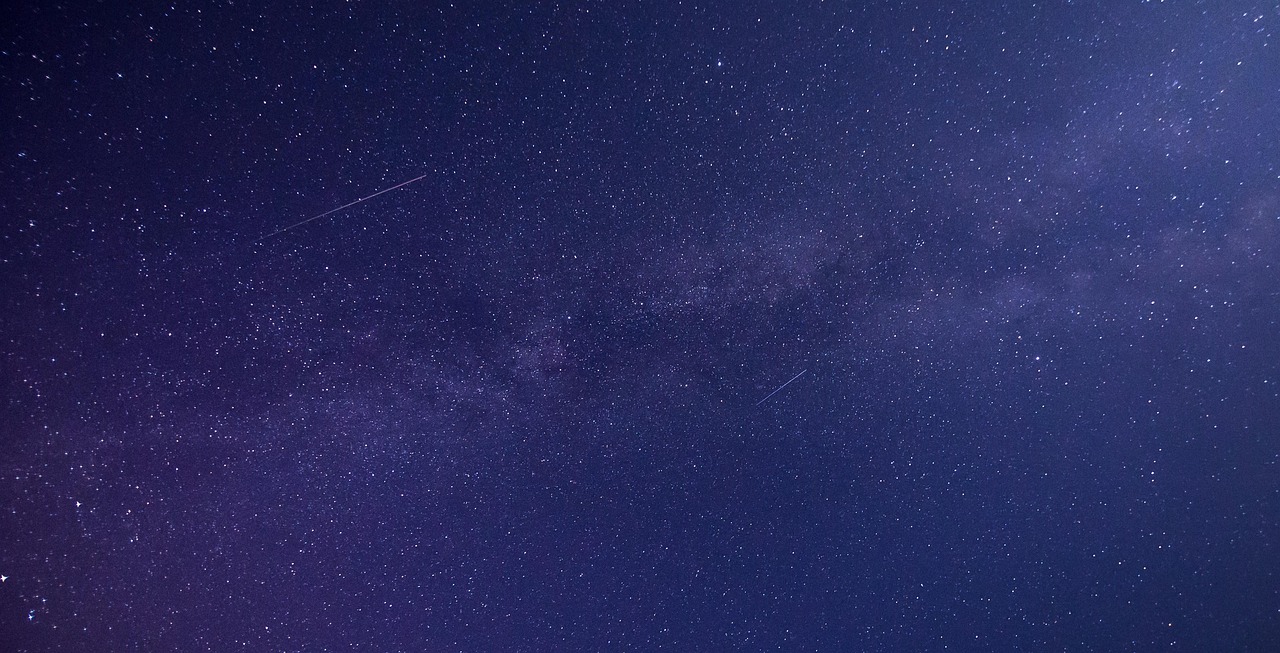
Meteor Showers: Annual meteor showers offer spectacular photography opportunities. Use wide-angle lenses to cover maximum sky area. Set continuous shooting mode or intervalometer apps to capture multiple consecutive exposures automatically. Patience is essential—you’ll capture many empty frames between meteors.
Aurora Borealis/Australis: Northern and Southern Lights require similar settings to Milky Way photography. Use ISO 1600-3200 with 15-20 second exposures. The aurora’s brightness varies dramatically, so adjust settings as displays intensify or fade. Capture multiple exposures as the lights dance and change.
💡 Common Mistakes to Avoid
Learning from common errors accelerates your progress toward professional-quality night sky photography.
Using digital zoom destroys image quality. Smartphone digital zoom simply crops and enlarges the image, reducing resolution and sharpness dramatically. Instead, capture full-frame images and crop during post-processing for better results.
Over-processing creates unnatural-looking images. While post-processing is essential, excessive adjustments produce garish colors, blown-out stars, and artificial-looking skies. Process with restraint, aiming for enhanced realism rather than fantasy-style images.
Neglecting composition focuses attention solely on technical settings while ignoring artistic elements. Even perfectly exposed star fields look boring without interesting composition. Include compelling foreground elements, follow the rule of thirds, and create balanced frames that guide viewers’ eyes through the image.
Shooting in light-polluted areas without proper reconnaissance wastes time and produces disappointing results. Always research locations beforehand using light pollution maps and satellite imagery. The extra planning effort pays tremendous dividends in image quality.
🚀 Taking Your Night Sky Photography Further
As your skills develop, continue pushing creative boundaries and exploring new photographic opportunities.
Join astrophotography communities online or locally. Fellow photographers share location tips, technique advice, and constructive feedback on your work. Many areas have astronomy clubs that organize star parties at dark sky locations—perfect opportunities for photography and learning.
Study professional astrophotography for inspiration and technique insights. Analyze composition choices, processing styles, and creative approaches. Understanding what makes certain images compelling helps you develop your unique photographic vision.
Experiment constantly with different settings, compositions, and creative techniques. Digital photography costs nothing beyond time, so take risks and try unconventional approaches. Your most memorable images often emerge from experimentation rather than following established formulas.
Document your settings and techniques for future reference. Keep notes about what worked and what didn’t in various situations. This personal knowledge base becomes invaluable as you refine your craft over time.
The night sky offers limitless photographic possibilities, and smartphone cameras continue evolving with increasingly impressive capabilities. By understanding light pollution’s challenges and applying these professional techniques, you’ll consistently capture stunning celestial images that showcase the universe’s magnificent beauty. The key lies in combining proper location selection, optimized camera settings, careful technique, and thoughtful post-processing—transforming your smartphone into a powerful astrophotography tool that rivals dedicated cameras for many night sky scenarios. Clear skies and happy shooting! ✨